


Denture conversion appointments can be facilitated by using digitally guided implant surgery.
One of the pivotal moments in restoring full arch implant cases is the conversion from conventional denture into an implant based prosthetic. This is the point in the restorative process that you begin to test your prosthetic diagnosis and treatment plan within the patient's mouth. It is the foundation you will use as the template for the final prosthetic. Today’s patients are saturated with advertising about “teeth in a day”, and they expect to leave implant surgery with “teeth”. At the surgery appointment, the goal is to accomplish all of the surgical procedures and place a provisional replica of the planned implant-supported prosthetic restoration. The question is how to get there?
The answer is digital planning. (Figure 1)

Figure 1 - Digital planning conversion denture
The conversion process can be a time-consuming chairside process. One way this can be minimized is through the use of digital implant planning and design. Whether digital or conventional, initially, with every case you must acquire an ideal denture set-up. Proceeding with that foundation, use this set-up as the template for a scanning appliance to be used for the CT scanning appointment. You may begin with a duplicate of the old denture, IF it is already at the parameters that you desire for the final prosthetic, including vertical, midline, tooth position, esthetics and function.
If the current denture is not ideal, then the first step is a new set-up, which can be created either by traditional “analog” methods, with impressions, bite blocks etc., or what I would like to explore in this article, the digital workflow options. Digital implant planning streamlines many of the steps culminating in the conversion prosthetic, and even through the final implant prosthetic restoration.
The key to an efficient and successful surgery/conversion appointment is the pre-surgery planning, and digital planning is the optimal foundation.

REQUEST YOUR FREE IMPLANT SUCCESS GUIDE BELOW
Success Guides
The most important initial objective is to acquire the digital information for VDO, occlusal relationship, midline, and tooth positions. This is where we will begin the steps to capture the information. In order to take advantage of digital planning software tools such as Blue Sky Plan or 3 Shape Implant, you must first capture the data in the mouth and perform a CT Scan with a scanning guide in place. The following is a workflow including digital options from beginning records to placement of conversion prosthetic.
12 Step Workflow
Step 1: Duplicate old denture or create new denture set-up
A. If the current denture's parameters are correct, take a reline impression in the old denture.
B. If the old denture is not acceptable, you can use the above mentioned relined duplicate denture as an impression/bite for the lab. This will eliminate the bite block appointment. Take a bite with the relined old denture in the patient’s mouth and send to the lab for fabrication of wax set-up tooth try-in. Once the wax set-up is approved, proceed to step 2. (Figure 2)

Figure 2 - Denture reline impression
Step 2: Fabricate a scanning guide.
A. Duplicate the approved denture set-up in clear acrylic with 10-12% barium sulfate.
B. Place radiographic markers on buccal, facial, and palate of the duplicate denture, about 6 total. (DentalMark for Cone Beam CT - available from Blue Sky Bio.) (Figure 3)

Figure 3 - scanning appliance
Step 3: Scanning appointment
A. The patient is scanned with denture scanning appliance(s) and bite (bite is made on an articulator and verified in patient’s mouth).
B. Scan the denture scanning appliance(s) out of the mouth.
Step 4: Merge patient CT scan and scanning appliance scans in design software.
Blue Sky Plan is a planning software available to anyone, regardless of CT scanner. You may use Blue Sky, 3 Shape Implant, or other open systems.
If you digitally plan your surgery and use a guided surgery appliance, the lab can then merge the file of your implant surgical plan with the denture set-up and position the holes for your conversion precisely aligned with your screw access hole. This simplifies the luting process. The conversion still needs to be finalized in the mouth after the surgery is completed, but you can minimize the time required and limit adjustments.
Step 5: Plan surgery and design guided surgery appliance.
Step 6: Provisional conversion prosthetic fabrication.
Burbank Dental Lab can use the Blue Sky Bio (BSB) or 3-Shape Implant surgical plan file to design and fabricate a provisional prosthesis that will be very close to the parameters of the final restoration, and will have screw access holes that will line up more precisely to the actual screw trajectory than traditional conversion denture procedures would. (Figure 4)

Figure 4 - Edentulous implant planning
Printing Digital Dentures
One exciting development that is relevant to the surgery/ conversion appointment, is the advent of printed and milled denture prostheses. How can a printed denture benefit you in your conversion appointment?
- Precision placement of the access holes
- Quick turn-around from try-in appointment
- Reduced lab bills from a “permanent” denture
- Precision replication of set-up from try-in ( minimizes any processing distortions) (Figure 5)

Figure 5 - printed and milled denture prosthesis
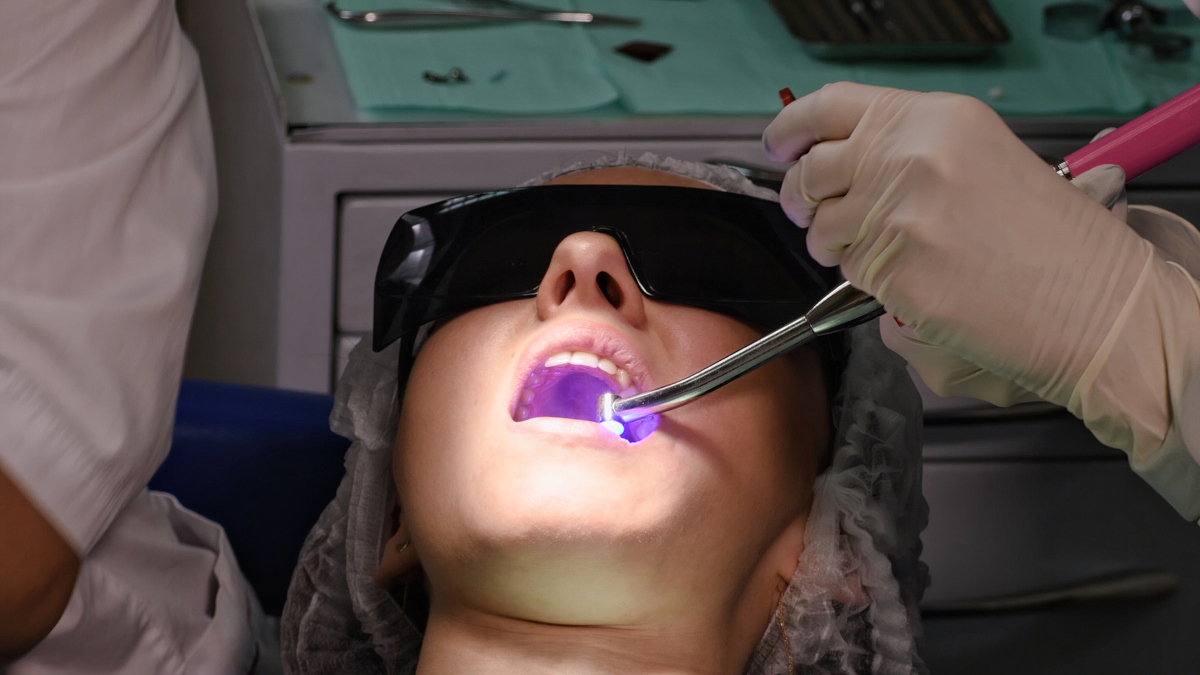
Step 7: Perform guided implant surgery.
Step 8: Torque in multi-unit abutments onto the implants
Suture around abutments, then hand-screw down multi-unit titanium cylinders. (Figure 6)

Figure 6 - Multi-unit with ti cylinder
The importance of multi-unit abutments.
The use of multi-unit abutments is HIGHLY recommended if not mandatory. While it is possible to make a screw-retained prosthetic direct to the implant interface, it is very difficult to establish implant placement that facilitates a 100% passive seat. The use of multi-abutments ensures the passive seating of the prosthetic. It is important to plan on the use of multi-abutments from a cost standpoint. If you do not plan on the expense for multis, you will have to absorb the expense and extra appointments to seat and impress the multi-units.
Step 9: Placing provisional prosthetic
A. Place provisional onto titanium cylinders and test passivity of fit.
B. If passive, take the provisional out and put a block-out barrier around the multi-unit bases, rubber dam or similar material is recommended. * If not passive relieve binding areas.
C. Bond the prosthetic to the titanium cylinders.
- Titanium cylinders should be air-abraded prior to seating.
- Lightly paint the ti cylinders with a coating of the material that you will be using to adhere the cylinders and the prosthetic. (Use acrylic, or many clinicians recommend EZ PickUp from Sterngold. EZ PickUp is a syringeable, self-curing resin, that bonds to acrylic and is odorless and tasteless.)
- Fill the screw channels of the prosthetic about half way full from the intaglio side.
- Place the prosthetic onto the cylinders and hold in place until luting material is cured. Be careful not to allow luting material to cover or fill the driver interface of the screw. (Figure 7)

Figure 7 - Place the provisional prosthetic
Step 10: Finishing the conversion prosthetic.
A. Un-screw and remove denture.
B. Clean up screw hole both on the intaglio and outer surface, adding luting material as needed to fill voids.
C. Cut away the pallet and peripheral borders, smooth and polish.
Step 11: Deliver the finished conversion provisional
Torque into the prescribed Ncm. (Figure 8)

Figure 8 - Finished conversion provisional
In Summary
In summary, digital planning and fabrication are evolving and creating a paradigm shift in the workflow of implant cases. While some of the digital aspects of implant-supported restorations are in their early stages of development, the applications are very real today and will soon become a stable methodology in dentistry. Burbank Dental Lab is staying ahead of the curve in the digital realm and is your best choice to partner with as you move into digital dentistry.


