


This article is part 1 of a 2-part description of the “whole” digital workflow for implant restorations. The purpose will be to show an overview of the digital workflow, from treatment plan to final restoration. This will include pre-CT scanning processes, merging CT with dentition model stl, digital surgery planning, surgical guide design, surgery using a guided surgery appliance, digital scan of implants, and finally the fabrication and delivery of the final restorations.
Diagnostic Appointment - First Appointment
- Models - Full arch impressions and bite registration.
- Photos - Full face smile, lip at rest, and full arch intraoral photos.
There are several workflows to generate a guided surgery appliance, but all begin with the basic diagnostic appointment to collect patient records, including impressions or IOS scan, and photos. The lab will use this information to create a diagnostic wax-up of the teeth to be restored. The wax-up will be used as the template for the radiographic scanning appliance.
Preparing for CBCT Appointment
- Scanning guide - The lab fabricates radiographic scanning appliance.
- Scanning index/bite. (Must be radiolucent)

Figure 1: Scanning Appliance and Index
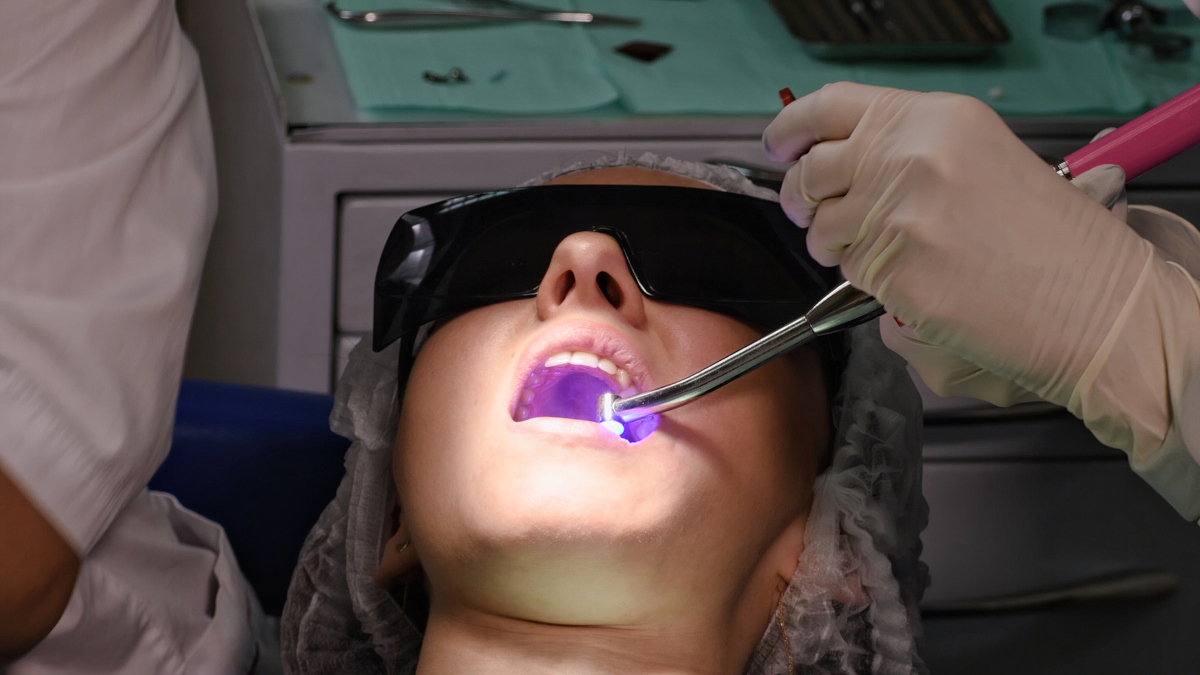
The radiographic scanning appliance and scanning bite are placed in the patient's mouth during the CBCT scan appointment and will create orientation markers within the CT image. (Figure 1 above) This facilitates the accurate orientation of the 3D CT file and .stl file of the optical scan to be used in the surgical planning of the implant cases. The purpose of the scan appliance is to show the desired prosthetic positions of the restorations in the digital plan. This allows for the surgical plan to be restoratively driven. When a partially edentulous patient is scanned, it is not required to use a scanning guide. However, it is still important to make an appliance that represents the diagnostic set-up of your planned restorative work. Not doing so may lead to a compromised final prosthetic result. Again, radiopaque markers are used to evaluate the position of the proposed restoration to the existing bone.
It is also important to have a scanning index/bite, to ensure that the patient occludes in a predictable manner during scanning. This will enable accurate positioning of the abutment and crown, and facilitate the correct access hole vector. This index must be made of radiolucent bite material so as not to obscure the borders of the dentition.
Digital Surgery Planning
The planning and guide design steps are two distinct phases of creating a guided surgery appliance. The guide design is finalized by the creation of a finished .stl file, which is the 3D print file for the guide itself.


$30 OFF GUIDED SURGERY APPLIANCE OFFER
ON YOUR FIRST GUIDED SURGERY APPLIANCE CASE
OFFER GOOD THROUGH MAY 30, 2018
Day
Hour
Minute
Second
$30 Off Guided Surgery Appliance Offer
Surgical Planning
1. Planning of the surgery begins with importing the DICOM file from the CBCT scan and also importing the .stl optical scan file of the dentition, into the design software. (Note: the .stl file can be from an Intra Oral Scan (IOS) scan or from a conventional model that has been scanned.)
2. Once the CT and .stl files have been stitched together, the next step is to digitally place the restorations in position within the plan. (If the scanning guide used barium sulfate to indicate the position of the restorations, you would not need to digitally place the restoration.) The positioning of the digital restoration is critical to the best positioning of the implant.
3. It is important to identify the inferior alveolar nerve so that you can avoid it as you place your implant.
4. Select the implant from the library within the planning software and position it into the desired location within the plan. (Figure 2)

Figure 2: Surgery Planning
5. Depending on the software and the workflow you have chosen, you will now define the surgical kit and the corresponding sleeve size and position at this time. In many software applications, if you are using the fully guided kit that corresponds to the implant platform, the sleeve details are set as a default. Most software will also allow you to reposition the sleeve as well.
Digital Guide Design
After the implants and sleeves have been placed into the plan, the next step is to design the guide. This process varies from software to software, with some systems creating a standard design based on preferences. Using BlueSkyPlan, you draw the peripheral borders and can cut out seating verification windows. (Figure 3 & 4)

Figure-3 - Guide Design
Figure 4: Guide Design
Sending .stl file to Lab for Guide Fabrication
After the guide is designed, you are now ready to send the files to be fabricated. This procedure will vary depending on the software. For example, with Galileos / Galaxis implant software from Sirona, you would submit your file to SICAT for verification and fabrication. If you are using BlueSkyPlan, you will export your final guide design as a .stl file that can be printed in on a 3D printer.
Burbank Dental Lab and SICAT DIGITALGUIDE
Burbank Dental Lab is the exclusive authorized and validated DIGITALGUIDE lab for SICAT. You can use your Galileos/Galaxis implant software and select DIGITALGUIDE and Burbank Dental Lab as your partner lab to have your guide fabricated by Burbank Dental Lab.
Burbank Dental Lab and BlueSkyPlan
If you use BlueSkyPlan software from Blue Sky Bio, you can upload your .stl file to Burbank Dental Lab for fabrication of your guided surgery appliance that you designed.
Burbank Dental is dedicated to being your most valuable and trusted partner in the guided surgery arena and has recently made an investment in state-of-the-art 3D printers from Carbon. These printers are on the cutting edge of digital printing in many industries and have established relationships with many of the leading companies in dentistry. (Figure 5)

Figure 5 - Burbank Dental Lab Carbon 3D digital printer
COMING NEXT WEEK
Part 2 of the Digital Workflow for Guided Surgery Appliance & Implant Restorations - Surgery to Final Restorations.


