


When considering full arch restorations, carefully evaluating each patient case is crucial before deciding on treatment plans. In this article, the focus is on cases suited for removable prosthetic options rather than fixed implant-supported prostheses.
A thorough diagnostic workup remains essential. Patients should never be promised specific outcomes prematurely. Unfortunately, some cases begin with patients accepting pre-defined treatments before the first impressions are even taken. This sets unrealistic expectations that don’t match clinical realities, causing frustration for patients and clinicians alike.
With that said, here is an effective workflow for cases that appear to align with implant-assisted removable prosthetics. Nearly all the diagnostic steps apply to other edentulous treatment modalities as well.
Key Discussion Topics
Impressions
All edentulous cases begin with an appropriate denture impression that captures the critical landmarks. There are several impression elements that are needed to accurately and successfully fabricate a prosthetic for an edentulous patient.
A. Patient Records
Impressions
All edentulous cases begin with an appropriate denture impression that captures the critical landmarks. There are several impression elements that are needed to accurately and successfully fabricate a prosthetic for an edentulous patient.
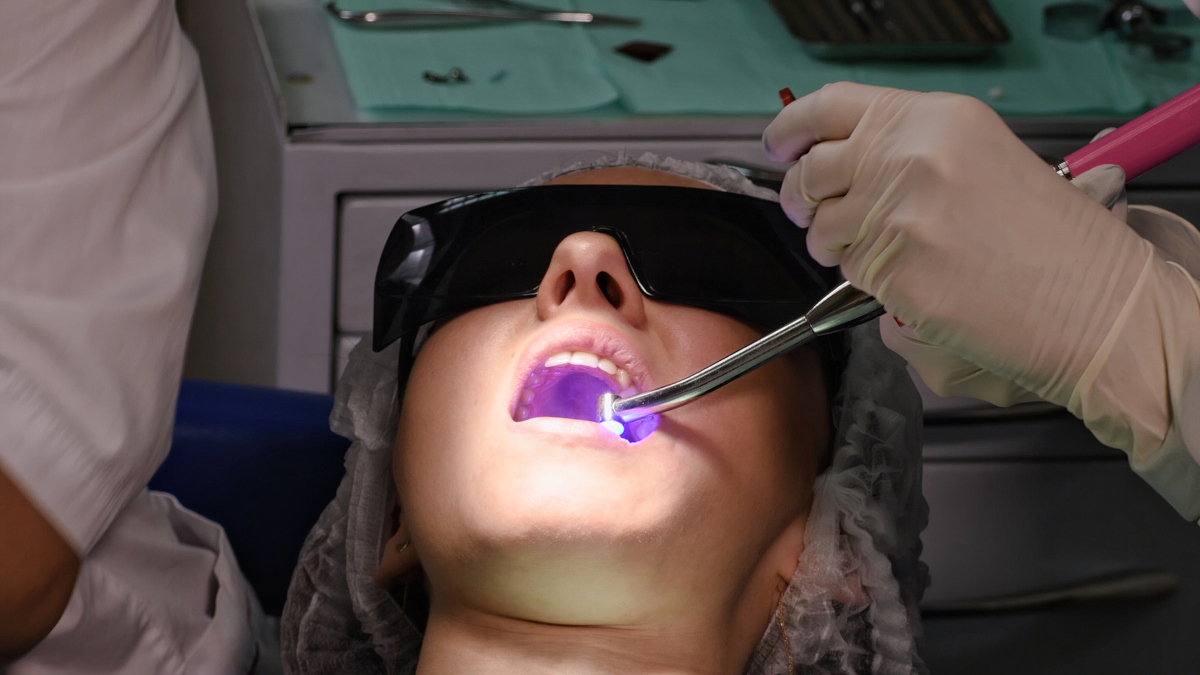
1. A custom tray is the best first step. A custom tray that is designed to avoid impinging on the vestibular soft tissue while still form-fitting to the arch is the ideal design. This design will facilitate ideal impression material thickness and provide space to capture soft tissue landmarks and accommodate a border-molding impression technique, essential to forming a proper impression. (Figure 1)

Figure 1
2. Border Molding Impression Technique. Border molding is the best way to capture the most useful impression for dentures. This can be accomplished using a combination of heavy, medium, and light bodied impression materials. (I am choosing to describe a method that approximates what Dr. Joseph Massad teaches. I suggest researching more details and education from Dr. Massad’s sources.)Step 1: Try the tray in, make sure that it does not impinge on the vestibular tissue.
Step 2: Place dots of heavy body impression material in the tray, one in the anterior and one each on the right and left quadrants, and on the hard palatal area on maxillary. These dots should be about 4 mm thick when placed in the mouth so that you can compress to about 2.5 mm, once set these dots will provide you with stops to keep the tray from touching the tissue and provide a final thickness of 3.5 -3 mm. (Figure 2)
Step 3: Place heavy body PVS on the borders of the tray and in the soft palatal area. Place the tray in the mouth and go through the following procedures to capture landmarks. (Figure 3)

Figure 2

Figure 3
It is critically important to capture these landmarks in your final impression:
- Anterior Frenum
- Anterior Vestibular Sulcus
- Buccal Frenum and Vestibular Sulcus
- Post-Zygomatic Vestibular Sulcus and Hamular Frenum,
- Post palatal zone.
Techniques to accomplish this are border movements that include:
a. Grasping the philtrum at the lip line and pulling downward – identifies the anterior frenum.
b. Pooching the lips outward with a sucking action – forms the anterior vestibular sulcus.
c. Grasping the corners of the mouth and pulling downward and forward – forms the buccal frenum and vestibular sulcus.
d. Opening wide – defines a definitive posterior border.
e. Pinching nostrils and coughing – facilitates an impression of the post-palatal zone. (Figure 4)

Figure 4
Step 4: After removing the tray and trimming areas where the tray borders are exposed, fill the tray with a medium or light body PVS and repeat the border molding movements.
Take these photos with current prosthetics in place:
- Full face smile
- A close-up lip at rest
- Close-up smile.
Take x-rays and possibly CT scan. (CT scan may be done later in the workflow.)
B. What Criteria Drive the Case Toward a Removable Prosthetic?
If the patient has lost a significant amount of bone, the restoration may require a denture flange to provide support for the lip and facial esthetics, thus eliminating a hybrid as an ideal treatment option. Figure 5

Figure 5
A denture that is retained or supported by implants can allow for the placement of the teeth in a more flexible manner, so as to create the ideal tooth display and position in the smile. This can also be useful if implants are not placed in a location that favors ideal tooth position. The denture is more forgiving of implant placement.
C. Implant Supported vs. Implant Retained
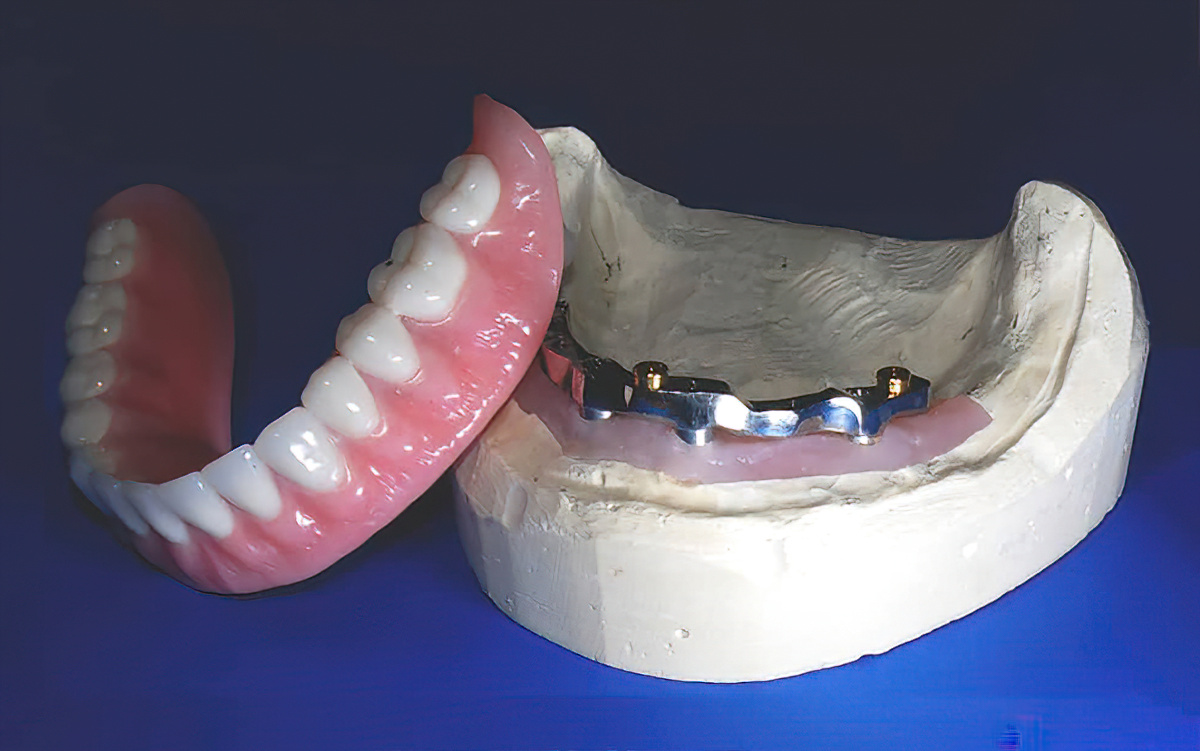
Implant Retained – Uses direct to the implant attachments to retain the denture; however, the denture still has tissue-borne support.
- Advantages: less expensive, fewer steps /less chair time, less vertical and lateral space required than with most other options including bar supported dentures.
- Disadvantages: Since it is still tissue borne many of the discomforts of non- implant retained dentures are still potential problems.

Figure 6
Implant Supported – Uses a bar of some kind (Hader and locator bars are most common) with the denture supported off of the tissue, on the bar and retained by an attachment that is secured to the bar.
- Advantages: Facilitates the spreading of the load on the whole bar, keeps the denture from impinging on sensitive tissue, can facilitate more retention that direct to implant prosthetic attachments, reduces anterior-posterior rocking.
- Disadvantages: Requires more vertical space, usually about 12 mm, adds more expense to restoration, adds more appointments. (Figure 7)

Figure 7
D. Evaluation Process
1. What is needed to support facial esthetics and lip support? If the patient has lost a significant amount of bone, the restoration will require a denture flange to provide support for the lip and facial esthetics.
2. What is the available vertical clearance? One of the most important evaluations to make is how much vertical clearance is available. This will affect surgical choices as well as restorative options, so it is essential to collect and analyze this information before working up a treatment plan.
3. Evaluation of the smile line will determine if you need pink tissue built into the restoration, or whether you will need to prescribe a bone reduction as part of the surgical procedures.Tools to use in evaluating treatment directions and instructions for the lab to use in fabricating prosthetics.
Bite Blocks
Start with bite blocks, making sure that each arch bite block is the thickness required of the desired prostheses, plus 1.5 mm thickness per arch. If you are not planning on opening vertical, you can also use an existing denture or a duplicate of that denture, but always do a reline impression. Ask the lab to add 2 centrals to the bite-block, in the approximate place where they may go. You can use those to establish actual incisal edge positions and occlusal plane.
Important: Mark the bite block with mid-line and the smile line in order to facilitate a more accurate tooth set-up.
Wax-Up Try-In With Teeth
1. Measure what effect the flange of the denture set-up has on the lips. Is the flange of the denture adding necessary lip support?
2. Where is the tissue display within the smile? Check to see If the transition from the restoration to natural tissue is within the smile line. Adjust set-up to fit in the smile.
Measure the Thickness of the Wax Set-up
Take measurements of the wax set-up from several perspectives. You will want to know the thickness in the approximate position of where you would like to place the implants. Measure a couple of posterior positions on the right and left, and at least two in the anterior quadrant as well. Measure the thickness from the center of the position of the proposed implant to the buccal and lingual surfaces of the wax set-up and the occlusal space from the surface of the implant to opposing occlusion. Refer to the “Implant Prosthetic Dimensional Requirement Chart” below for appropriate measurements.
E. Surgical Options
If there is not sufficient vertical space, and if the patient cannot be opened in order to accommodate the prosthetic appliances, surgical options must be considered and presented.
Surgical options may include:
- Bone Reduction
- Zygomatic implants
- Sinus Lift
- Bone grafting
- Where to place implants in order to accommodate AP spread for the desired prosthetic.
Implant Prosthetic Dimensional Requirement Chart – Wall Thickness
Occ. Clearance
Tissue to Opposing
Buccal Lingual Width
From Center Screw Hole
Bucacal & Lingual
Width
PFM Hybrid
Zirconia Hybrids
Smart Composite Hybrid
Conventional Hybrid
Denture over Hader Bar
Denture over Locator Bar
Denture with Locators Direct to Implants
7 mm
8 mm
10 mm
11 mm
11 mm
12 mm
10 mm
8 mm
10 mm
9 mm
9 mm
11 mm
11 mm
10 mm
2.5 mm
3 mm
3 mm
3 mm
4 mm
4 mm
3 mm
NOTE: Be aware that if the draw of the final implant placement requires the use of multi-abutments, then you will lose 3 mm in your final thickness around the abutments.
In Summary
It is important to remember that while this article is focused on a removable option for an implant-facilitated treatment of the edentulous patient, the diagnostic steps are what should be a major driving factor in which treatment modality is best for each case. If you let the diagnostic facts determine your prosthetic choices you can increase the predictability and profitability of your implant-supported edentulous cases.
When your choice is logically and clinically driven to a removable prosthetic facilitated by implants, you can deliver a cost-effective prosthetic that will be easily serviceable, and that will provide the patient with the facial esthetics and meet their functional needs for years.
Burbank Dental Lab can be a powerful partner in creating successful outcomes for your implant restorations. We offer free evaluation and pre-treatment consults for all of your cases. Call us today to discuss an upcoming dental implant restoration case.


