




How Design Decisions at the Abutment Level Determine Long-Term Restorative Success
Most implant complications discussed in clinical literature focus on surgical failures such as osseointegration, bone loss, or infection. But a significant share of the problems dentists encounter after delivery are restorative in origin, and many trace directly back to the abutment.
Retained cement causing peri-implant inflammation. A crown that seats poorly due to an overcontoured abutment emergence profile. Soft tissue that never stabilized because the transmucosal profile wasn’t designed to support it. These are not surgical failures — they are design failures that occur in the lab phase, before the patient ever returns for delivery.
These are not surgical failures.

“These are not surgical failures.
They are design failures that occur in the lab phase — before the patient ever returns for delivery”
For general dentists and implant-restoring dentists, understanding what separates a well-designed abutment from a problematic one is no longer optional. As implant volume grows in general practice, so does exposure to these downstream complications. This article explains what custom implant abutments are, when they are clinically indicated, why the design decisions made during the lab phase matter, and how a structured digital workflow reduces variability from scan to seating.

What Is The Significance of a Custom Implant Abutment
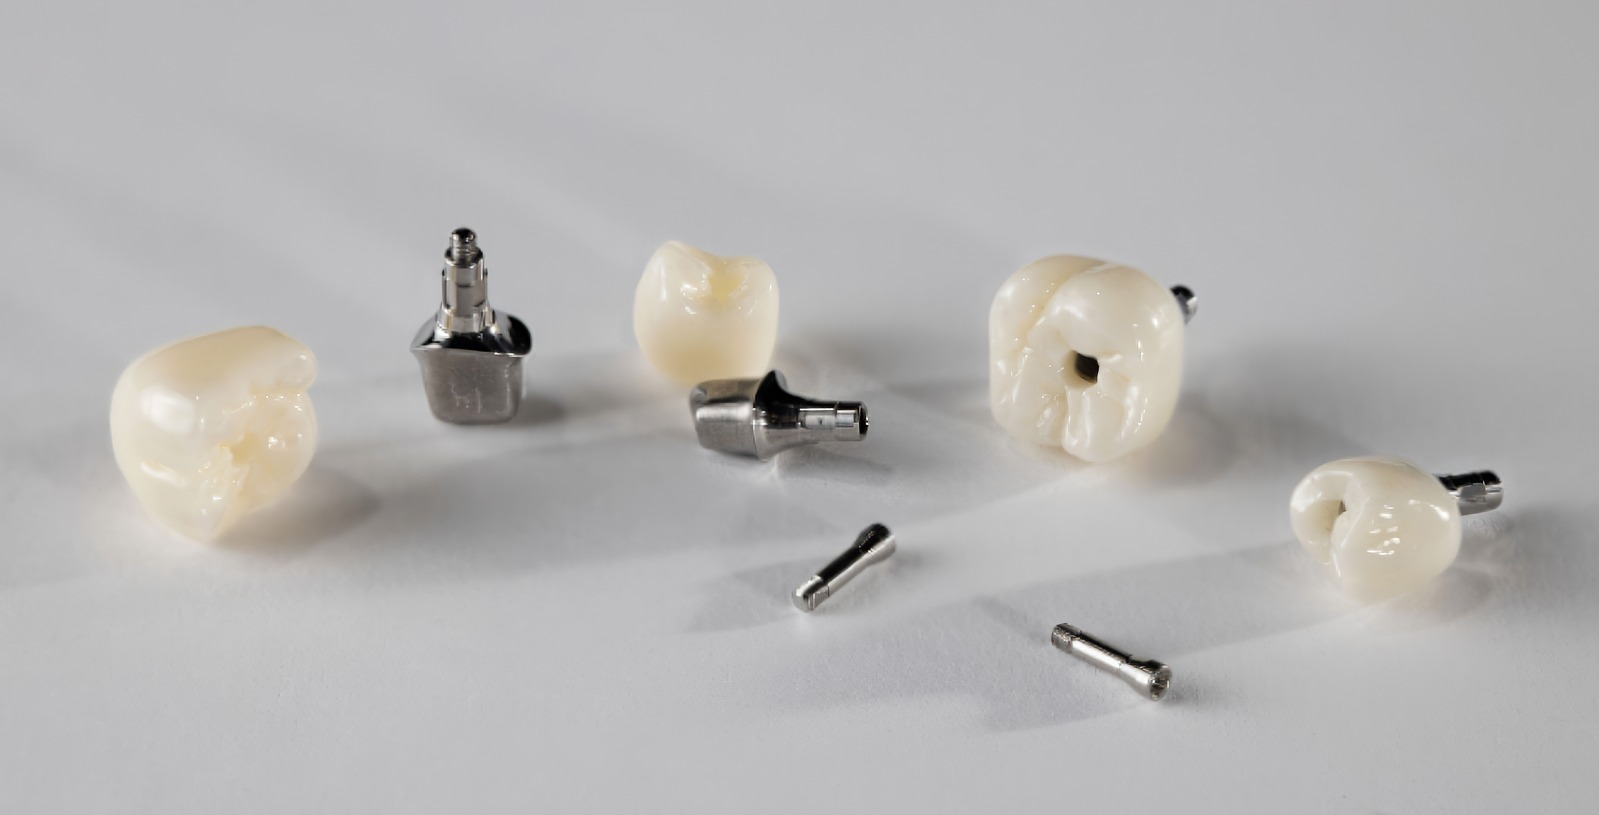
A custom implant abutment is a patient-specific prosthetic component, designed digitally for an individual case, that connects a dental implant to the final crown or restoration.
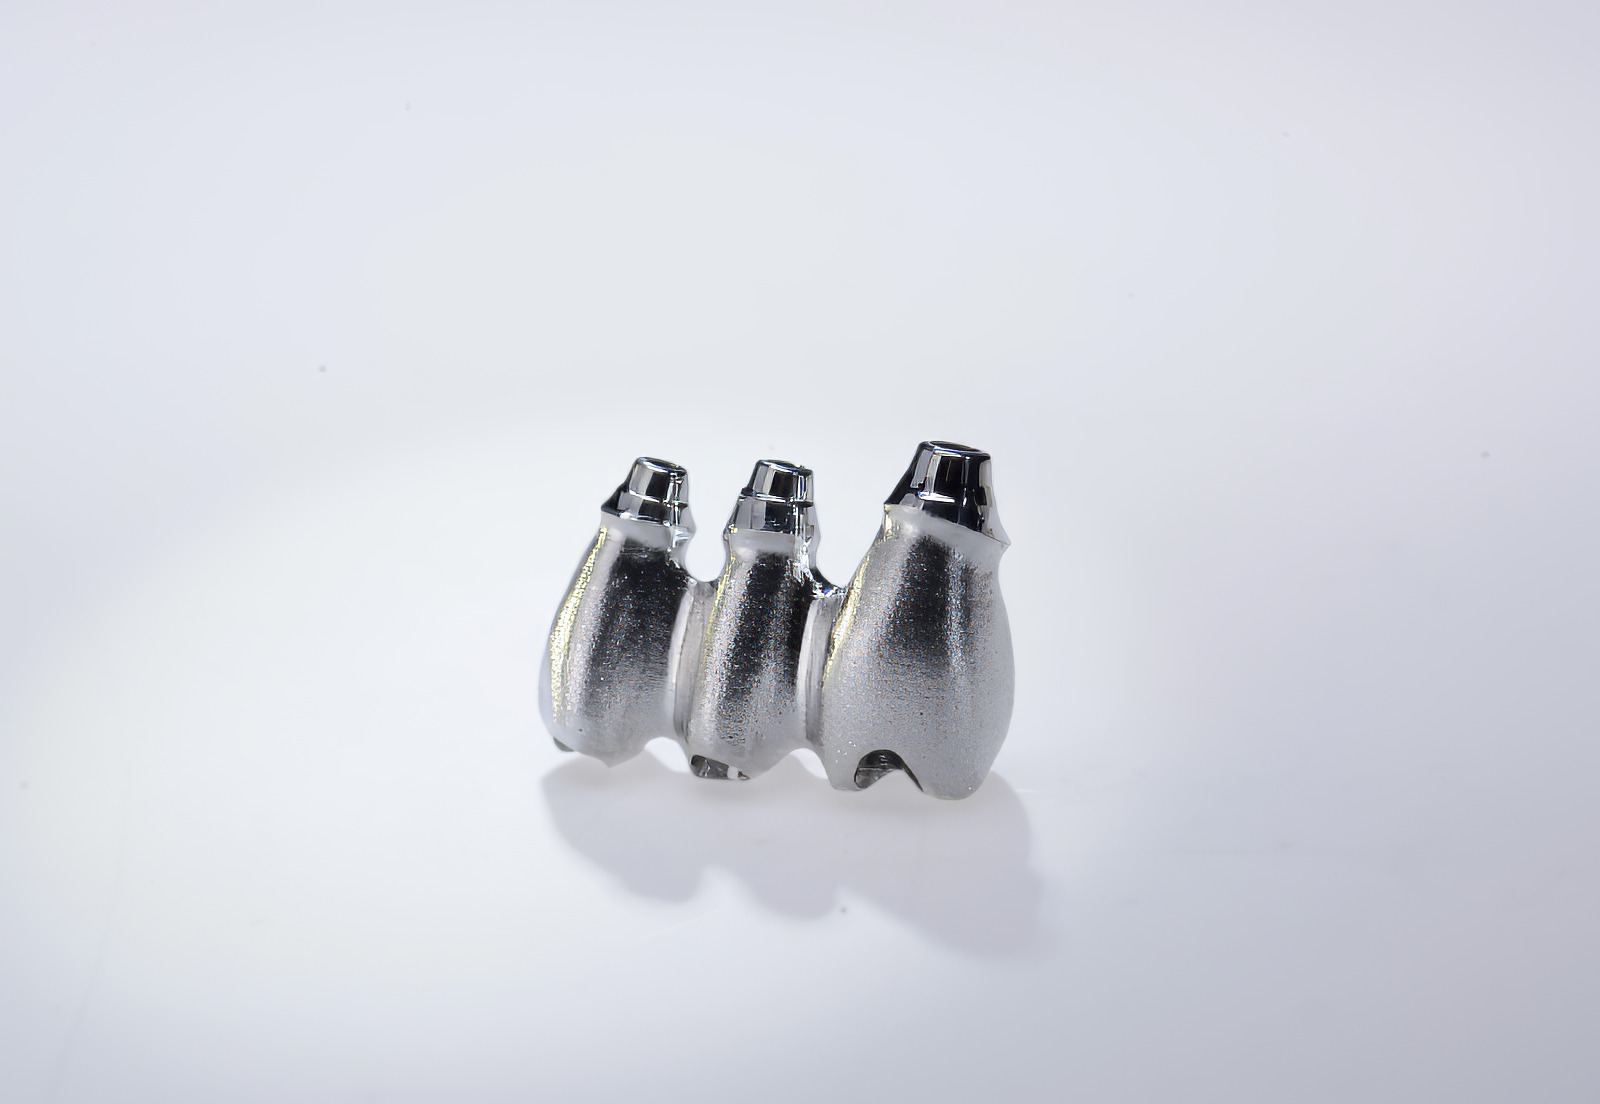
Unlike stock abutments, which are manufactured in fixed shapes and sizes and selected from a catalog, custom abutments are created using the patient’s actual implant position, tissue architecture, and restorative requirements as inputs. The design is produced through a CAD/CAM workflow, milled from materials such as titanium or zirconia, and fabricated to specifications defined for that specific case.
The result is an abutment with an emergence profile, margin depth, and path of insertion that are intentionally chosen rather than adapted from a prefabricated form.
Custom implant abutments are used when precise control over tissue contours, margin placement, and restoration angulation is required, particularly in esthetic zones, cases with angulated implants, or situations where subgingival cement control is a concern.
Custom vs. Stock Abutments: Choosing the Right Level of Control
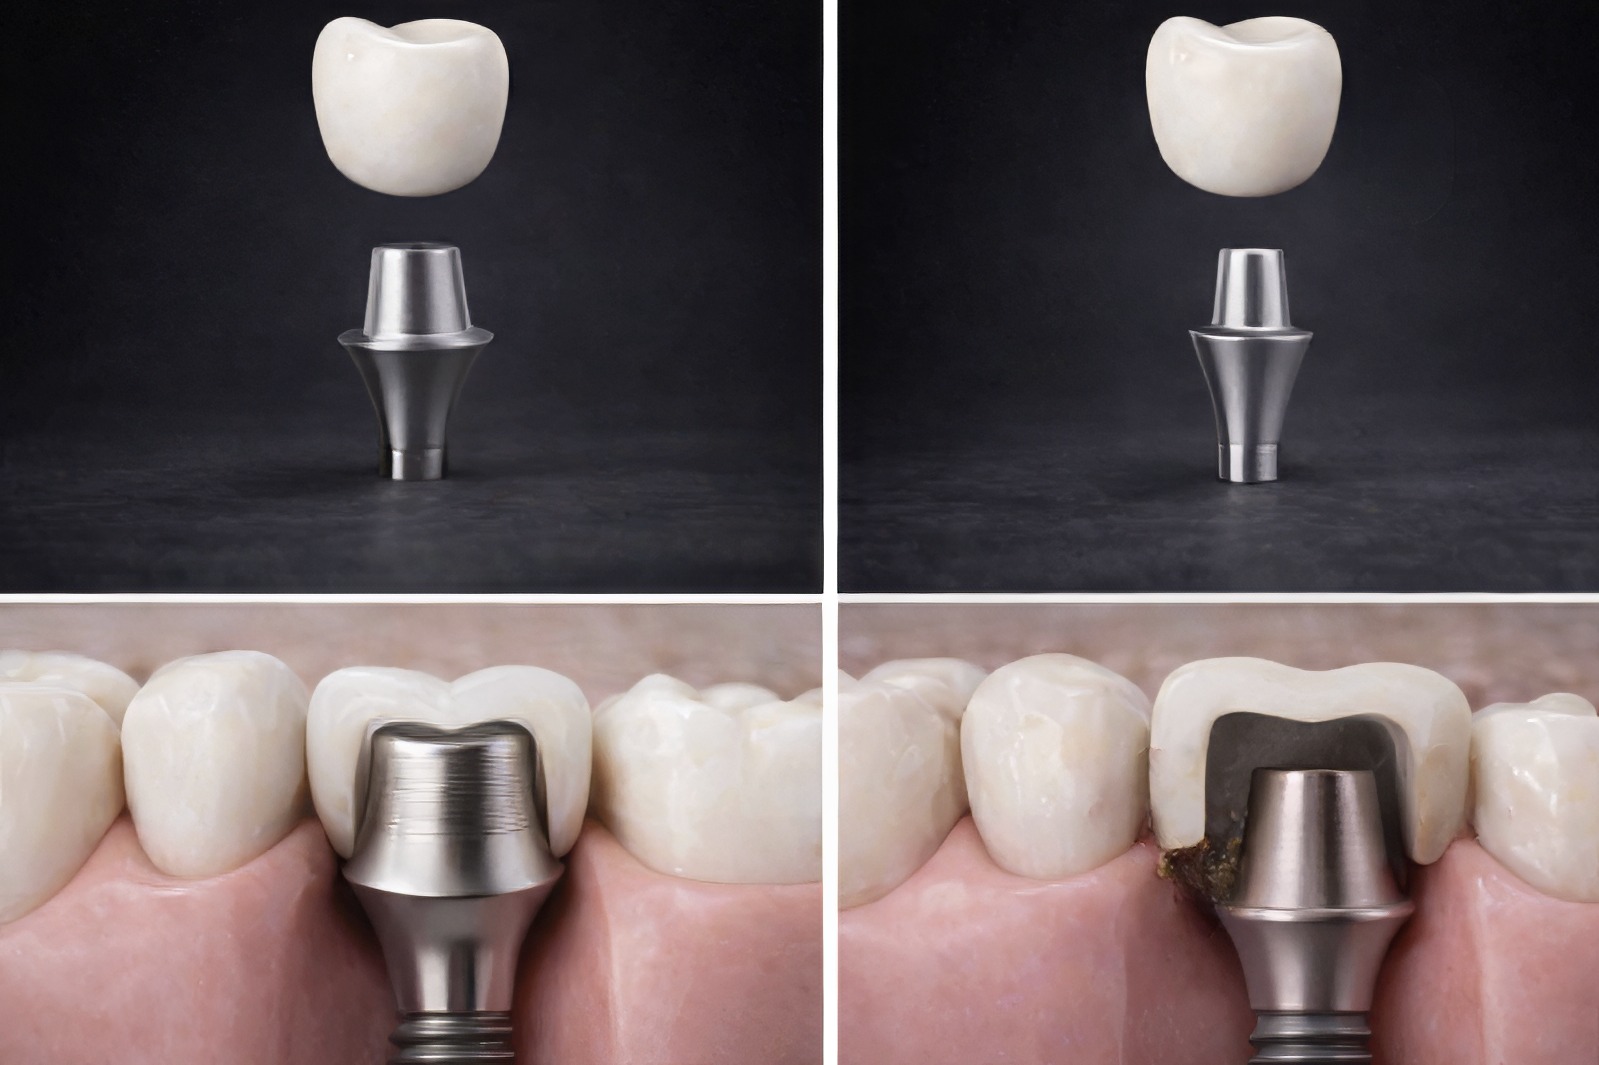
The question clinicians face is not whether custom abutments are better in an absolute sense, but whether the case demands the level of control that only a custom component can provide.
When Stock Abutments Are Appropriate
Stock abutments are prefabricated and available in standardized configurations. They can be appropriate when the implant is ideally positioned with minimal angulation, the tissue architecture is straightforward, the restoration is in a non-esthetic area, and margin placement at or near the tissue crest is clinically acceptable.
In these situations, a stock abutment selected carefully from the available options can deliver a functional result without additional lab time or cost.
FREE TO DOWNLOAD – SUCCESS GUIDES

DOWNLOAD A GUIDE
When Custom Abutments Are Clinically Indicated
Custom abutments become indicated, not just preferable, when any of the following conditions are present:
The decision between custom and stock is a clinical one driven by the complexity of the case, not by budget or preference.
“The decision between custom and stock is a clinical one driven by the complexity of the case — not by budget or preference.”
Why Abutment Design Has Such a Large Impact on Outcomes
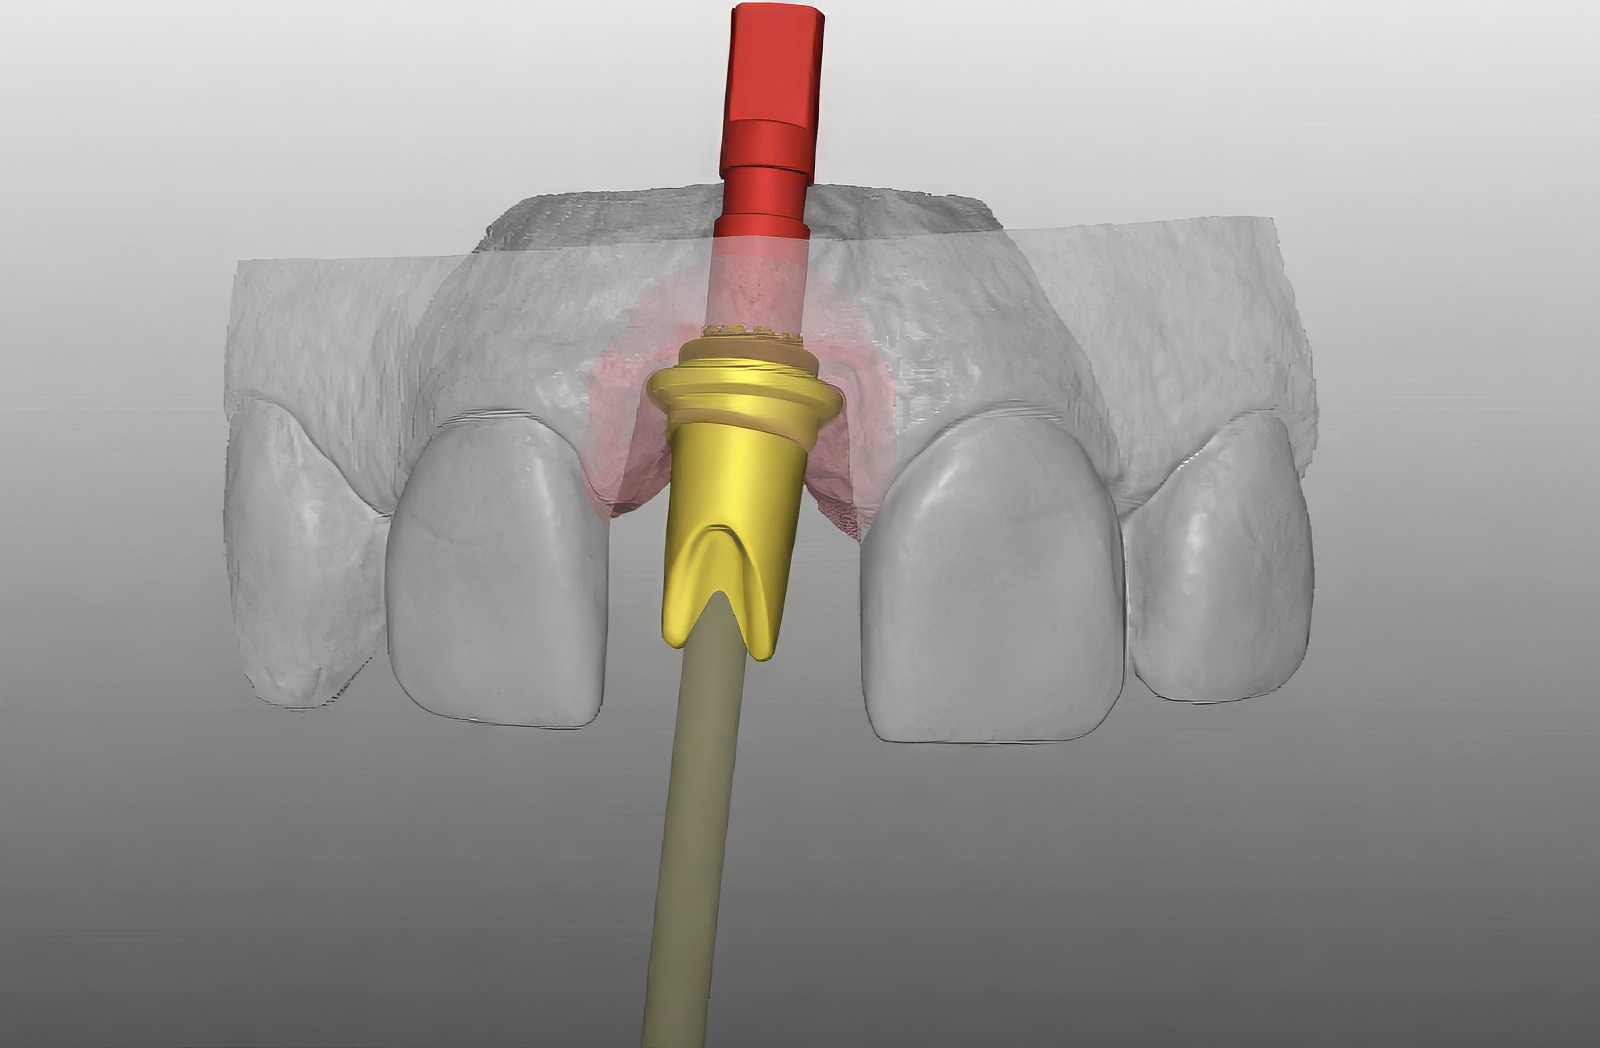
Emergence Profile: More Than an Esthetic Concern
The emergence profile describes the shape of the restoration as it transitions from the implant platform through the soft tissue to the visible crown contour. A poorly designed emergence profile creates problems that are difficult to correct after the restoration is delivered.
Over-contoured profiles displace tissue and can cause blanching, inflammation, and papilla loss over time. Under-contoured profiles create a concave emergence that traps plaque, is difficult to clean, and may lead to peri-implant soft tissue breakdown.
The correct profile supports tissue without over-compressing it, mimics the natural tooth form, and is accessible to the patient for hygiene maintenance.
Tissue Management: Designing the Architecture, Not Reacting to It
In implant dentistry, tissue management is most effective when it is part of the plan, not a chairside correction. A well-designed custom abutment with appropriate transmucosal form allows the lab to direct soft tissue healing toward a stable, maintainable contour.
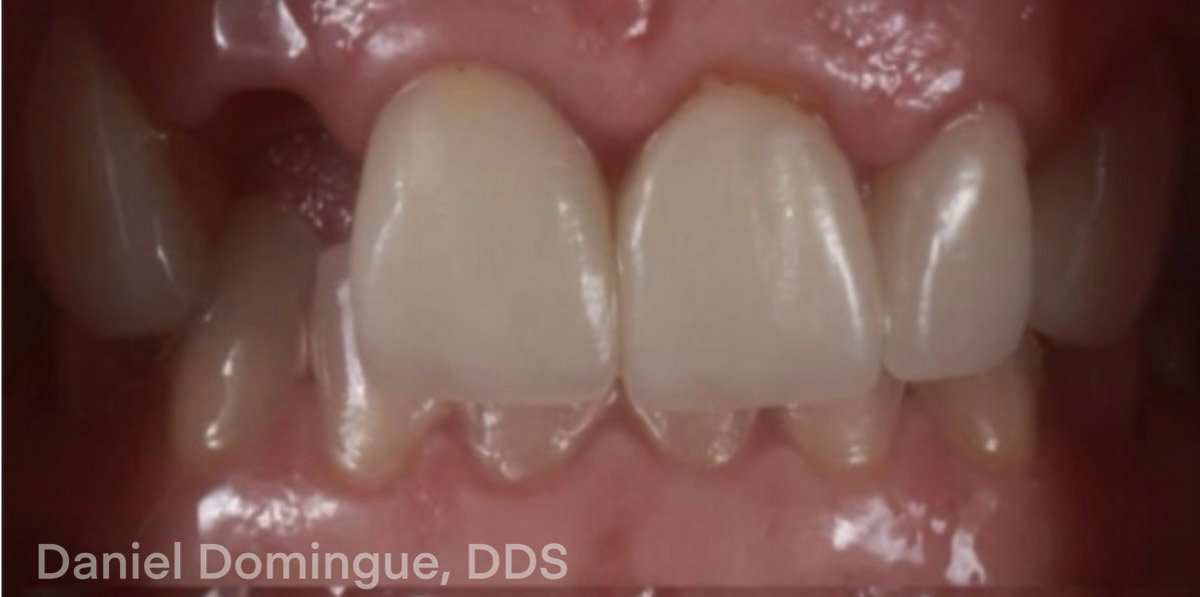
This is especially critical in anterior single-tooth restorations, where the gingival margin height and papilla symmetry are directly visible, and patient expectations are high. When the abutment emergence profile is designed with tissue architecture in mind, the soft tissue has a form to conform to. When it is not, the tissue responds to the shape it receives, which may or may not be favorable.
Margin Placement: The Single Biggest Driver of Cement Complications
Residual cement beneath the tissue margin is a recognized cause of peri-implant inflammation and bone loss. The depth at which the margin is placed determines how accessible the margin is for cement cleanup and how likely cement is to be retained.
Margins placed more than 1–1.5mm subgingivally are difficult to clean, regardless of technique. Custom abutments allow the restorative team and lab to define the margin depth based on the actual tissue crest, sulcus depth, and esthetic requirements for each case, rather than accepting the depth dictated by a stock component.
This intentional control of margin depth is one of the clearest clinical arguments for custom abutment design in cement-retained restorations.
Long-Term Stability and Hygiene Access
A restoration is only as maintainable as its design allows. Abutments that are over-contoured interproximally reduce access for floss and interdental brushes. Poor transmucosal profiles create areas where biofilm accumulates and cannot be disrupted by routine hygiene.
Well-designed abutments account for these access requirements as part of the design process, not as an afterthought. This supports long-term peri-implant tissue stability and reduces the clinical burden of maintenance visits over the life of the restoration.
The Digital Workflow Behind Modern Custom Abutments
Digital implant dentistry has made custom abutment fabrication more consistent and accessible. However, it has also made every step in the workflow more consequential. Errors that might once have been caught during the physical impression process now propagate directly into the design file.
Intraoral Scanning and Scan Body Accuracy
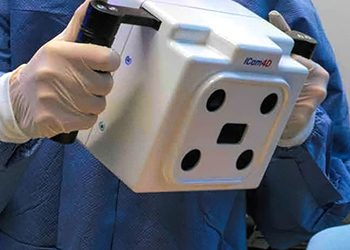
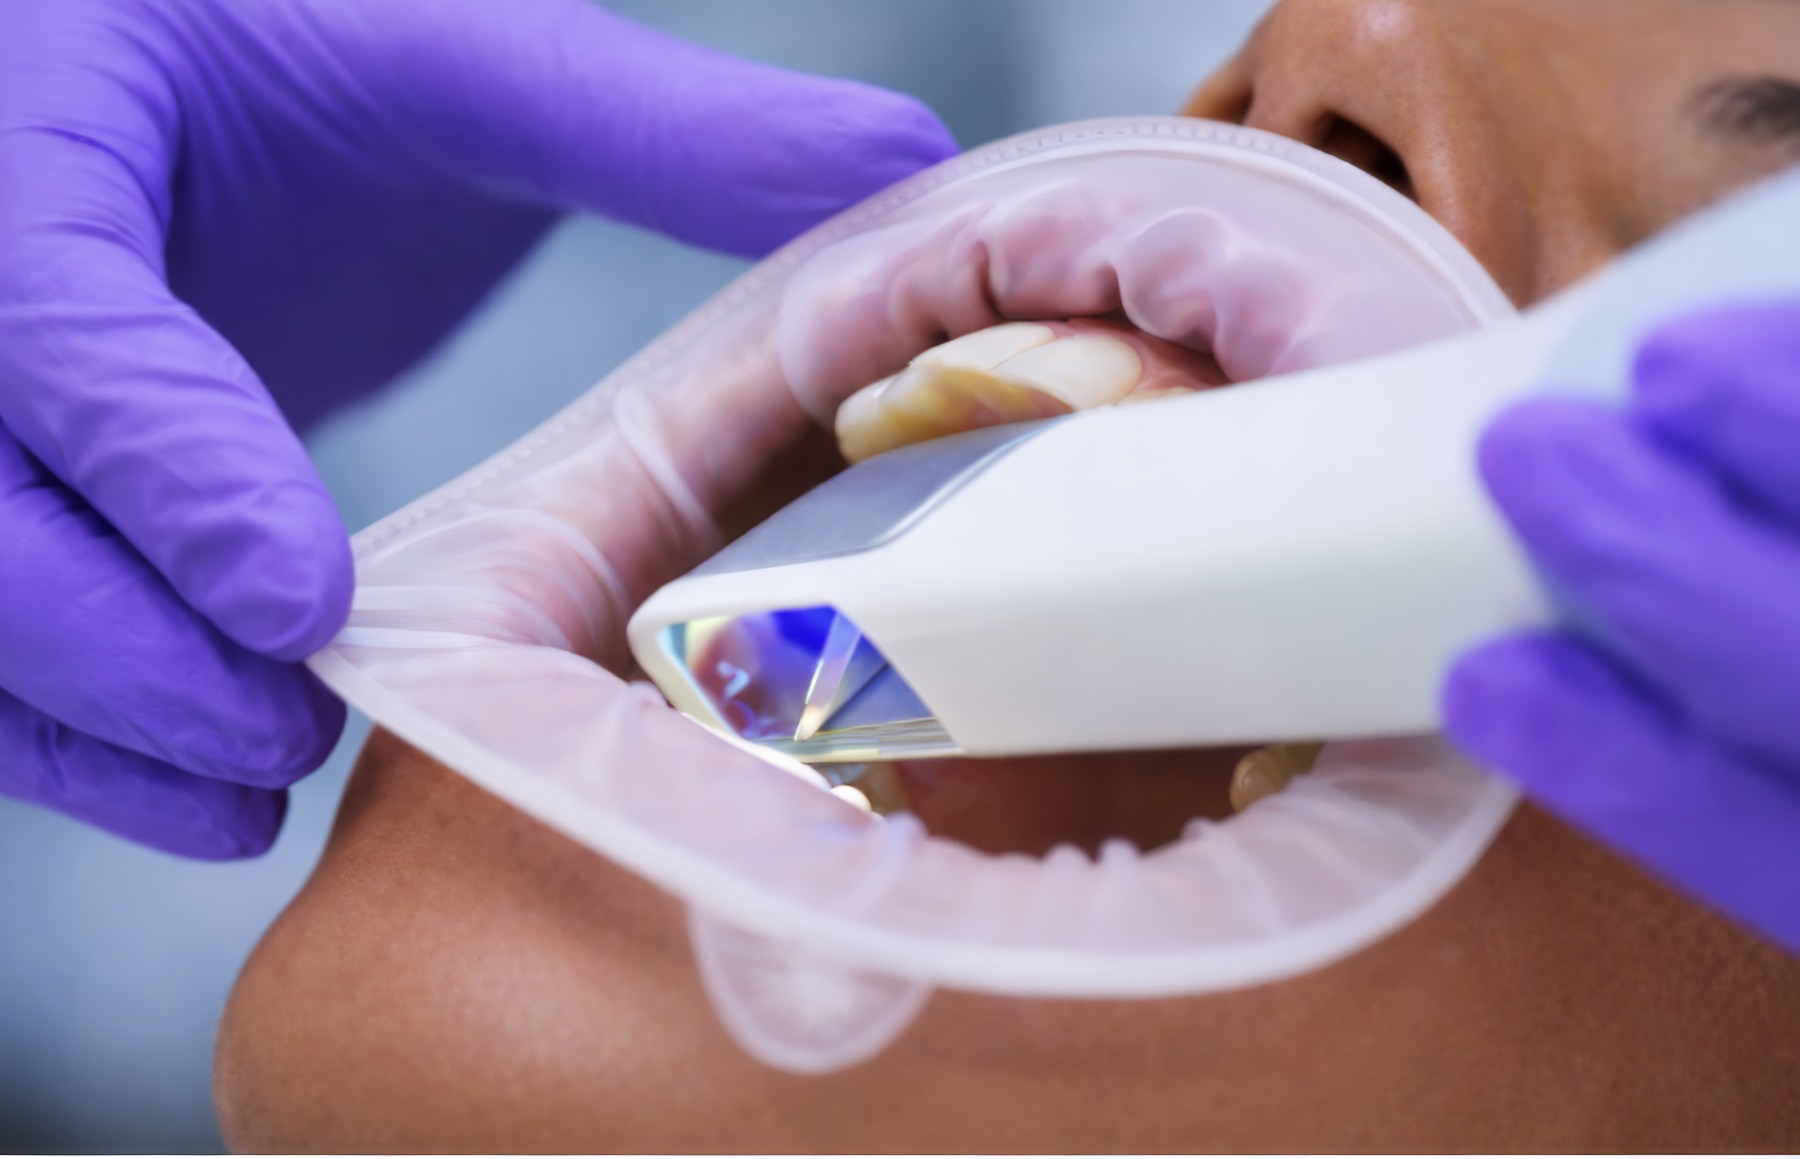
The workflow begins with an intraoral scan that captures the implant position using a scan body. The scan body is a precision component that, when fully seated on the implant and scanned, communicates the implant’s three-dimensional position and orientation to the CAD software.
The most common and consequential error at this stage is incomplete seating of the scan body. Even a small discrepancy, a fraction of a millimeter, translates directly into a misfit at the abutment-implant interface. This is not a problem that the lab can detect or correct; it is present in the data before the design begins.
Protocols that verify scan body seating with a periapical radiograph, particularly in posterior sites where visual confirmation is difficult, add a meaningful check at this critical step.
CAD Design: Where Abutment Decisions Are Made
Once the scan data is received, the lab designs the abutment in CAD software. This is the phase in which the emergence profile, margin depth, path of insertion, interproximal contours, and transmucosal height are all defined.
This is also the phase that is most invisible to the clinician and has the greatest influence on the final outcome. A lab that applies consistent, evidence-informed design principles during this phase produces abutments that are more predictable across cases. A lab that designs reactively, without a structured framework, introduces variability that often manifests as chairside adjustments, soft-tissue problems, or remake requests.
The scan body reference number is a critical piece of information that must be included with every implant case submission. Without it, the lab cannot confirm the implant interface geometry, and the case cannot proceed. This is one of the most common reasons implant cases are placed on hold, and it is entirely preventable with a consistent case submission protocol.
CAM Fabrication
Following design approval or in accordance with established design protocols, the abutment is milled using CAM equipment. Milling from a validated digital file produces components with consistent geometry that cannot be reliably achieved by manually modifying stock components.
Titanium-base abutments where a milled zirconia or PEEK structure bonds to a prefabricated titanium interface combine the biologic advantages of titanium at the implant connection with the esthetic and customization benefits of tooth-colored materials in the transmucosal region.
Dental Lab Communication as a Clinical Variable
The quality of information transferred from the clinician to the dental lab directly determines what the lab can produce. Ambiguous or incomplete case notes result in assumptions, and assumptions in abutment design introduce the same variability that custom components are intended to eliminate.
A complete case submission for an implant restoration should include the implant brand and system, implant diameter and platform size, scan body brand and reference number, tissue depth and biotype notes, restoration type and material, and any specific esthetic or functional requirements.
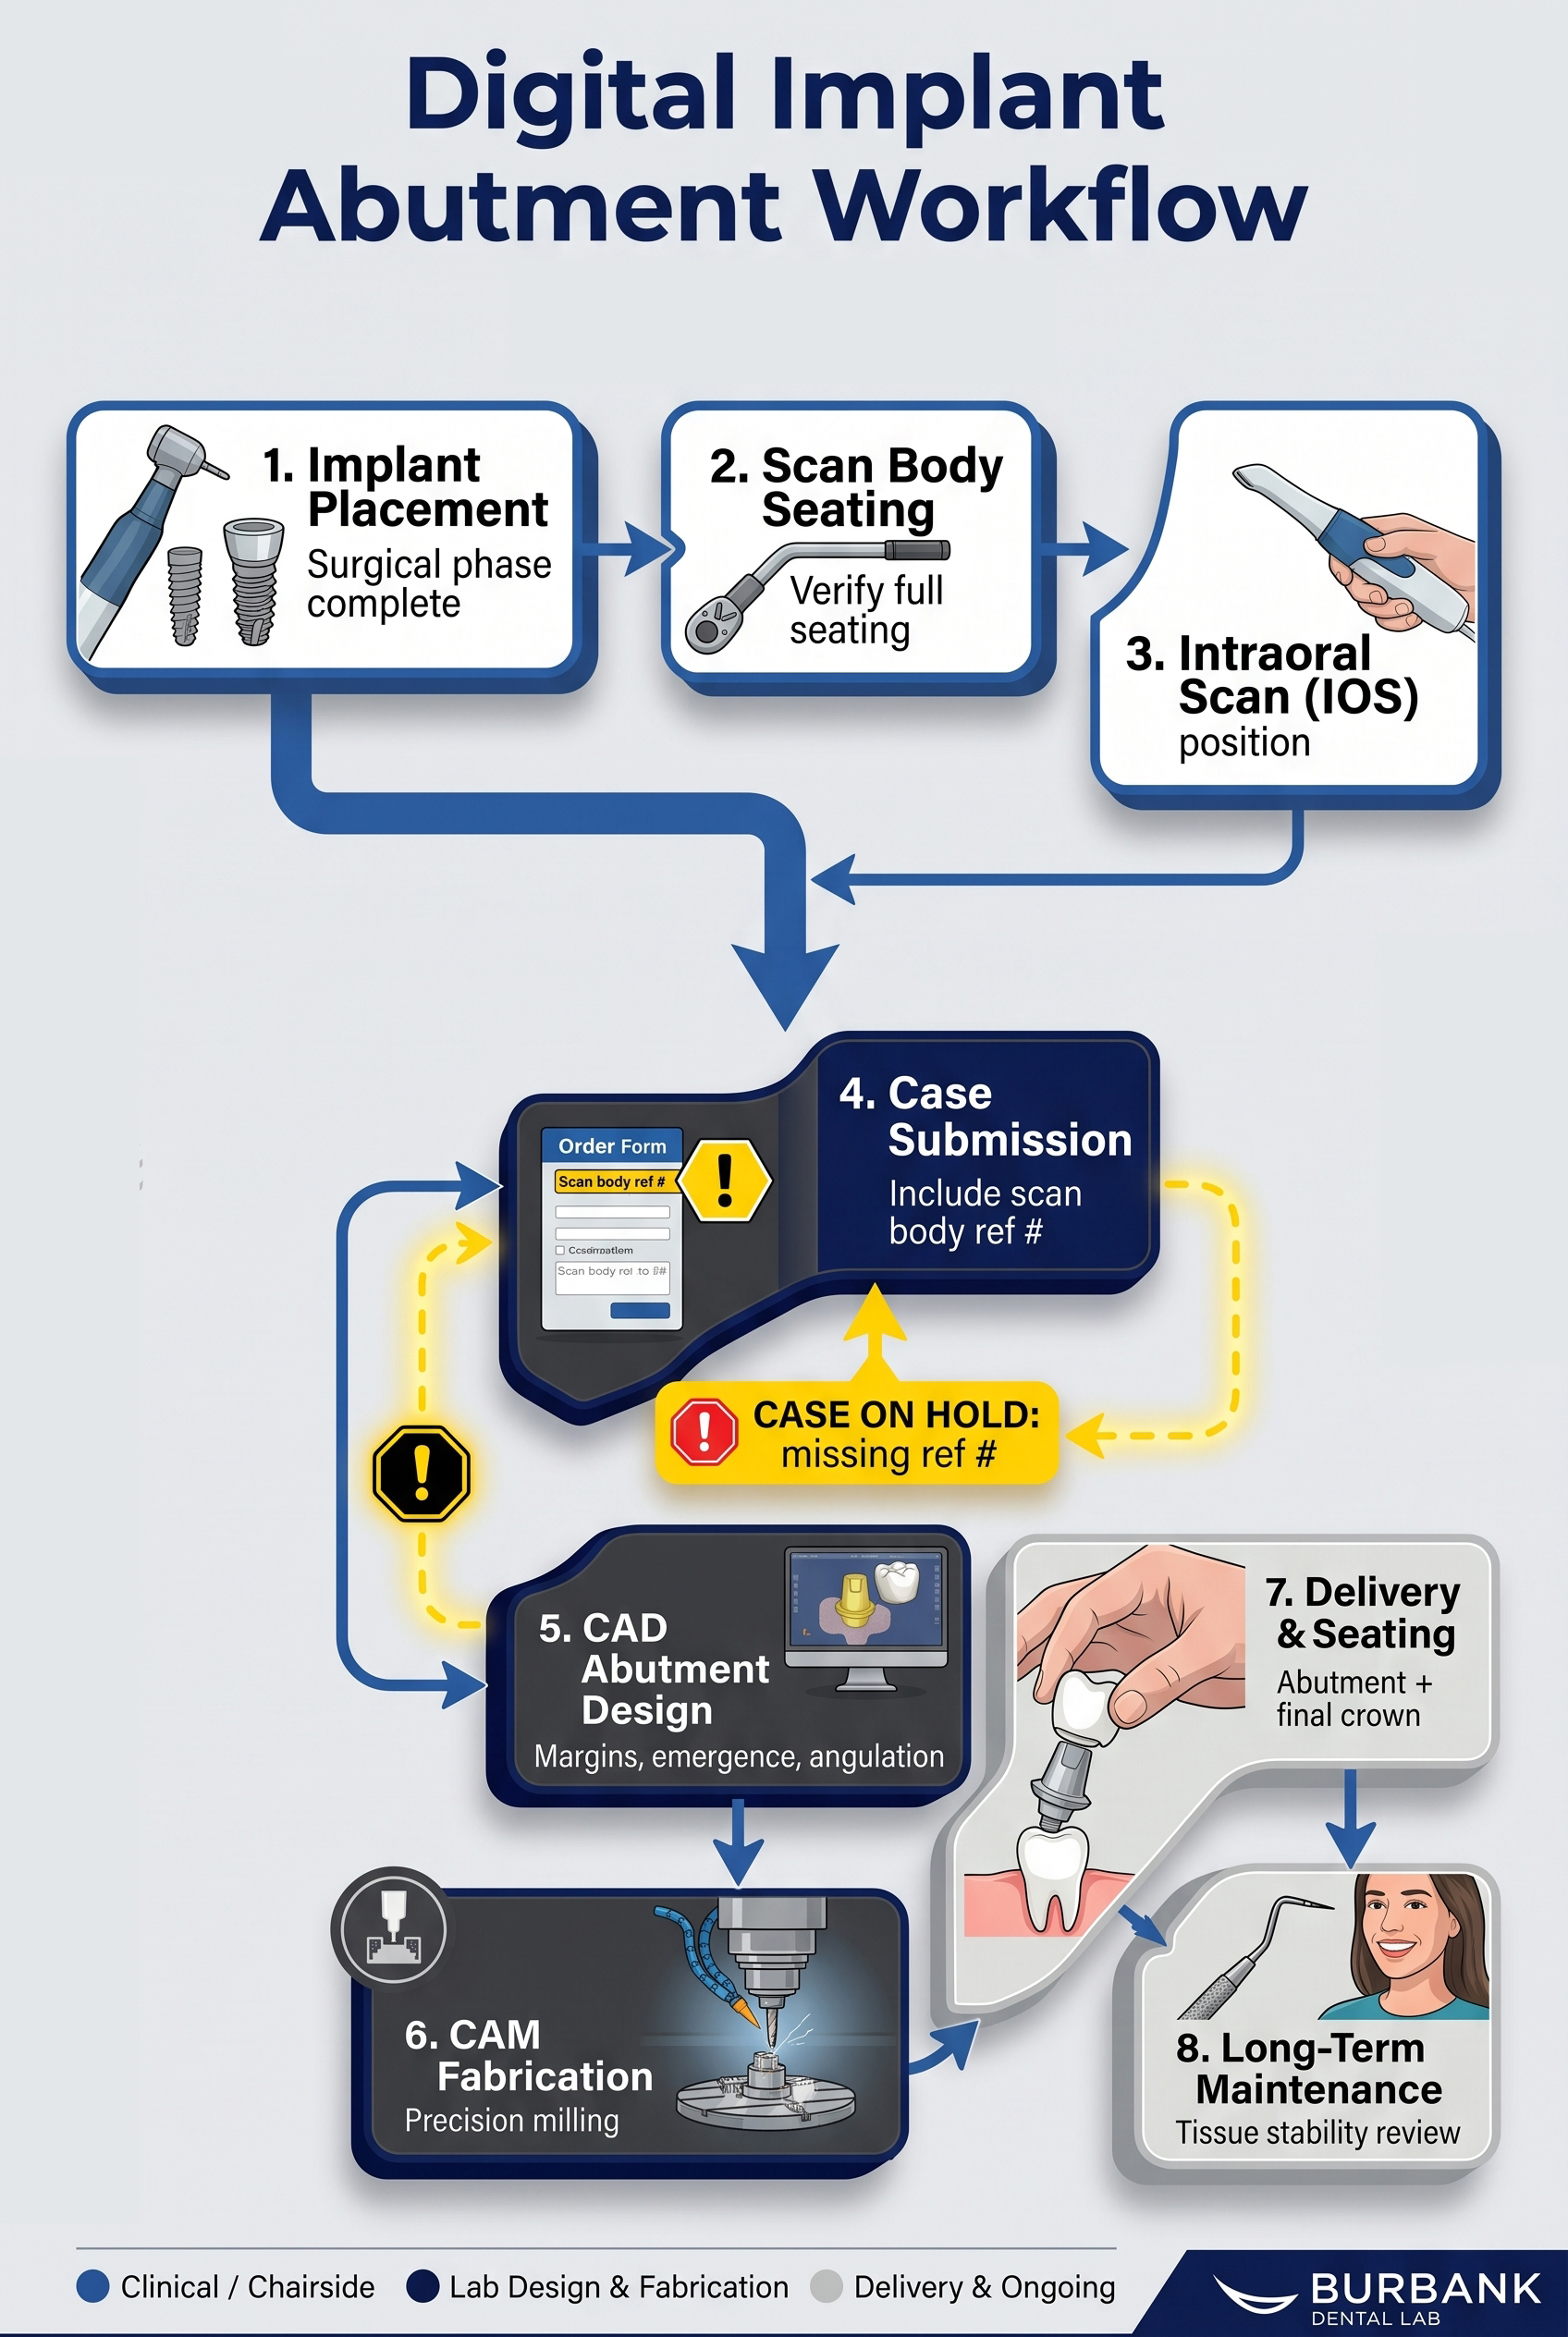
“Errors that might once have been caught during the physical impression process now propagate directly into the design file.”

Where SMART 1 Implant Abutments Fit in the Workflow
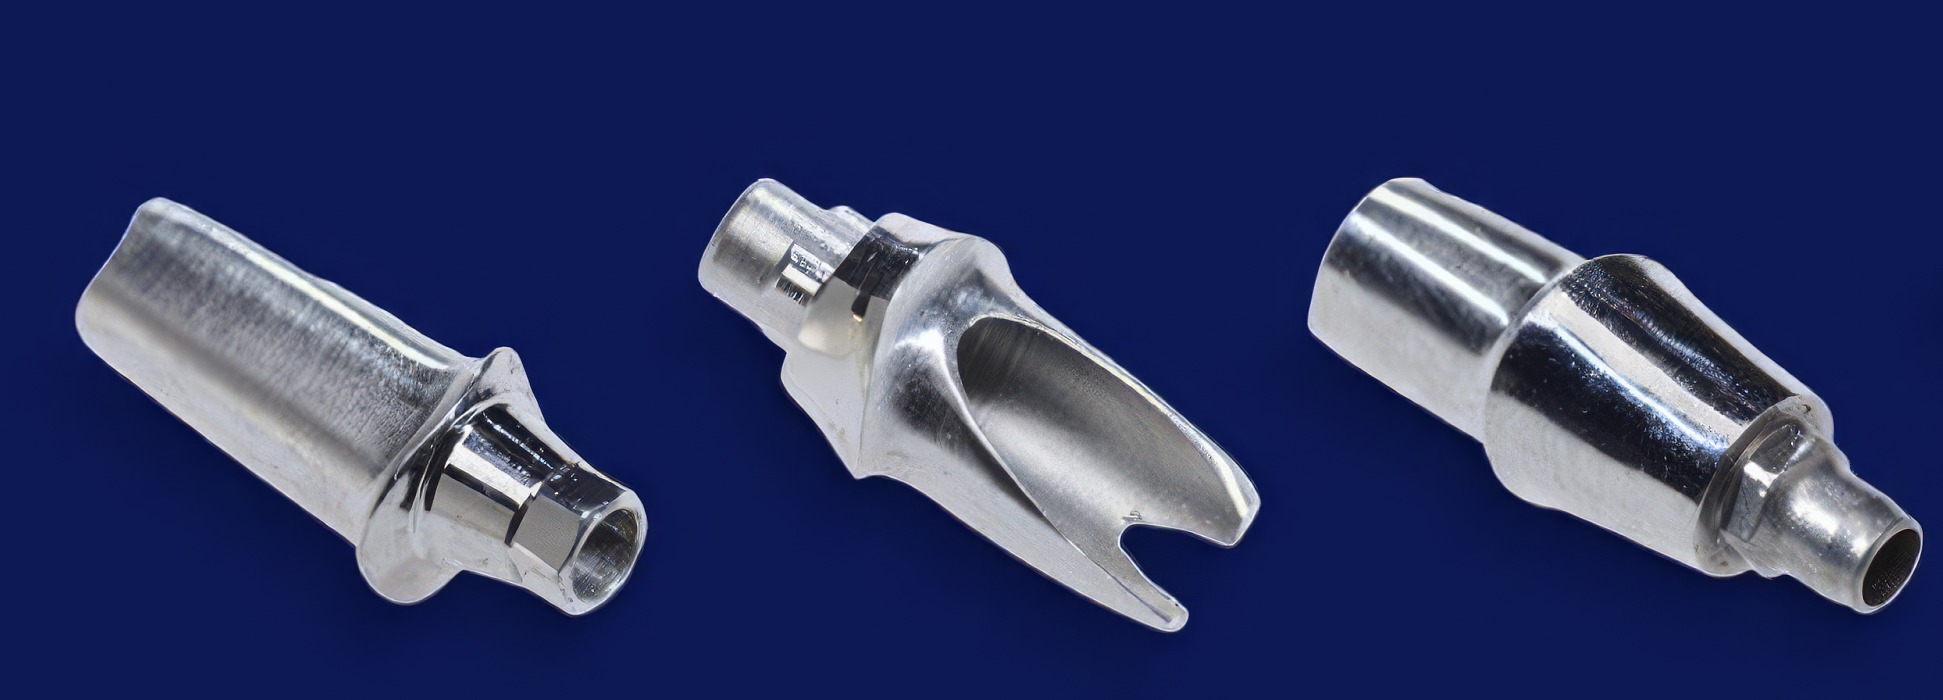
SMART 1 Implant Abutments is Burbank Dental Lab’s proprietary system for designing custom implant abutments. It was developed in response to patterns observed across a large volume of implant cases, specifically recurring inconsistencies in margin placement, emergence profile design, and the completeness of information exchanged between clinicians and the lab.
Rather than approaching each case without a defined framework, SMART 1 applies structured design principles to every custom abutment produced within the lab’s digital workflow. These principles address margin positioning relative to the tissue crest, transmucosal profile development, and design parameters that support cement control and tissue stability.
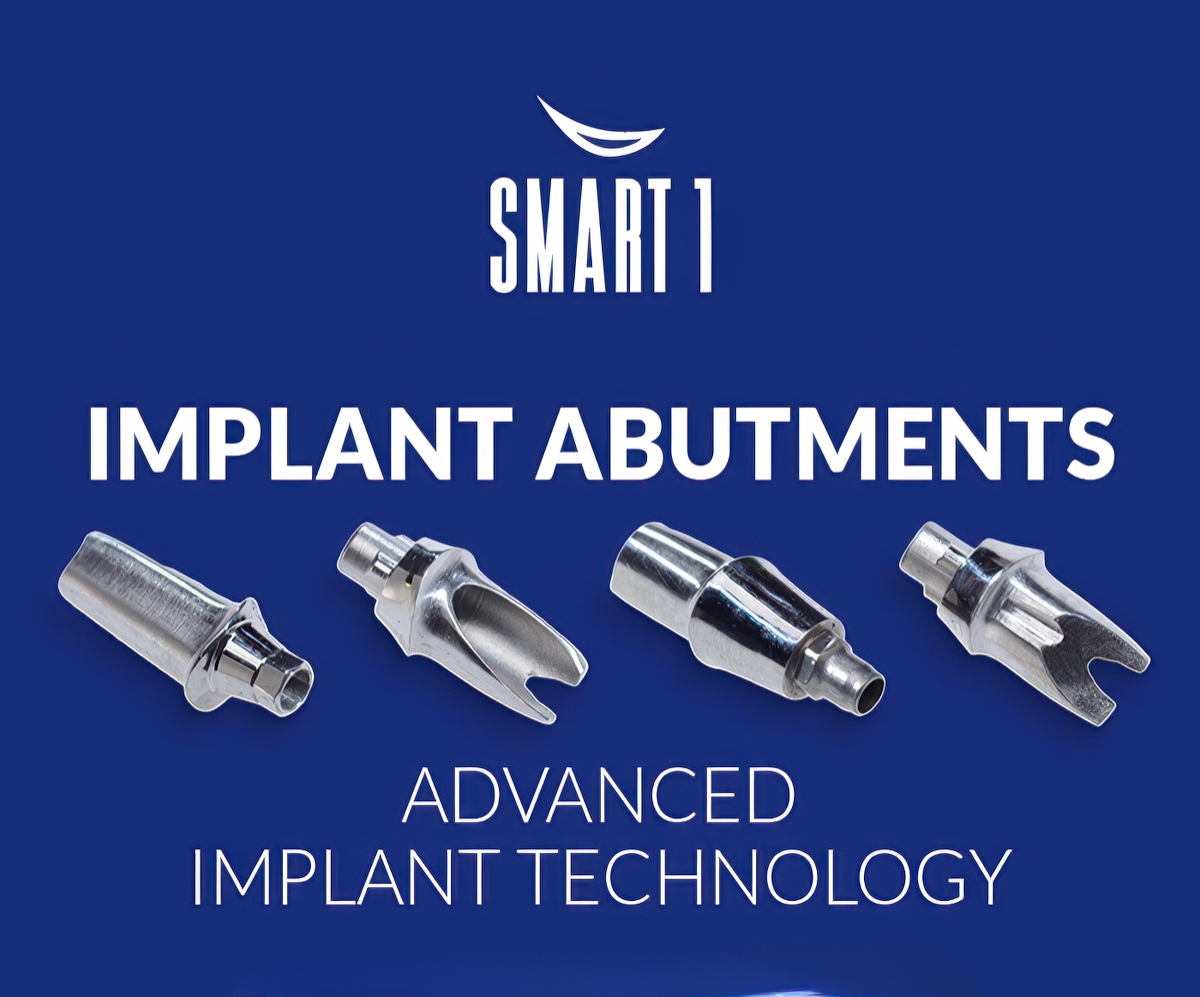
SMART 1 is a structured approach to reducing the variability that comes from designing each case in isolation. When design decisions follow consistent, validated principles, outcomes across cases become more predictable, and that predictability allows a restorative practice to scale implant volume without scaling complication rates.
For clinicians, the practical effect is fewer delivery-day surprises: abutments that seat as expected, margins where intended, and tissue contours that reflect the plan.
Clinical Benefits for Restorative Dentists
Best Practices at the Seating Appointment
Most of this article concerns decisions made before delivery, in the scan, the design, and the fabrication. But the seating appointment is where that work is either confirmed or quietly compromised, and a few disciplined chairside habits catch the problems that digital accuracy alone cannot prevent.
Confirm scan body seating radiographically, every time. This step belongs earlier in the workflow, but it bears repeating because it is the single most consequential and most overlooked verification in the process. After the scan body is placed, take a periapical radiograph to confirm it is fully and passively seated on the implant, particularly in posterior sites where direct visual confirmation is unreliable. A scan body that is seated even a fraction of a millimeter short transmits a false implant position to the CAD software, and that error is built into the abutment before design begins. No amount of lab precision recovers a bad scan.
Verify abutment seating with a radiograph before final torque or cementation. When the custom abutment is placed, take a periapical radiograph of the abutment and implant together before torquing to final value or cementing the crown. This confirms the abutment is fully seated on the implant platform with no gap at the interface and no soft tissue, cement, or debris trapped at the connection. An incomplete abutment-implant interface is not always detectable by feel or by the seating “click,” yet it compromises the connection mechanically and creates a microgap that predisposes to inflammation and screw loosening. A single radiograph resolves the question before it becomes a delivered problem.
Be prepared to relieve tissue to allow the ideal emergence profile to seat. A custom abutment designed to support or shape the peri-implant tissue may present an emergence contour broader than the healed tissue was conditioned to accept. When this happens, the tissue resists, blanches, and can prevent the abutment or restoration from seating completely. Rather than forcing the component or accepting an under-seated result, be comfortable placing a small relief incision on the lingual or palatal aspect. This site is chosen deliberately: it carries no esthetic consequence and heals predictably, while allowing the designed emergence profile to be fully expressed. Planning for this possibility, and having the instruments ready, keeps a well-designed abutment from being defeated by tissue that simply needs a moment to accommodate it.
Together, these three habits close the loop between the lab phase and the delivered outcome. The design controls what is possible; the seating appointment determines whether that design is actually realized in the mouth.
“No amount of lab precision
recovers a bad scan.”
Common Mistakes in Abutment Selection and Case Submission
Defaulting to stock abutments in cases that require customization. The convenience and lower cost of stock components can be appealing, but using them in cases with angulation challenges, thin tissue, or esthetic demands introduces compromises that are difficult to resolve after the restoration is delivered.
Placing margins too deep. Deep subgingival margins increase the risk of cement retention and make tissue-level inspection difficult at maintenance visits. Margin depth should be an intentional decision, not an outcome of whatever the stock component allows.
Incomplete scan body seating. This is among the most consequential errors in the digital workflow because it affects everything downstream. The resulting abutment misfit may not be visible until the restoration is seated — at which point a remake is typically required.
Submitting cases without the scan body reference number. Without this, the lab cannot confirm the implant interface geometry. The case is placed on hold. Including this information at submission is a straightforward step that eliminates a common and avoidable delay.
Failing to communicate tissue conditions. The tissue depth and biotype directly influence where margins should be placed and how the transmucosal profile should be shaped. Labs designed without this information make assumptions that may not reflect clinical reality.
What to Send the Dental Lab: A Practical Checklist
To support efficient fabrication and reduce the likelihood of case holds or remakes, include the following with every implant restoration:
Use a standardized case submission form whenever possible. Consistency in what you send produces consistency in what you receive.
“The final crown gets the attention.
The abutment does the work.”
Conclusion
Custom implant abutments, when designed within a structured digital workflow, provide the control needed to manage tissue contours, margin placement, and long-term tissue stability in ways that stock components cannot match in complex cases. The design decisions made during the lab phase — emergence profile, margin depth, transmucosal form — have a greater influence on the final outcome than most chairside adjustments can correct.
Burbank Dental Lab’s SMART 1 system applies consistent design principles to this process to reduce variability across cases and improve restorative predictability. For clinicians growing their implant practice, that consistency is the difference between outcomes that scale and outcomes that require constant intervention.
A well-designed abutment is not the most visible part of an implant restoration. It is the most consequential.
FAQ


 Previous Post: