


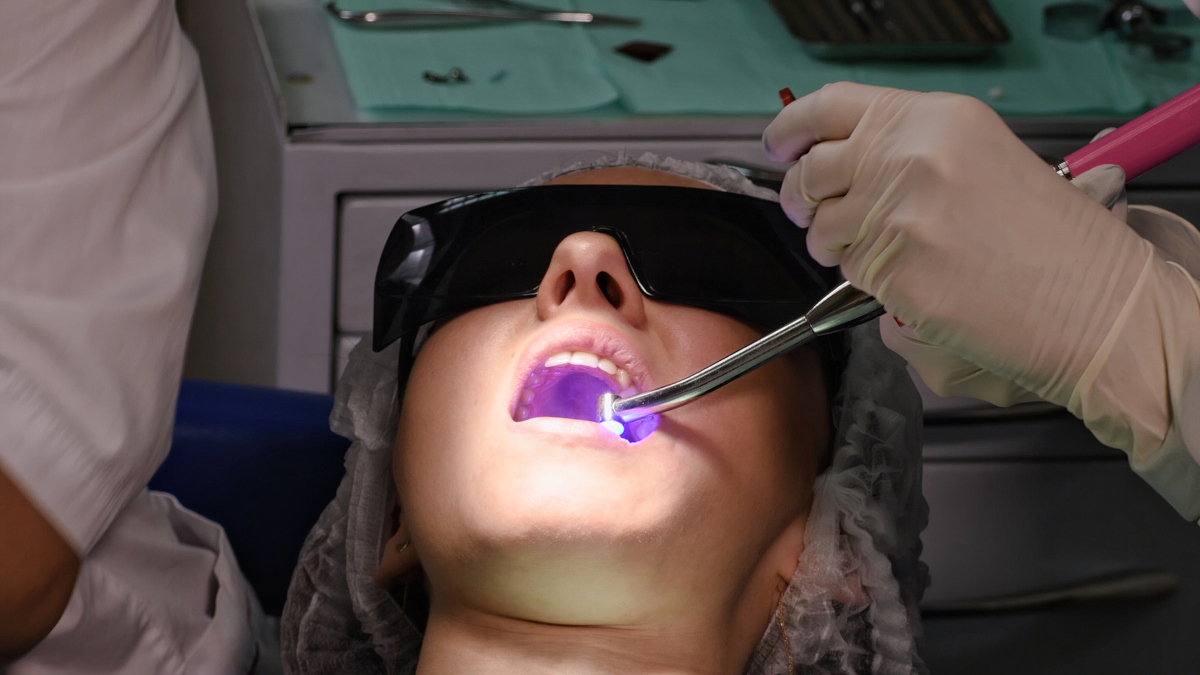


Bone quantity and quality are the most critical aspects to evaluate when determining where to place a dental implant. This plays a big role in determining proper positioning and is especially important when working in the anterior. In this area, also known as the esthetic zone, the esthetics of the final result is usually significantly more critical in terms of patient satisfaction. Treatment planning in these types of cases is essential to achieve a predictable satisfactory outcome.
“Guided surgery provides many advantages, including it creates predictable, safe, and efficient results.”
ANDREW SEDLER, COO
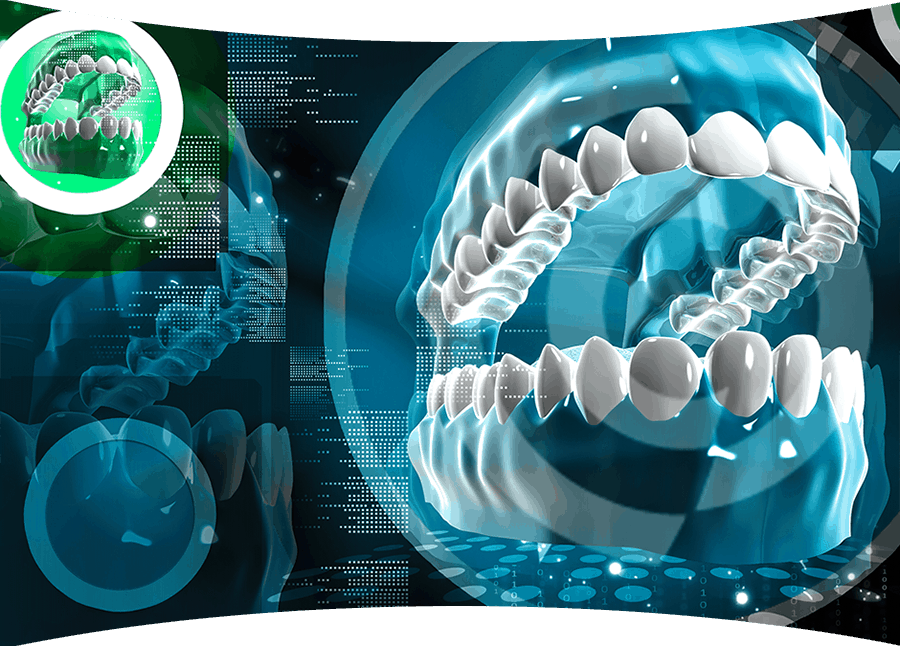
Dental Implant Workflow & Planning
In achieving optimal results, a plan must be created before beginning. When proper planning is not done, compromises are made.
Issues such as:
- Problems with angulation
- Poor choices in implant height
- A VDO that won’t support the desired restoration
- Implant positioning that creates challenges both functionally and esthetically
- Tissue issues that were not part of the surgical plans
Virtually all of these issues can be eliminated through planning. Advancements in CAD/CAM technology, along with diagnostic tools, offer improved outcomes. Successful dental implant procedures then begin with thorough treatment planning and the gathering of relevant information.
In achieving success, implant cases must be approached as prosthetically driven and not as one that is guided by the surgical placement. By defining restorative goals and evaluating the specific conditions of each implant case first, treatment progression can be a smooth, predictable process.
When the implant is not positioned to support the final prosthesis, compromises to the final restoration are almost always assured.
Diagnostic Wax-Up
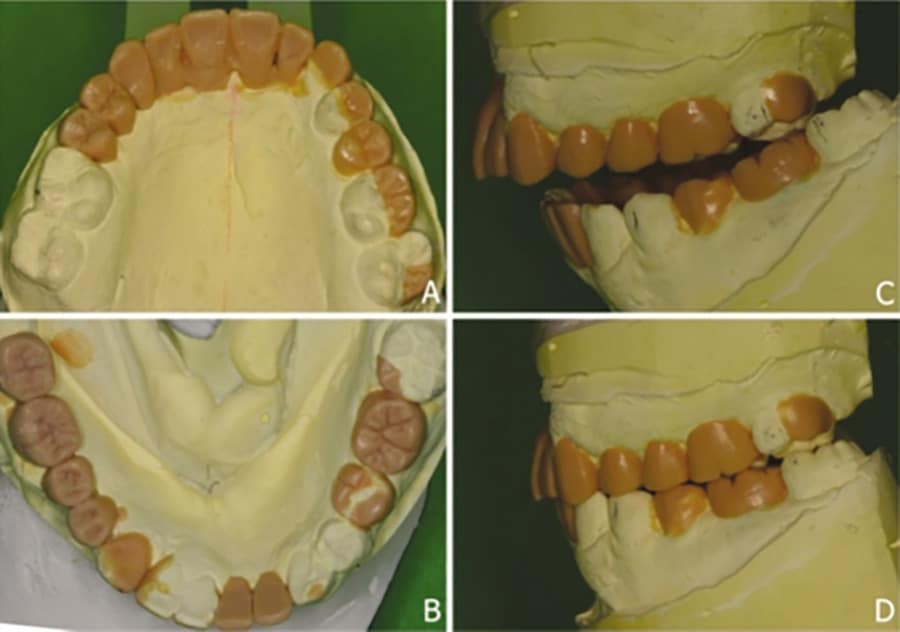
To begin an implant case properly, it is critical to start with a diagnostic wax-up to help relate the soft tissue with the restorative option and implant. This essential dental implant procedure step helps determine what is possible and gives the patient a visual to ensure their expectations are managed.
All too often, this step is undervalued, but through working on thousands of implant restorations, we at Burbank Dental Lab can attest to the importance of creating this foundational step.
The diagnostic dental wax-up will be the template for the guided surgery, the provisionals, and, ultimately, problem-free final restorations.
When designing the wax-up, the following items are considered:
- Tooth position
- Overjet and overbite
- Buccal corridor
- Smile line
- Tooth display
- OcclusionVertical opening
The wax-up will help determine what is possible and, perhaps more importantly, what is not through this process.
Utilization of the Diagnostic Wax-Up
Step 1:
Next, a clear suck-down tray is created to measure the vertical height to help determine the ideal position of the implant access hole. Once the suck-down is fabricated, make a hole where the access area should be, and then use a perio probe to measure.
Step 2:
Create an intraoral mock-up chairside before any surgical procedures. Use the following technique:
- Create a putty matrix or tray using the provided wax-up
- Fill the matrix or tray with dual-cure composite
- Place in the mouth over the appropriate site and cure
This step allows for the plan to be thoroughly evaluated and tested.
- The wax-up can then be used to create the CT scanning appliance. This further supports the final restorative option and helps guide the surgery to reach the outcome.
- Provisionals can also be fabricated from the wax-up to help during healing and ensure the patient’s expectation of the final restoration is met.
These steps in planning are critical in ensuring that implant cases meet the expectations of the clinician and the patient. Cases where these principles are implemented are by far the most successful.
Surgical Stent
Once the planning is complete and tested, the surgical guide stent becomes extremely important in the actual placement of the implant. This is one of the most critical tools in ensuring that all plans can be attained in the final restoration.
Burbank Dental Lab offers a wide selection of stents that will best fit individual needs.
Model-based surgical guides in dental can be fabricated with metal cylinders, radio-opaque acrylic, or gutta-percha.
These surgical stents are created from the diagnostic wax-up and thus will reflect the desired restorative outcome.
Guided surgery provides many advantages, including it creates predictable, safe, and efficient results.
In addition, Burbank Dental Lab also offers the following benefits:
- Custom healing caps to help shape the tissue creating an ideal emergence profile and papillae support
- Prefabricated provisionals that can be made available at the surgery
- Solid model verification from a pre-designed impression
- Precision guide rings inserted based on your surgical system
- FDA Approved printed resin
Guided surgery appliances are fabricated using Burbank Dental Labs’ digital printers from cone-beam computed tomography (CBCT) scans.
These are extremely precise and can be manufactured from several different workflows.
This includes the fabrication of guides from third-party providers. Then, all that is needed is an STL file of the designed guide.
Dental Implant Considerations
When all of the pertinent information is obtained and the plan is tested, the process of selecting the proper implant platform and implant placement is simplified.
For example, should an implant be placed more facially due to anatomic issues such as available bone, then a custom abutment, such as the Smart 1 Implant Abutments from Burbank Dental Lab, can be custom engineered to help correct the angulation.
This can be especially challenging in cases where screw-retained restorations are desired. In some instances, cement-retained restorations may be the only option, but when anatomically possible, the implants should be placed closer to the lingual wall to conceal the access hole.
In cases such as these where planning is critical to overall case success, it is essential to use planning and guidance to achieve predictable attainable outcomes.
The Burbank Dental Lab implant team is available to help guide the process from the first appointment, through surgery, and finally to a beautiful, functional restoration that will provide the patient with functionality and confidence for years to come.


