


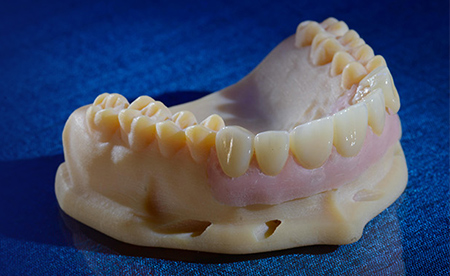


A missing scan-body reference number can freeze a full-arch case even when every scan file has already been submitted.
Full-arch implant cases live or die on the records behind them. The software is only as good as what you feed it. When a case stalls, it’s rarely the technology; it’s a missing reference number, a bite record that didn’t come over, or a plan that drifted from the setup everyone approved.
The fix is simple in principle: decide where the teeth go, capture it clearly, and carry it through every phase without losing anything. That’s the job this workflow does, and it’s how our team at Burbank Dental Lab keeps full-arch cases moving.
What do we mean by a “digital workflow”?
It’s one shared process across the clinic and the dental lab. It keeps restorative intent, esthetics, phonetics, vertical dimension, occlusion, tied to implant position from start to finish. Every phase hands off the same information, so nothing important slips. It is especially helpful when:

What do incomplete records cost you?
Miss a record, and here’s what follows:
When records are incomplete, they can cost weeks in delivery time.
The Step-By-Step Digital Workflow for Edentulous Implant Cases
1. Start with an ideal diagnostic wax-up
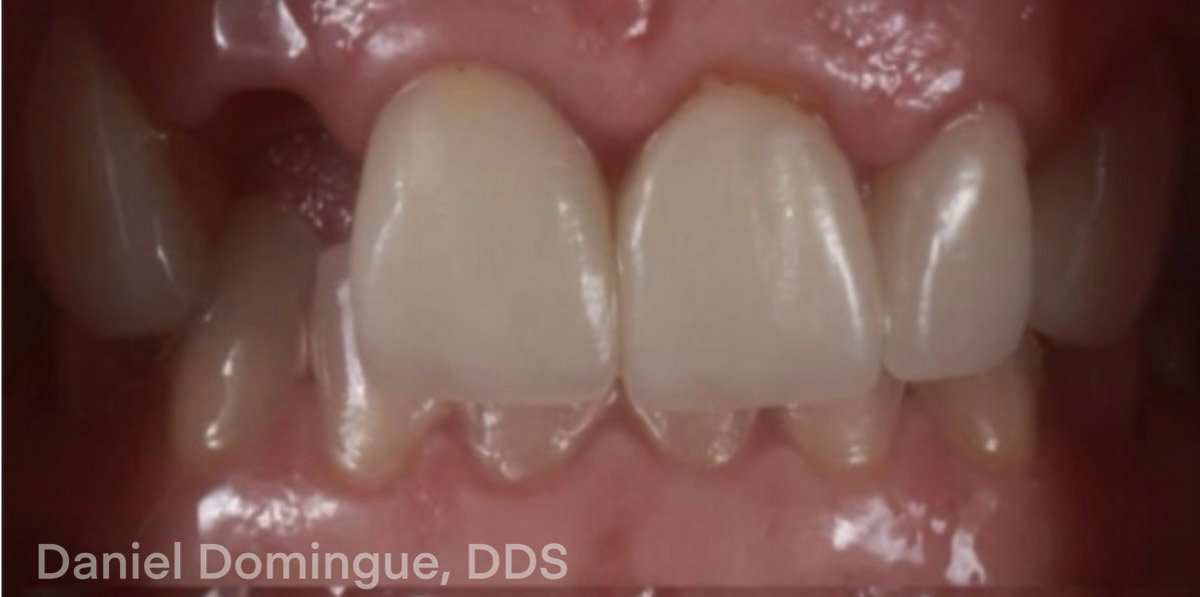
Everything points back to this. Before you plan an implant, decide where the teeth belong. Create an ideal diagnostic wax-up or setup, then confirm it in the mouth: vertical dimension, tooth position, smile line, midline, occlusion, phonetics. Snap a few photos or a short video. Then send the dental lab a labeled “approved baseline,” with a note on what’s fixed and what isn’t.
Watch out: don’t move to imaging before the setup is truly approved, and don’t leave lip support or phonetics undocumented.
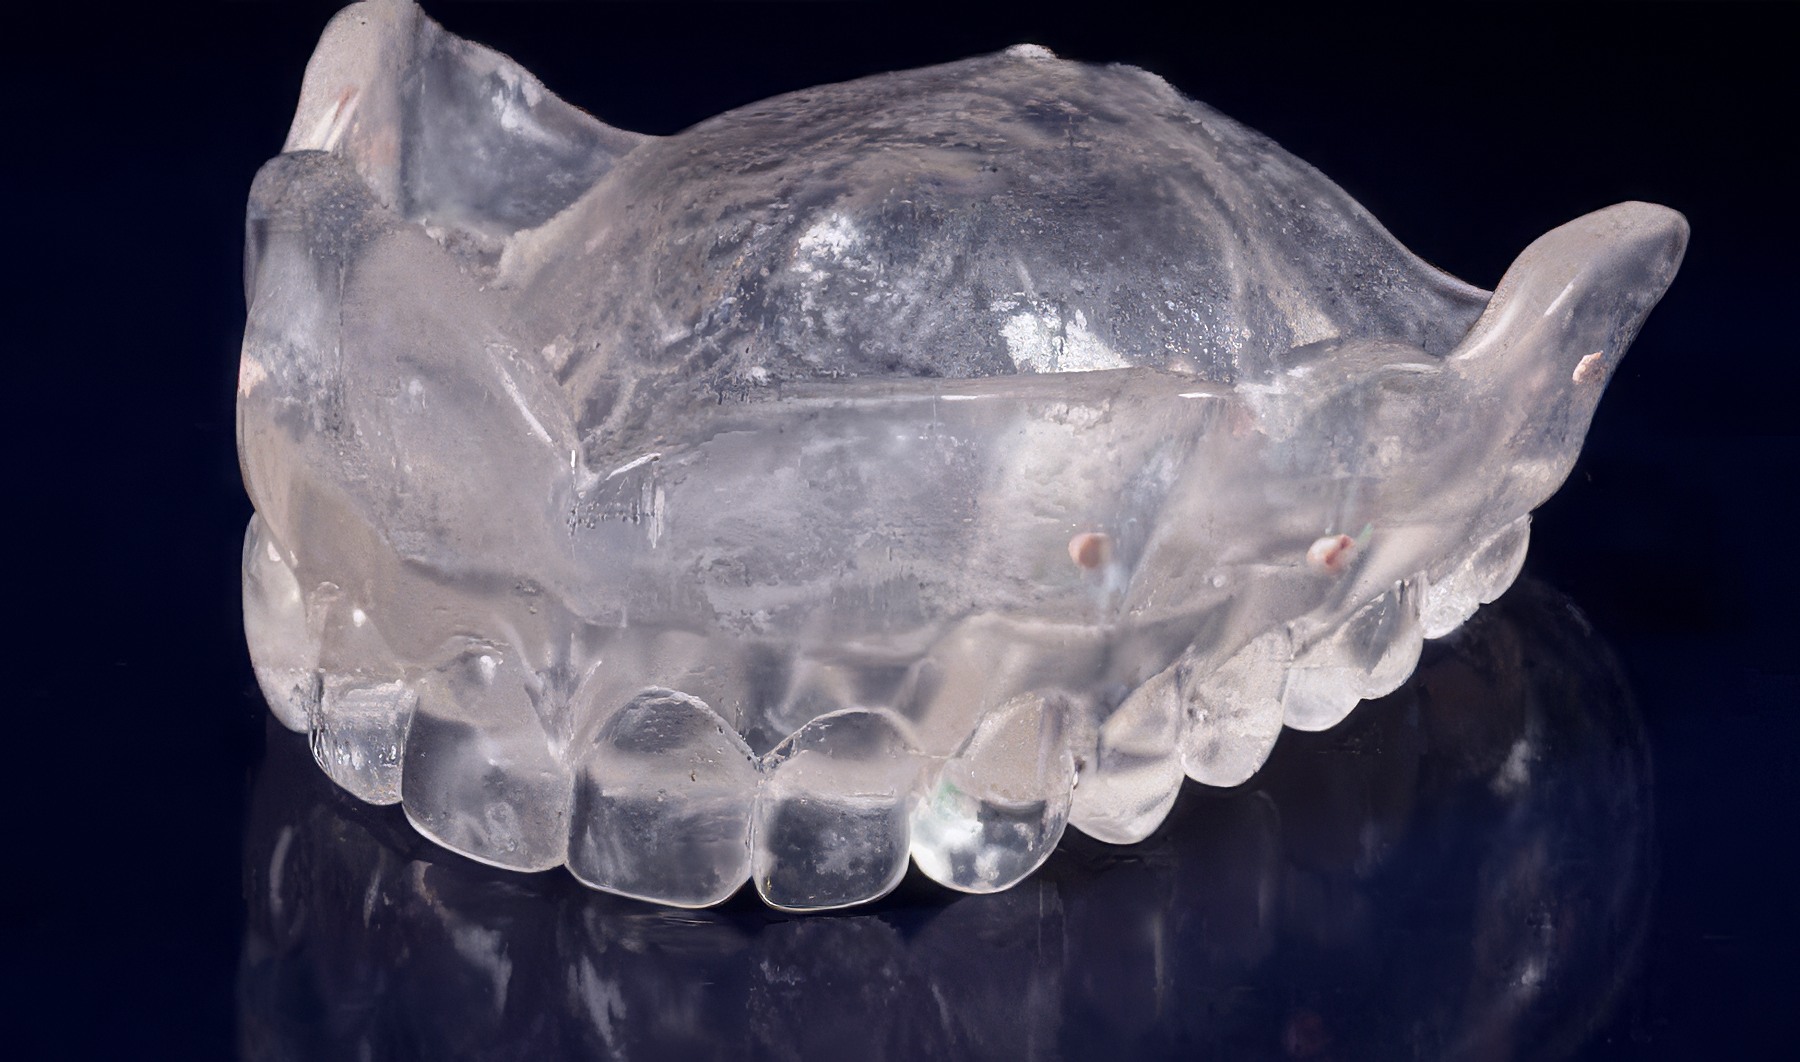
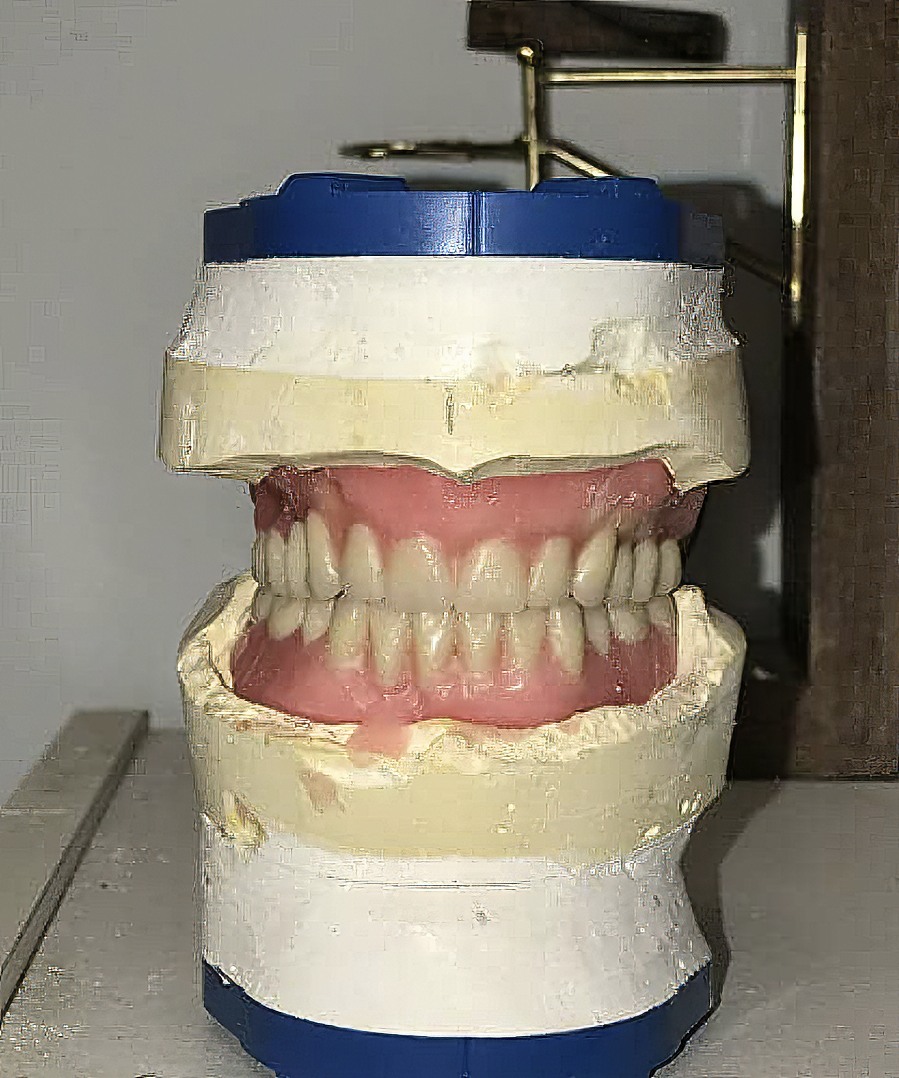
The PMMA provisional isn’t a placeholder — it’s the working blueprint from which the final restoration is built.
2. Build the scanning appliance
The appliance carries your approved setup into the scan data. Choose the protocol and marker strategy, capture any reline the protocol calls for, and confirm the appliance seats the same way every time.
Give the dental lab your registration strategy and file-naming plan before scanning, not after.
Watch out for an appliance that shifts during the scan, or a registration plan the imaging center never got. Check retention chairside and share a one-page pre-scan checklist with everyone.
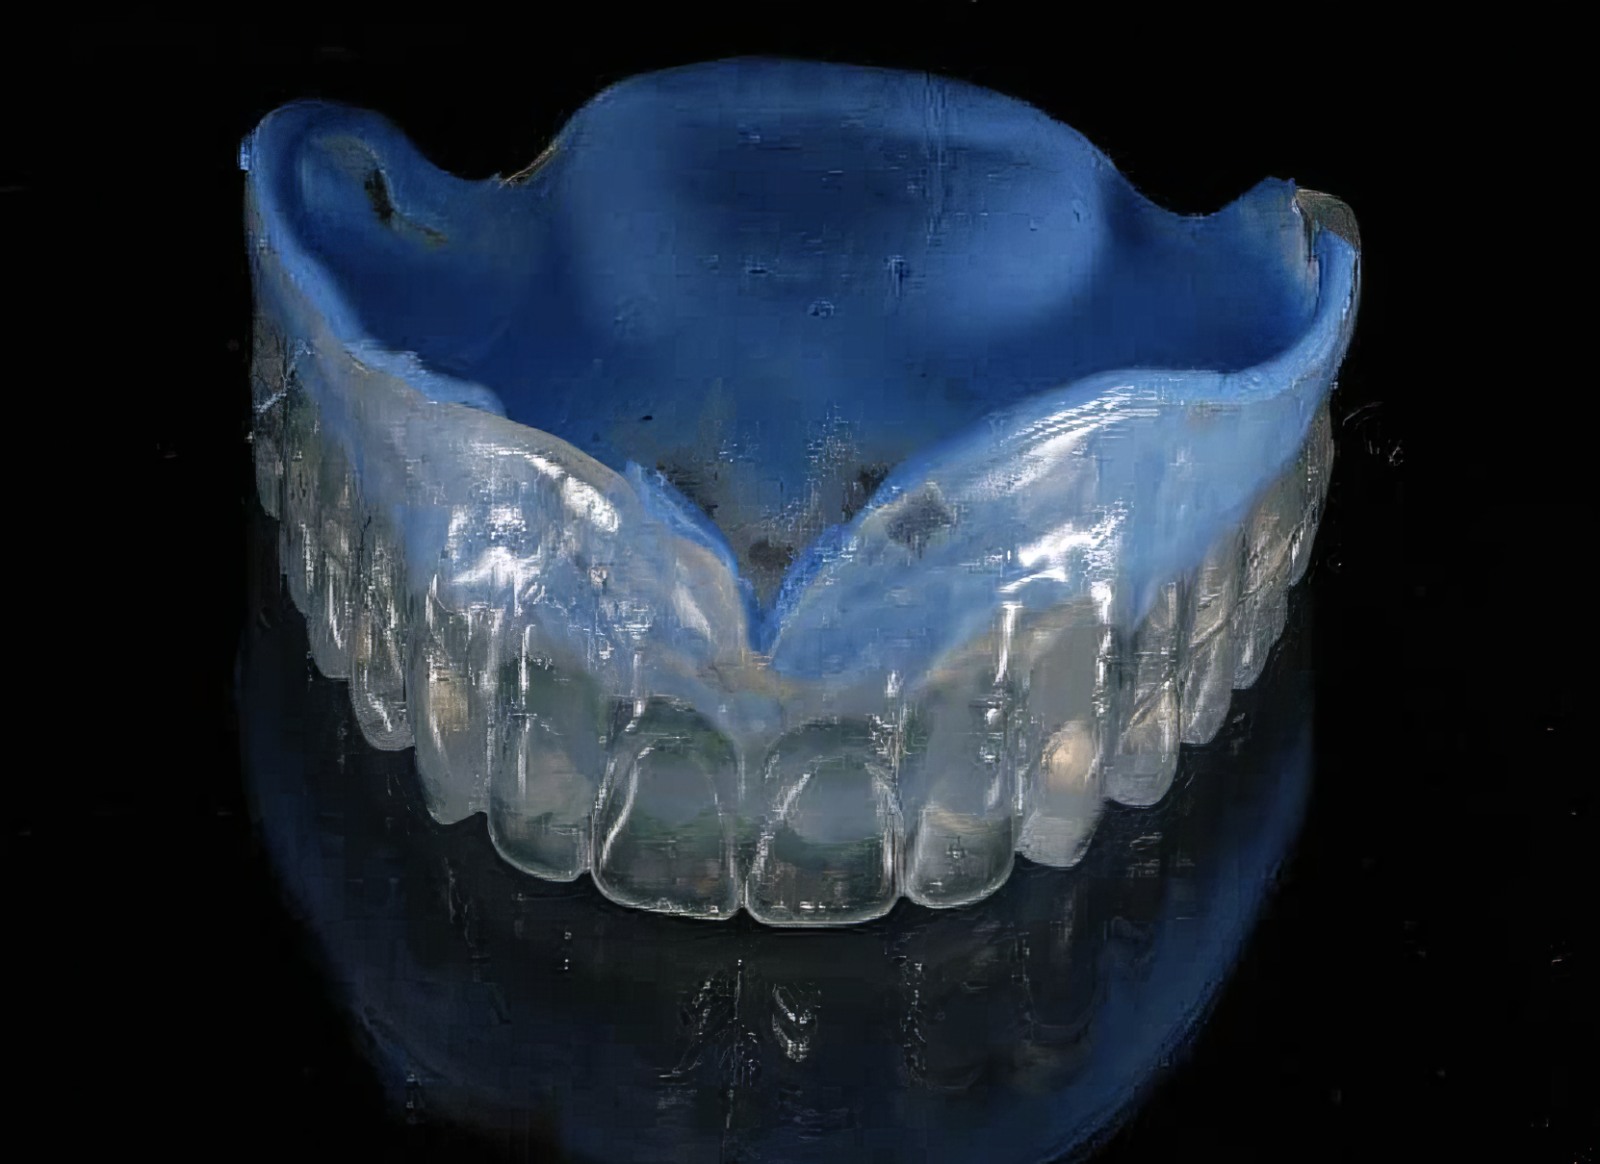
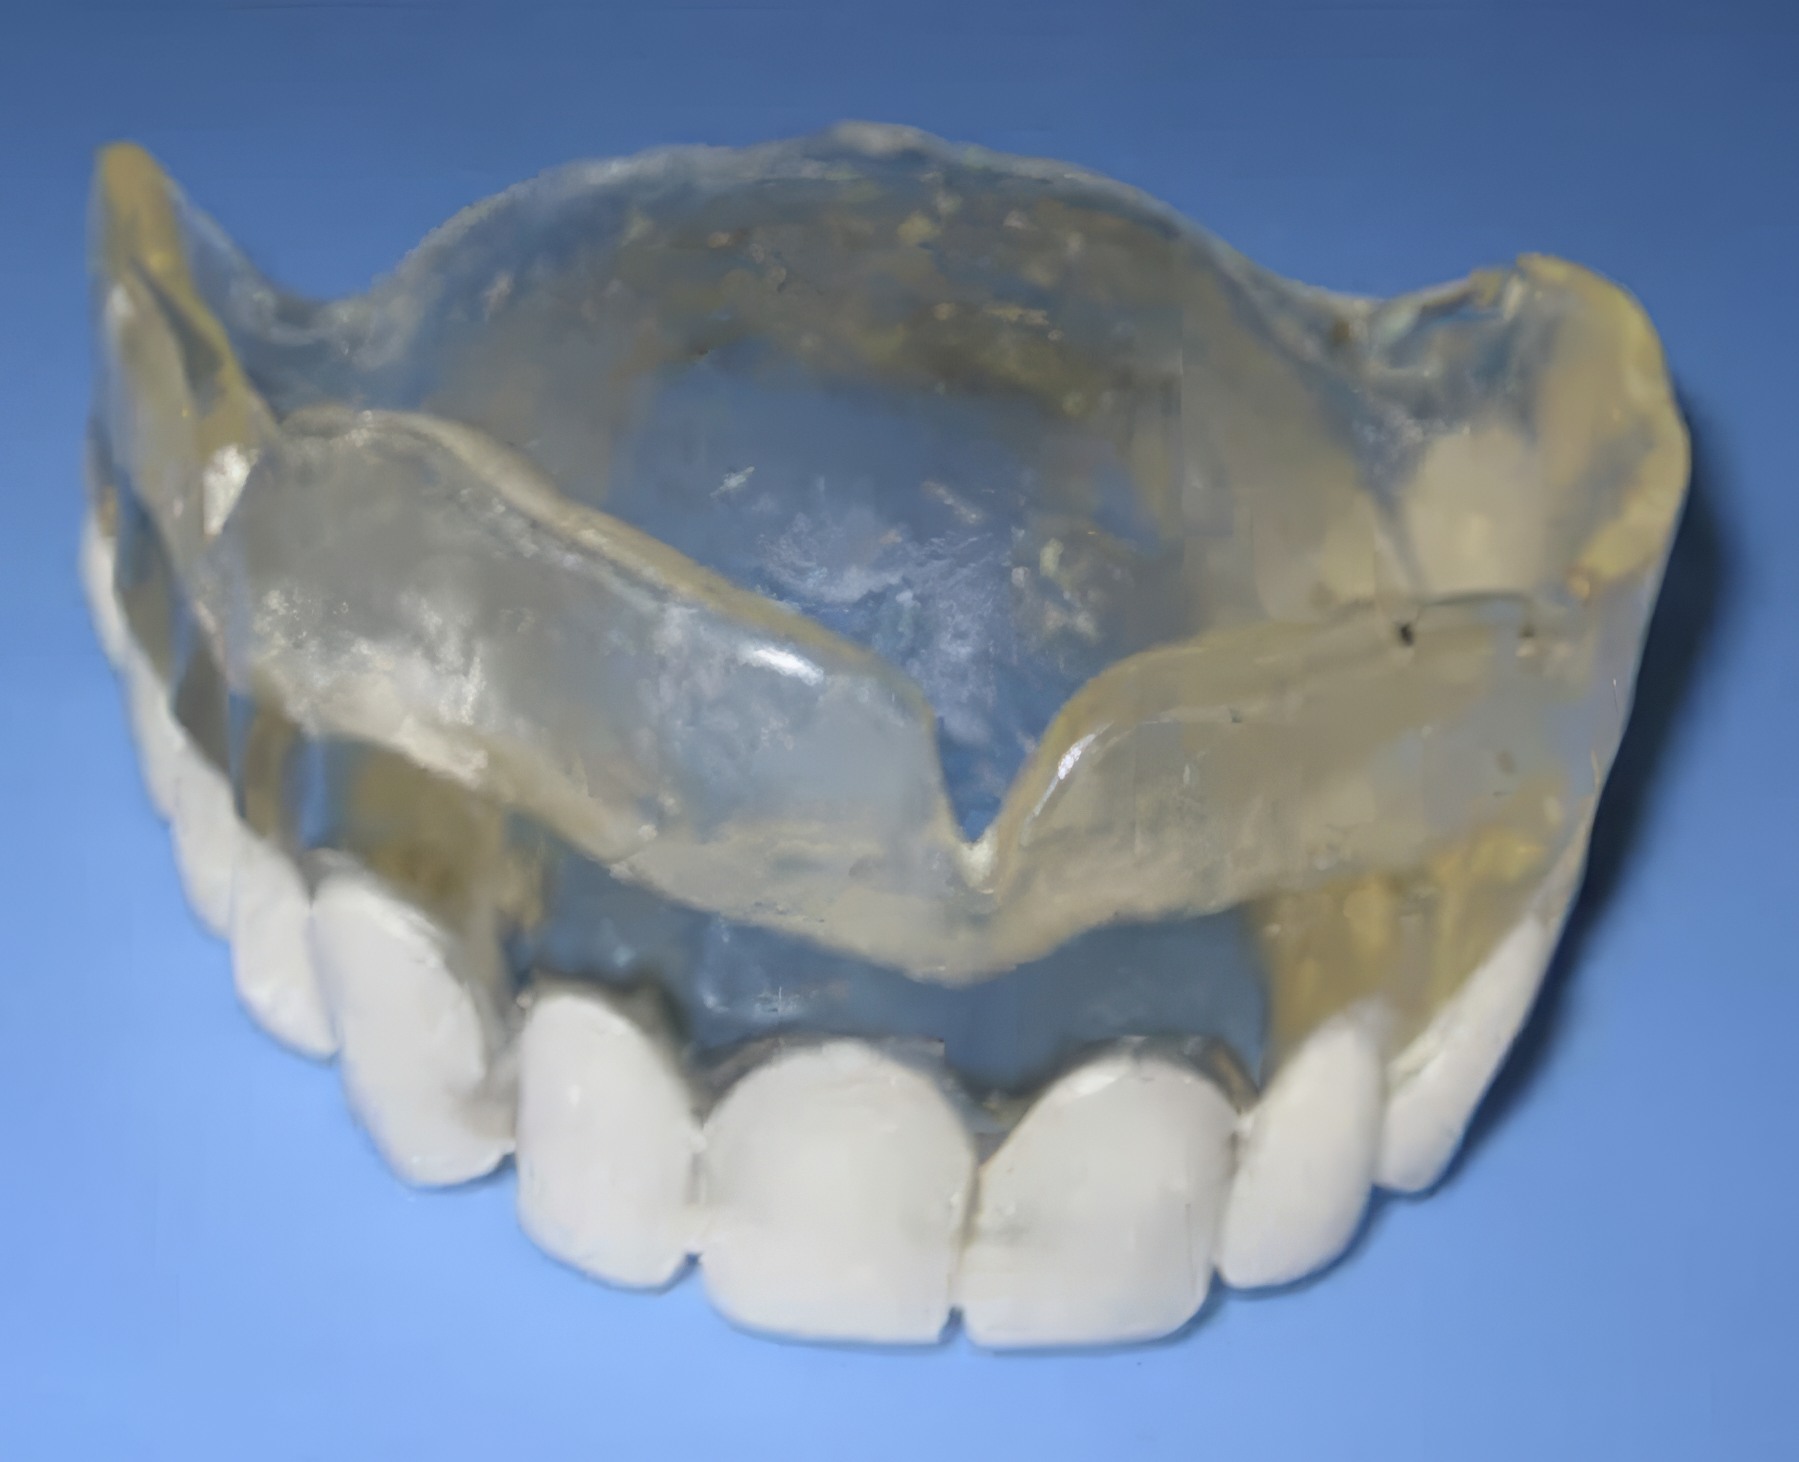
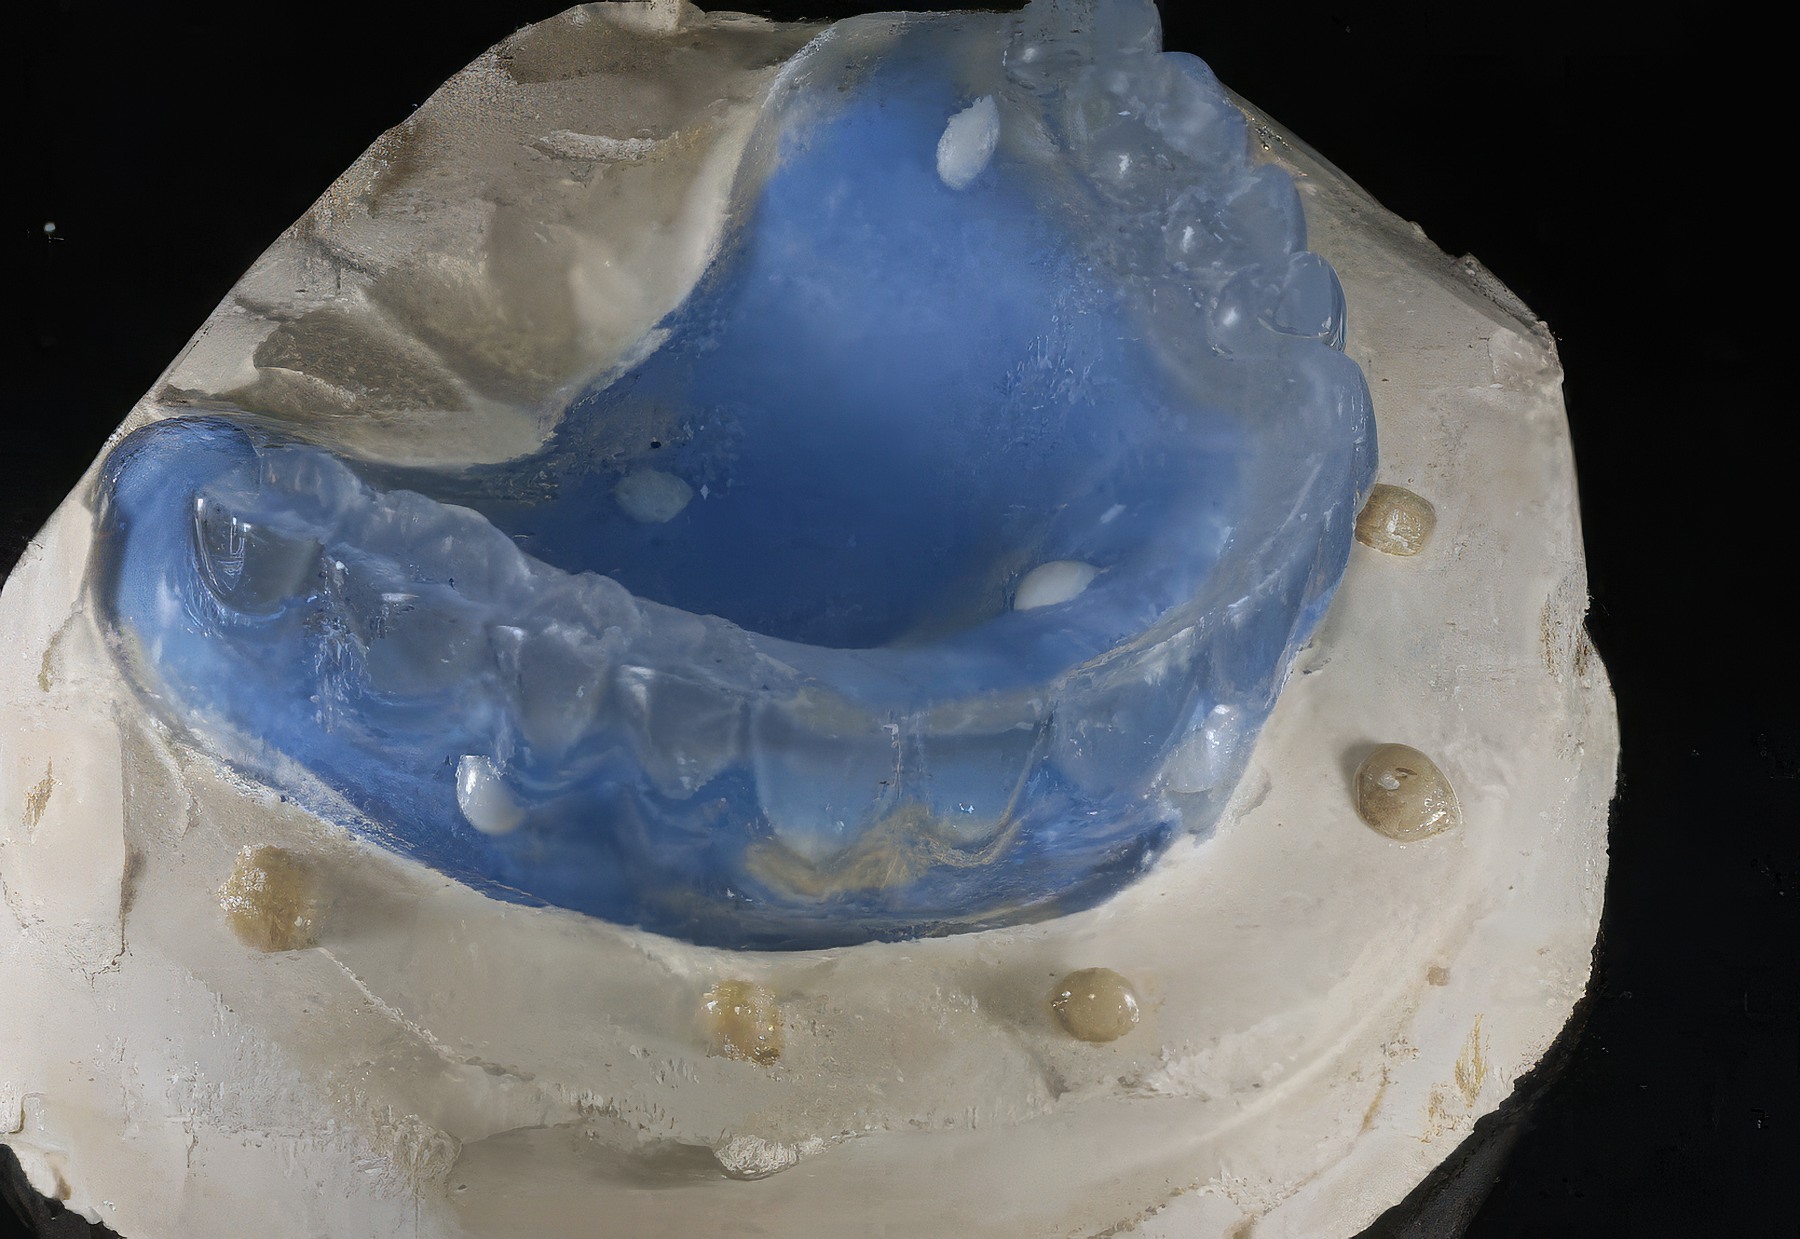
One approved dataset should produce one surgical guide, manufactured only from the locked plan.

Vertical dimension, midline, and occlusion drift when records aren’t carried through every phase.
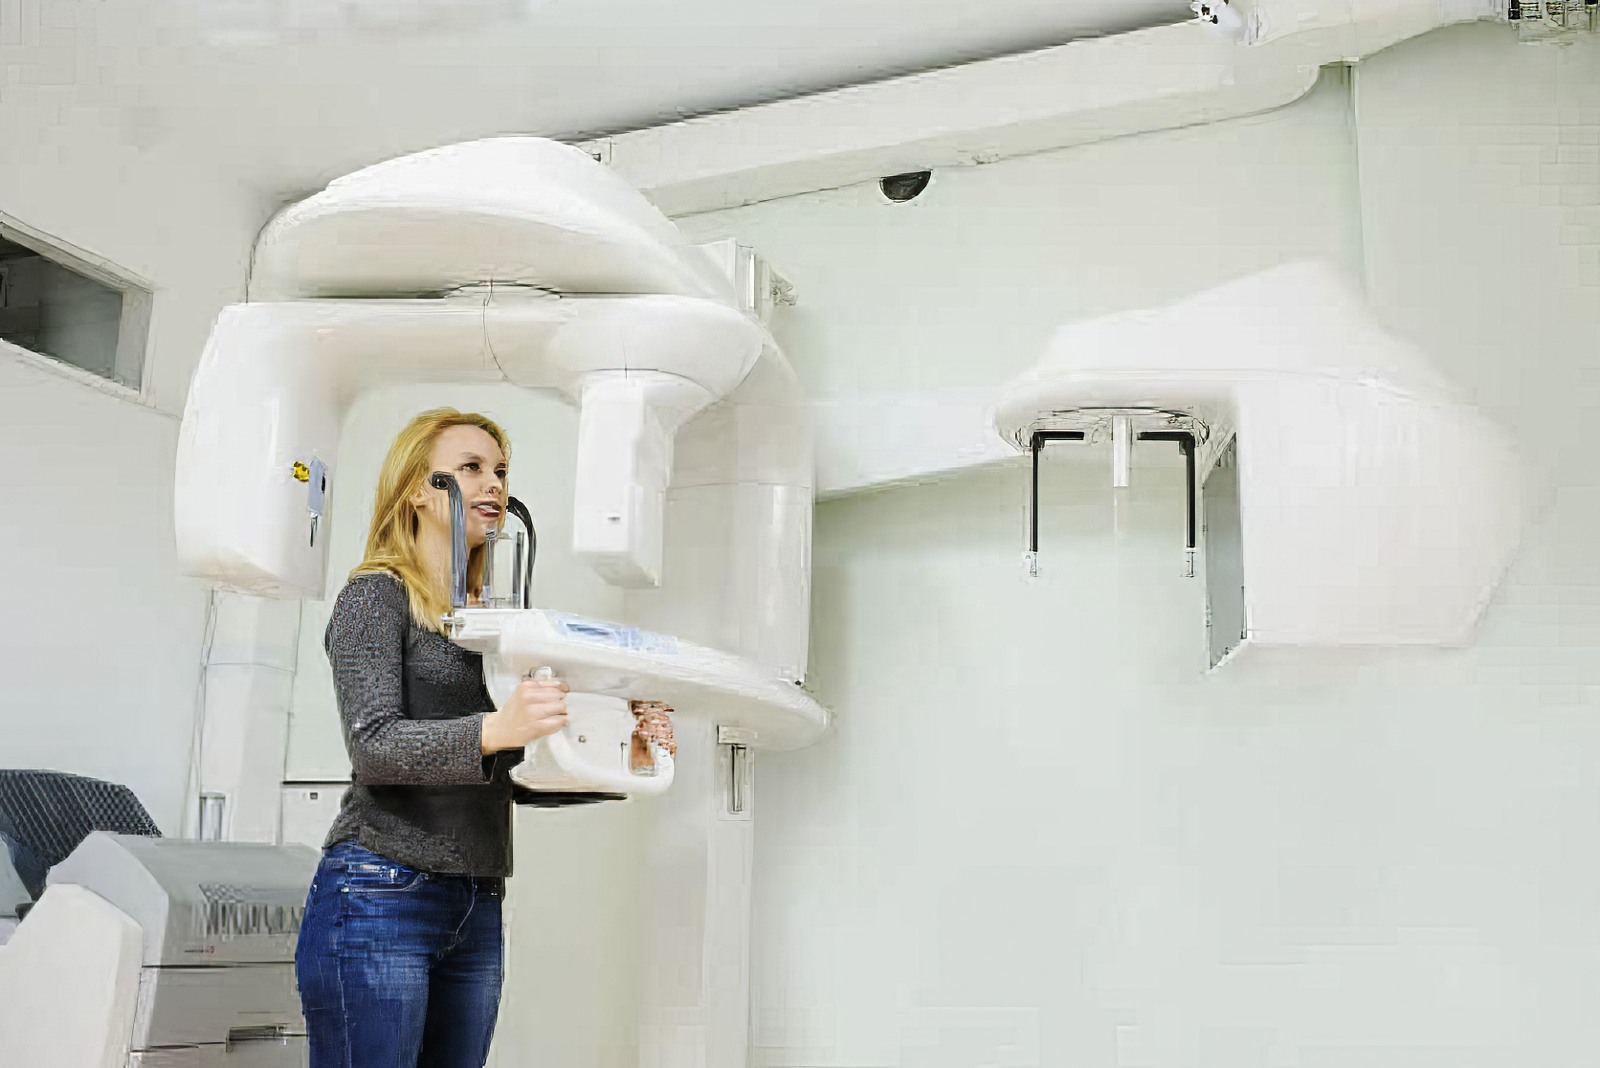
3. Scan with the appliance in place
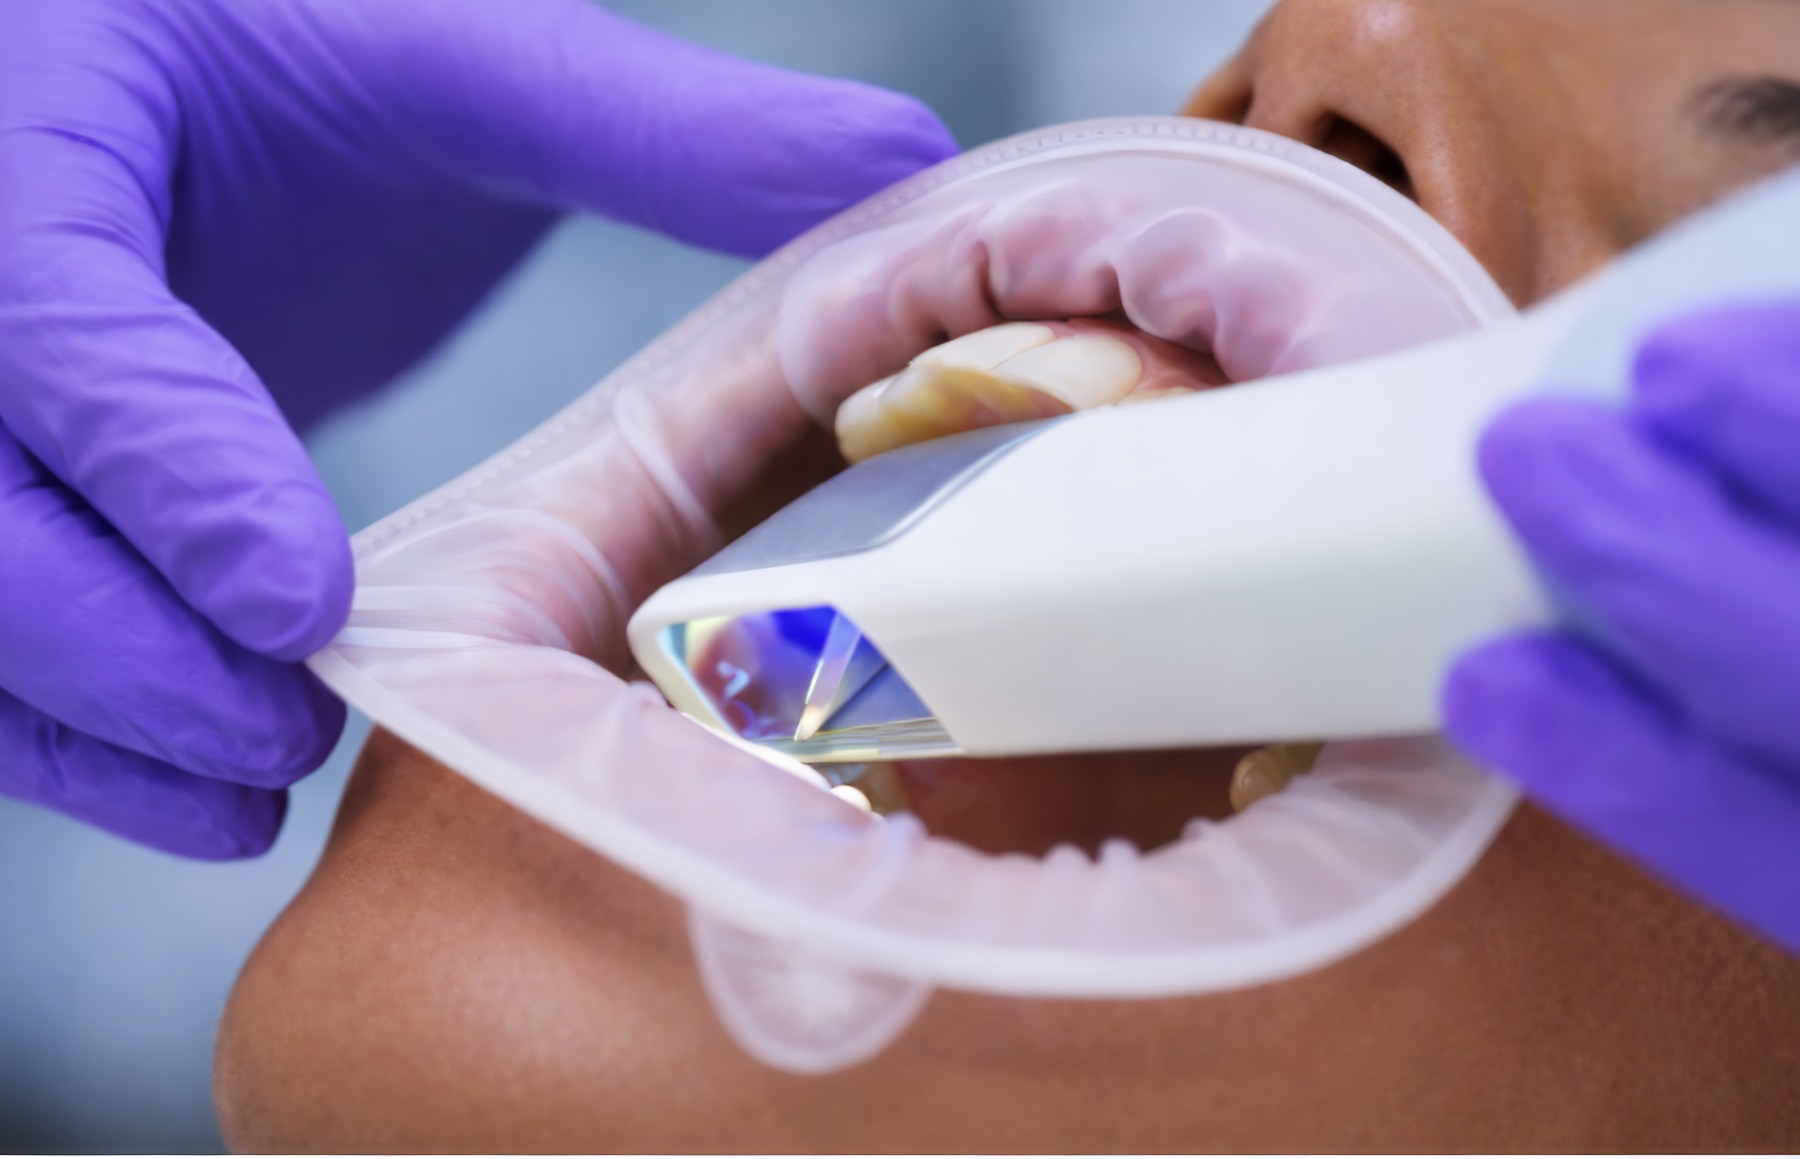
Scan quality decides how well everything merges later. You’ll get a DICOM set and usually some STL files; send them all, clearly labeled (arch, appliance, opposing, bite). Flag anything odd: movement, a seating concern, whatever felt off.
Watch out for motion artifacts, uncertain seating, and messy file names. If a scan looks questionable, reshoot it rather than push it forward.
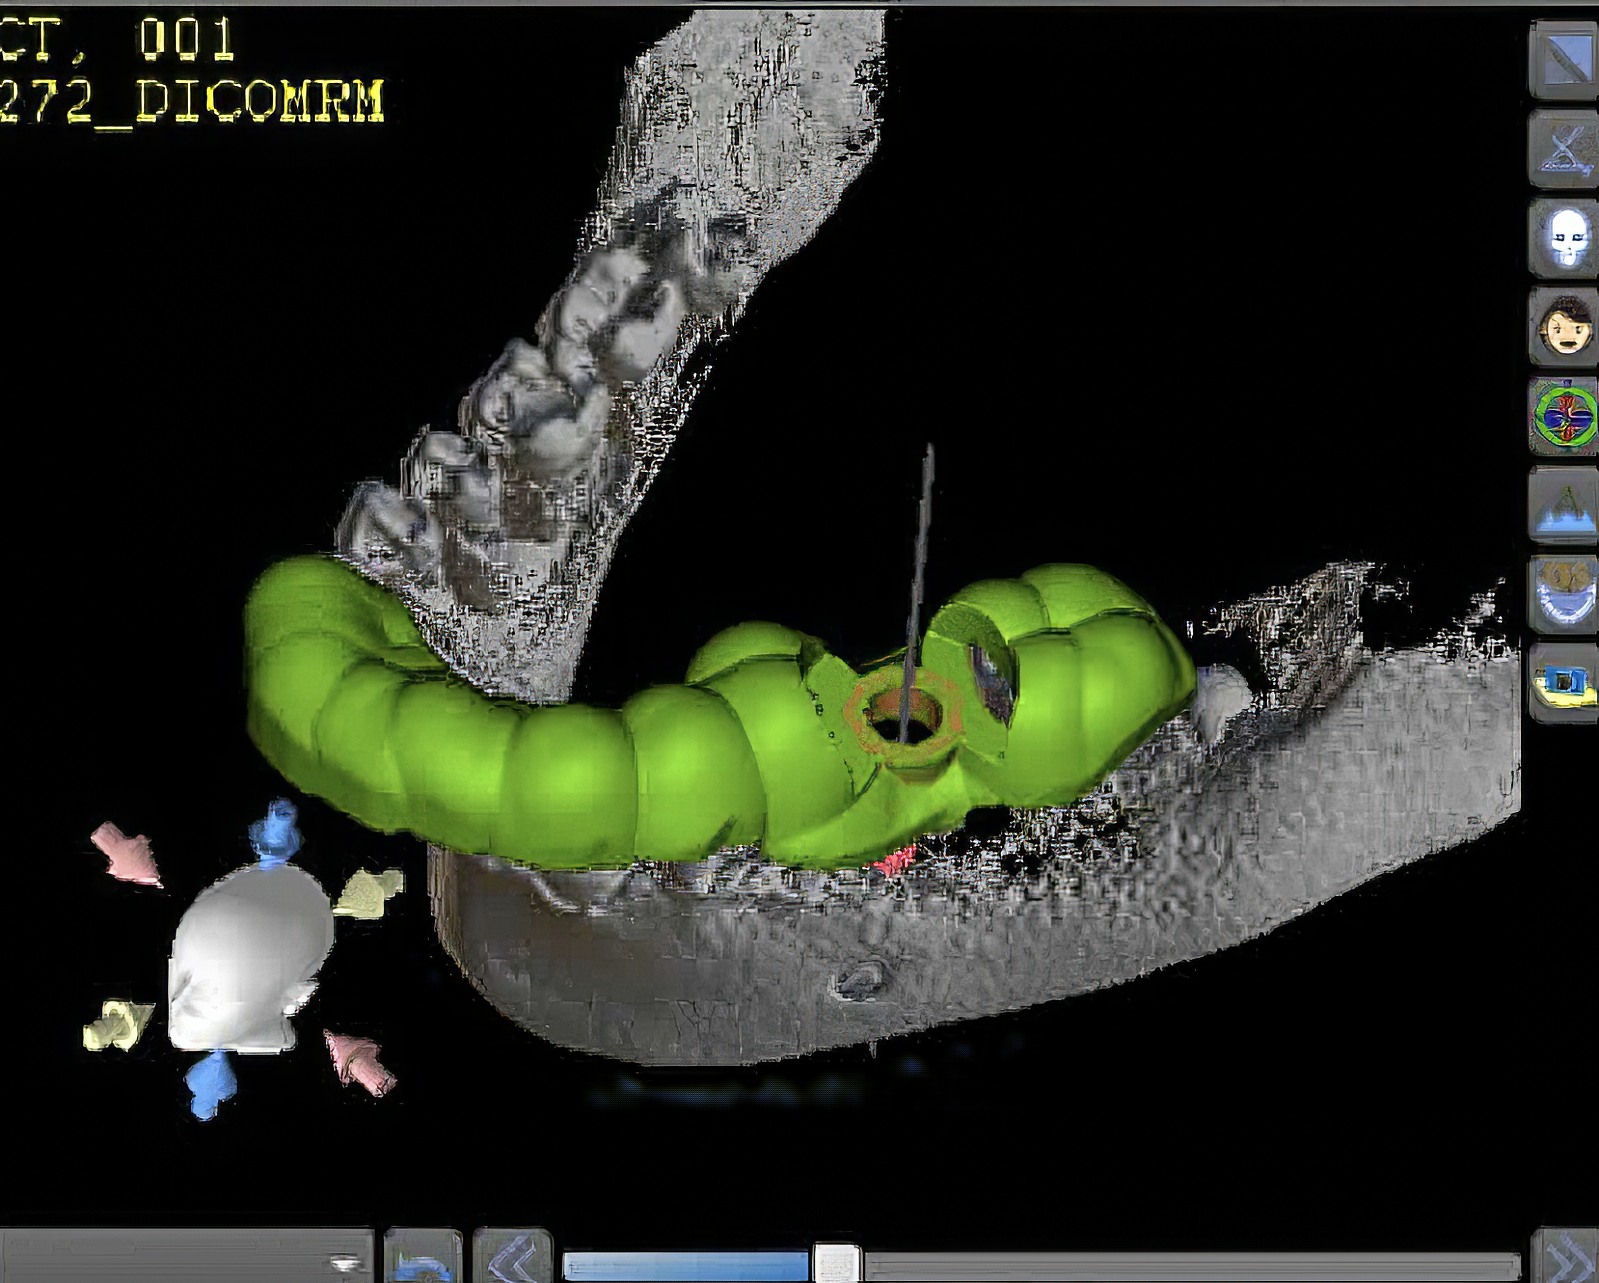
4. Merge and plan from the teeth
Here, anatomy and restorative intent have to stay together. Give the lab your goals, implant spacing, restorative space, access, plus any constraints. Then approve the plan before any guide is exported.
Watch out: planning to the bone and forgetting the teeth. Check the plan against the approved setup, lock the final version, and note the timestamp so everyone knows which plan is the plan.
Guided surgery transfers a plan well, but accuracy still depends on protocol and conditions; it’s not the same across every system.
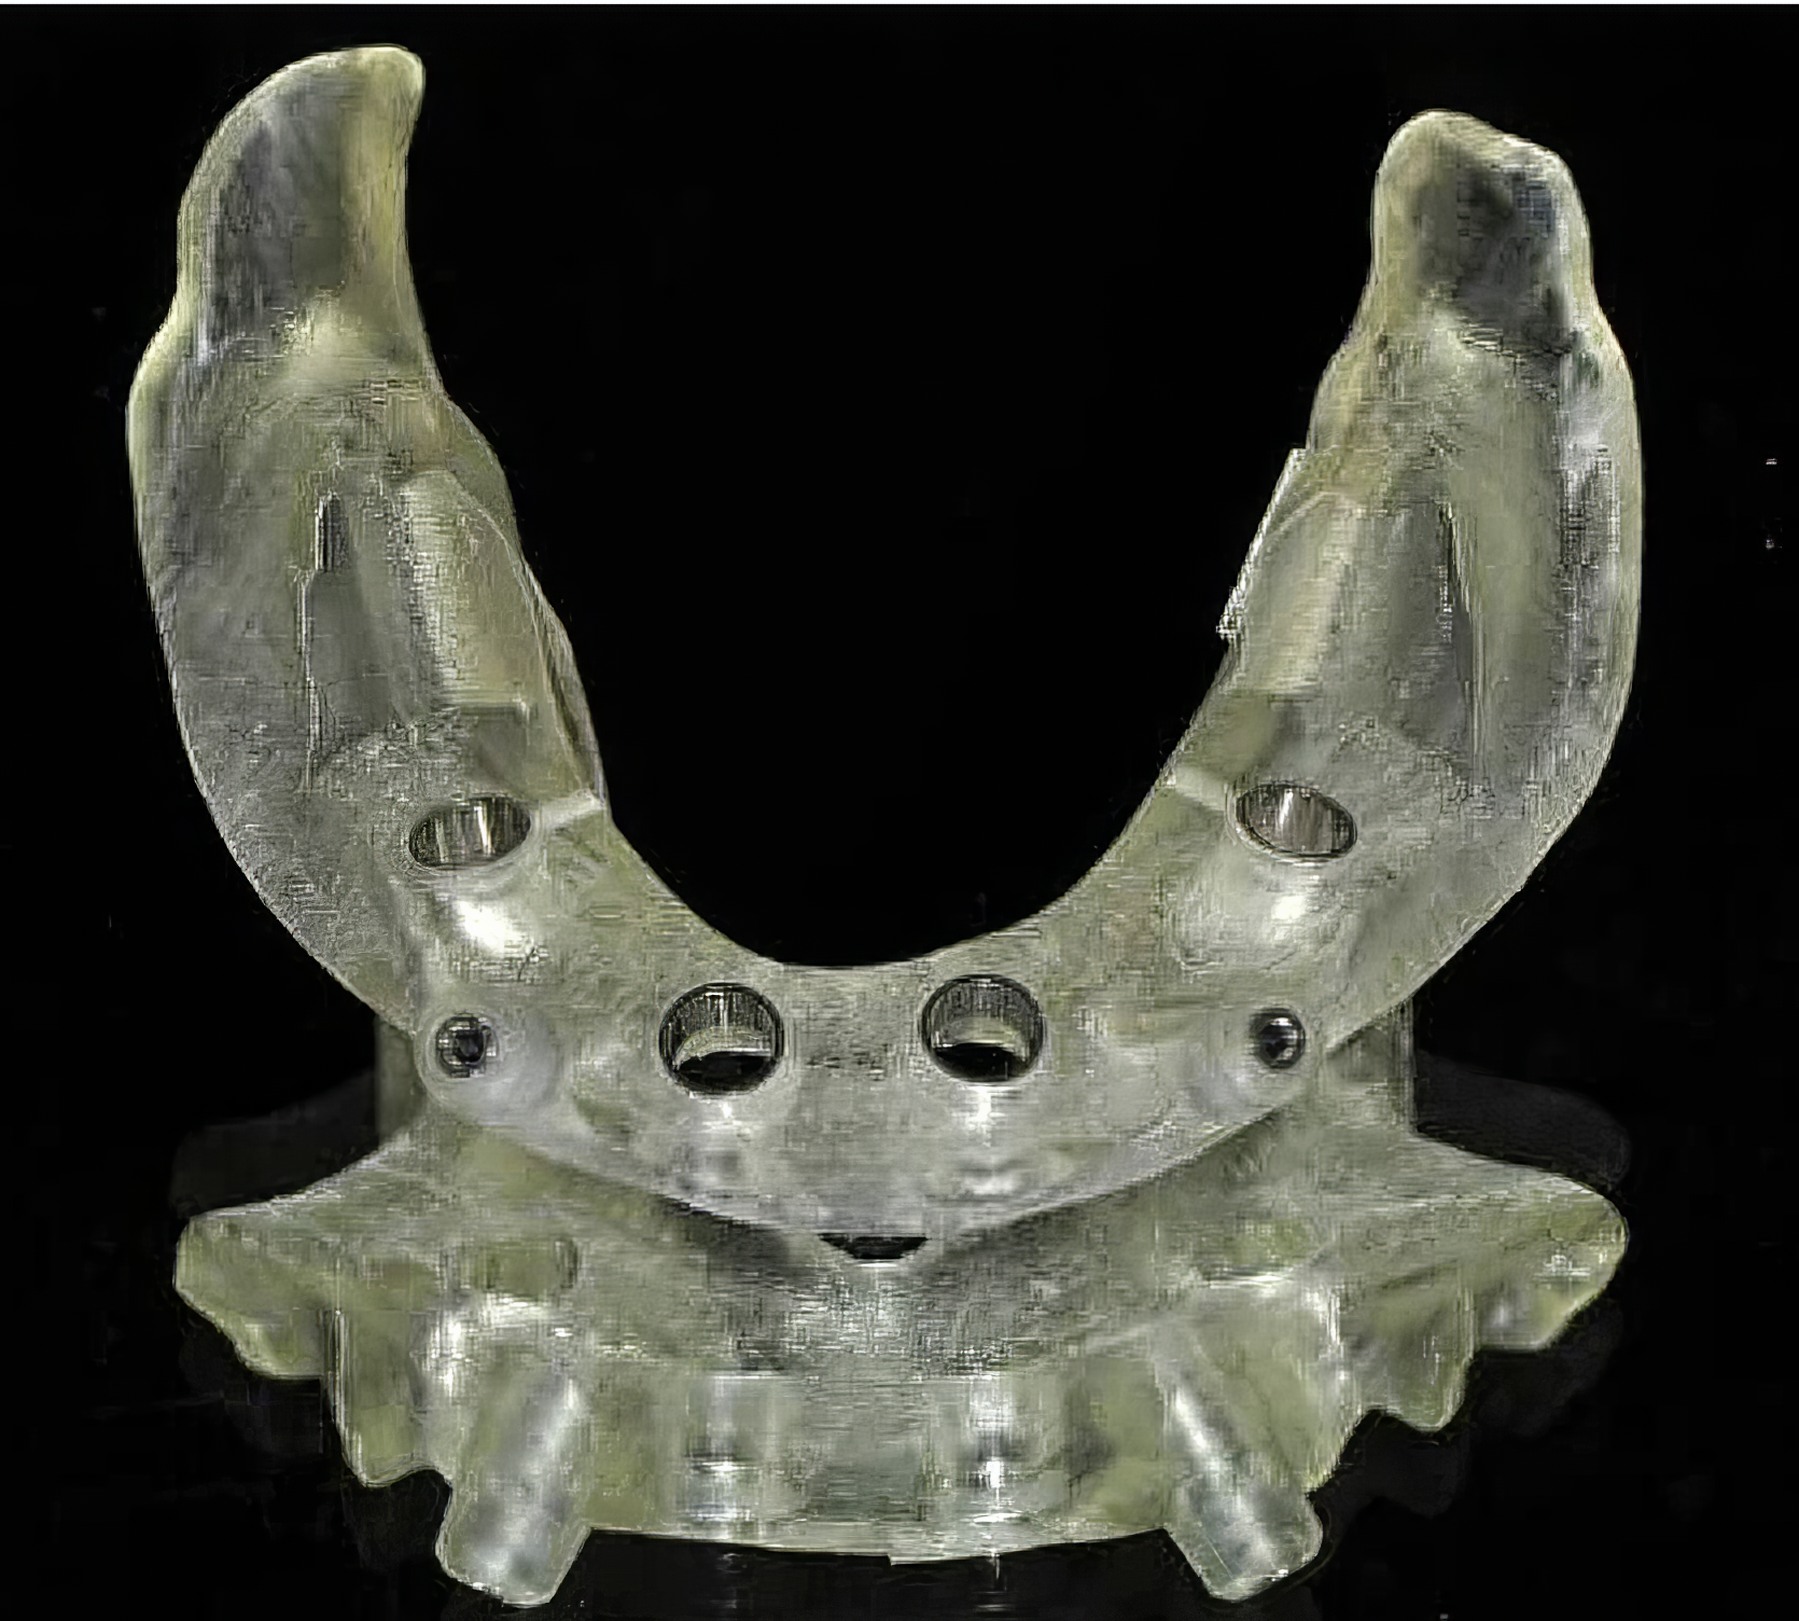
5. Make the surgical guide
One approved dataset, one guide. Confirm the surgery date and how you’ll verify fit, then have the lab manufacture based only on that locked plan.
Watch out: a guide built from an old design file, or skipping the pre-op fit check. Keep a clear “final approved” archive, and build the fit check into the appointment.
Full-arch restorations are maintenance-dependent — not set-and-forget.
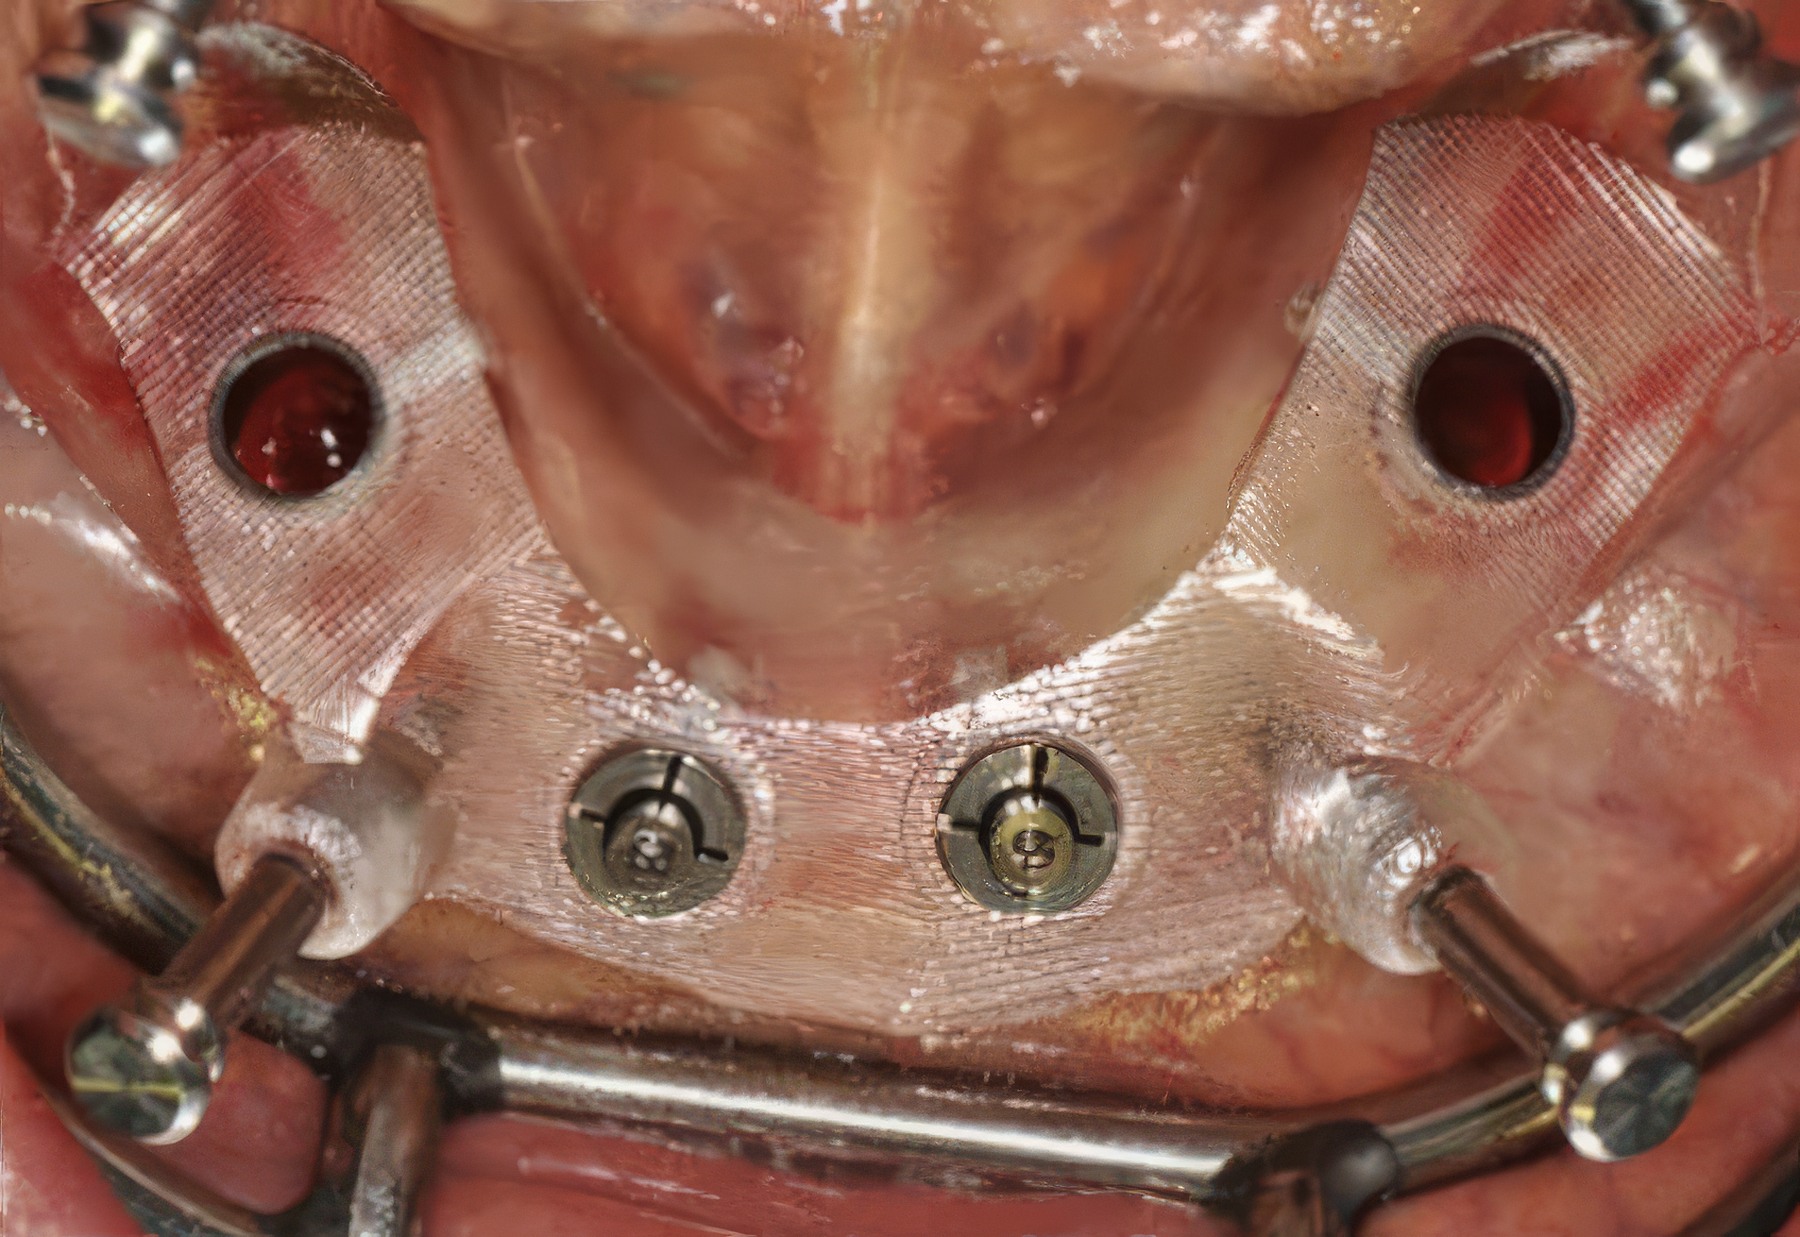
6. Surgery and the provisional
What you document at surgery shapes the whole prosthetic phase. Send a short post-op note that includes implant details, any deviations, and the provisional path you took (immediate or delayed).
Watch out for unreported changes during surgery, or a provisional delivered without locking in your references. Confirm occlusal and esthetic checkpoints before the patient leaves.
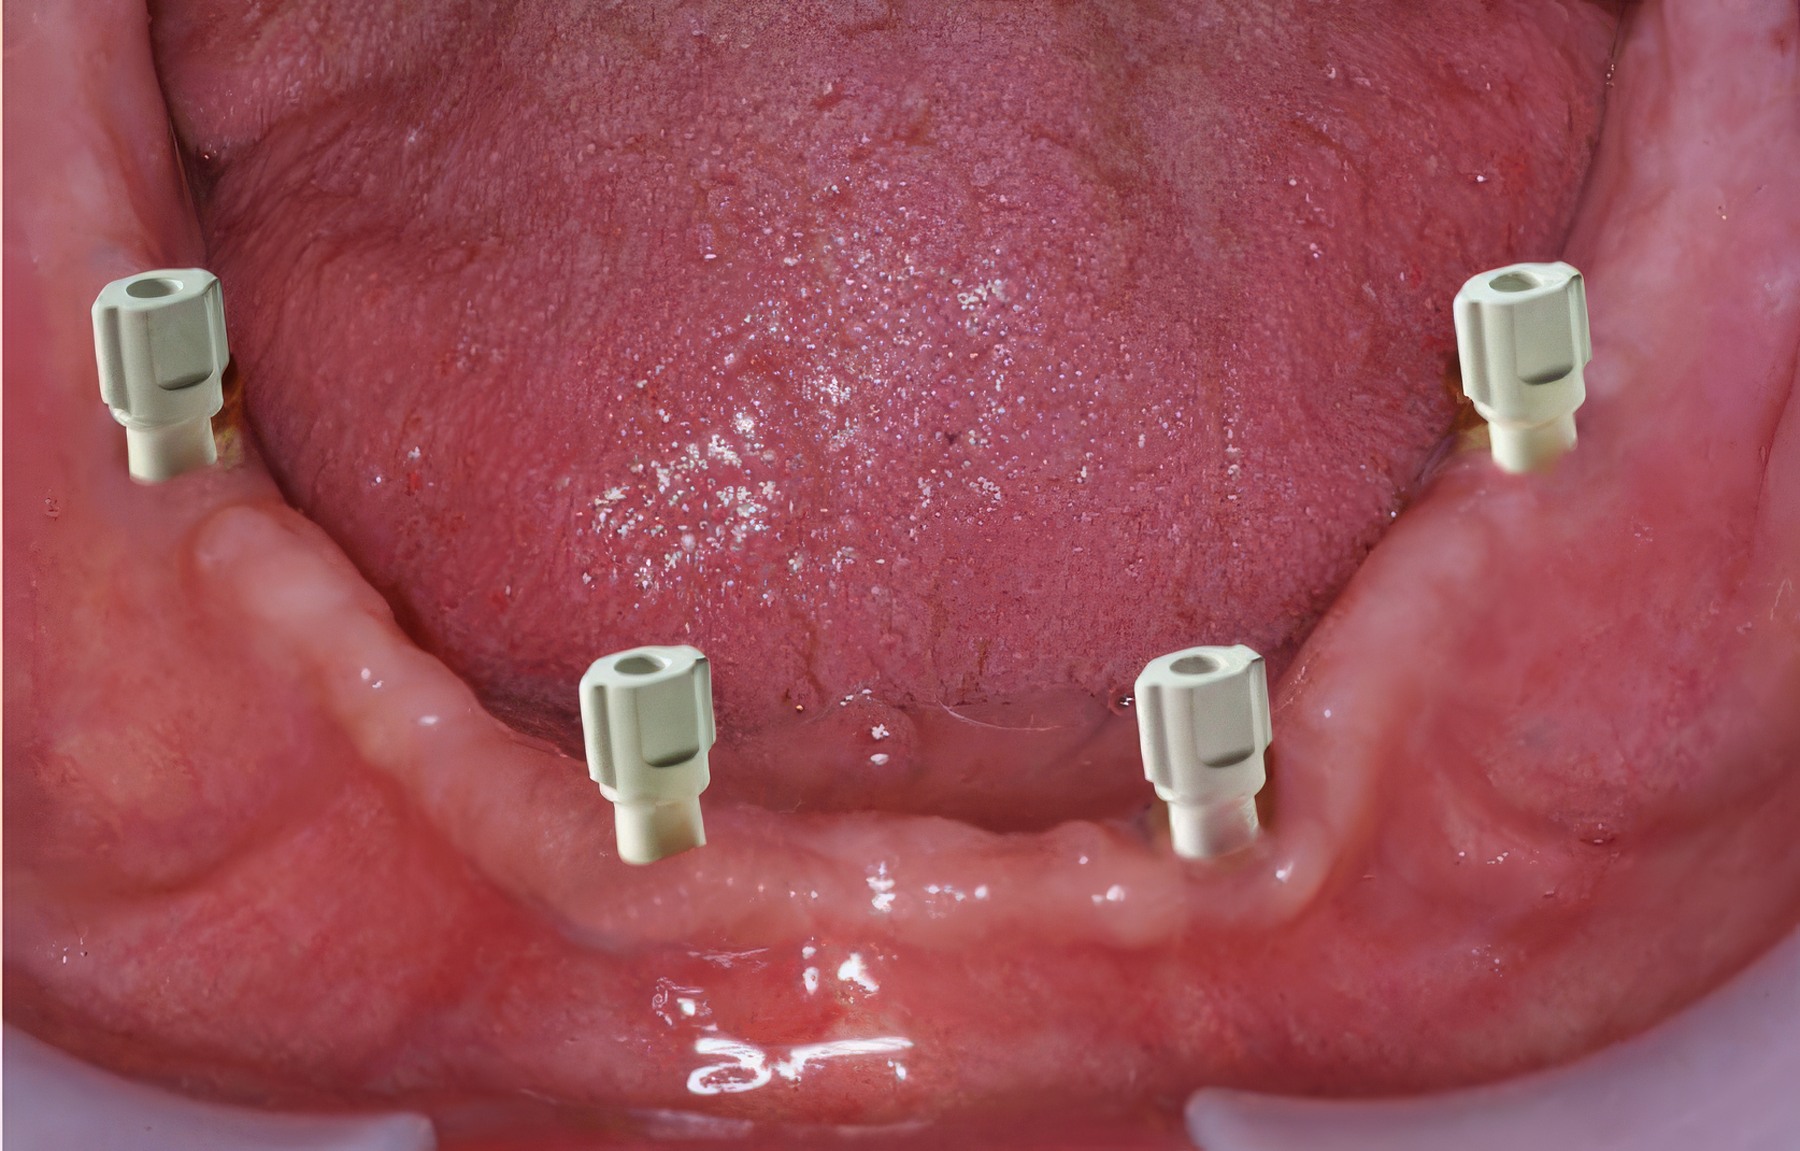
7. Post-surgical records
This is where cases stall most often, usually over something small. Capture the:
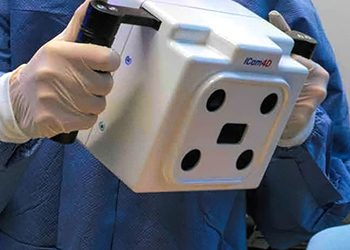
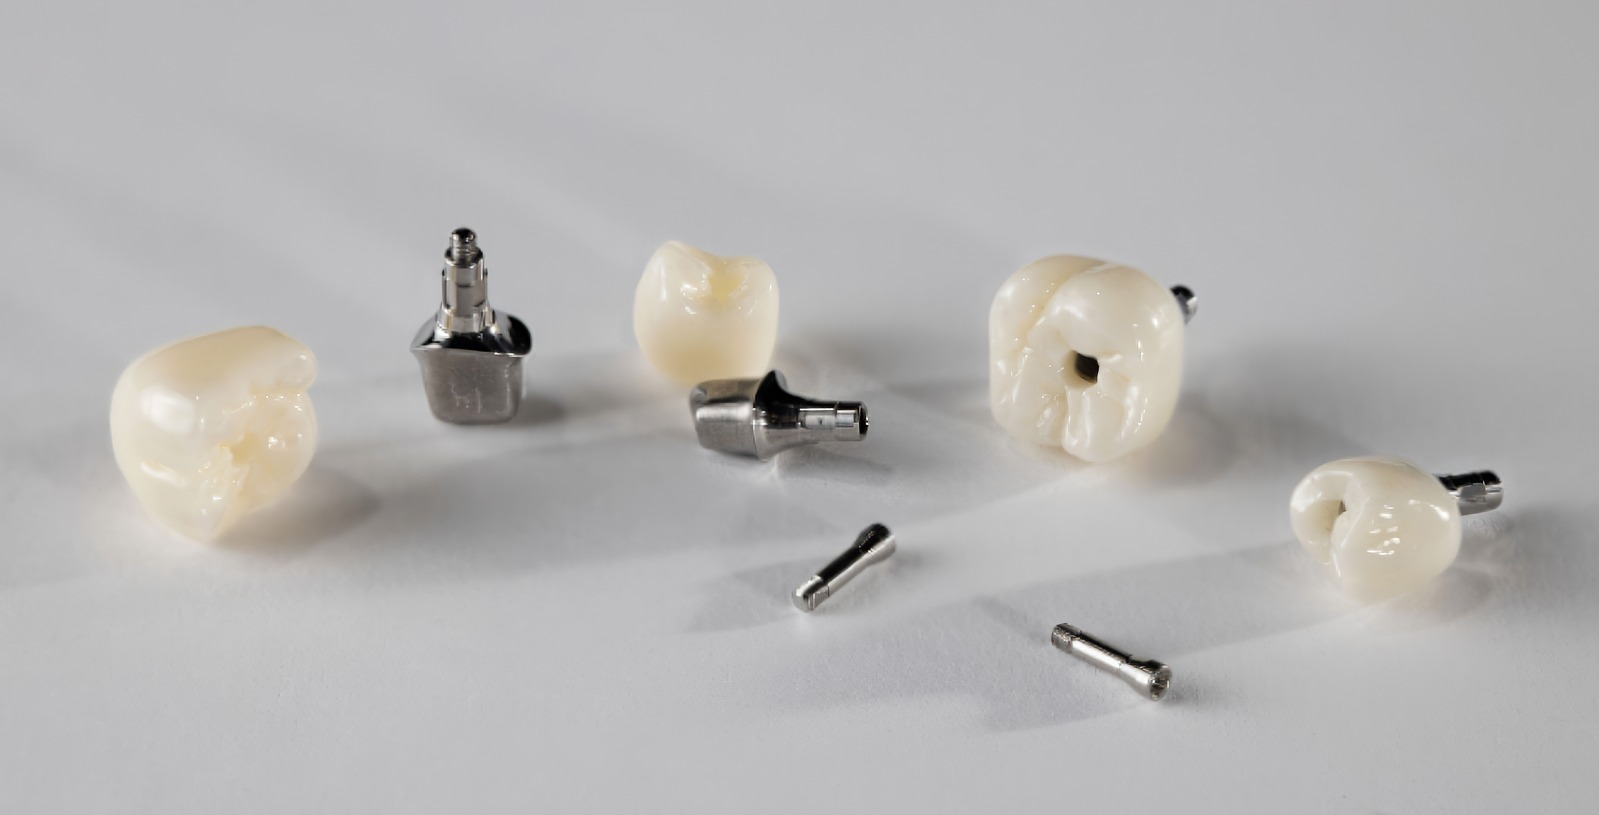
Scan bodies are often a big issue. List the exact brand and reference number for every component. The geometry the lab uses to place your implants in the software is reference-specific.
A brand can have several designs that aren’t interchangeable, so a missing reference number can freeze a case even when every scan file is sitting right there. Make the reference number a required field before anything gets submitted, and use the same bite-plus-VDO documentation every single time.
Worth noting: complete-arch digital capture still varies. Be cautious with iOS-only scan-body workflows; verification or photogrammetry approaches can improve precision, depending on the case.
8. The PMMA provisional; it’s a prototype
The PMMA isn’t just a temporary. It’s a working model of the final. Give it a real trial period and send honest feedback on esthetics, phonetics, cleansability, function, and patient adaptation. Tell the lab what carries to the final and what needs changing. Whatever you approve becomes the blueprint.
Watch out for rushing to the final without a structured review, or approving contours informally so nothing transfers. Set a review interval, sign off, and treat the approved provisional as the design blueprint, not a rough draft.
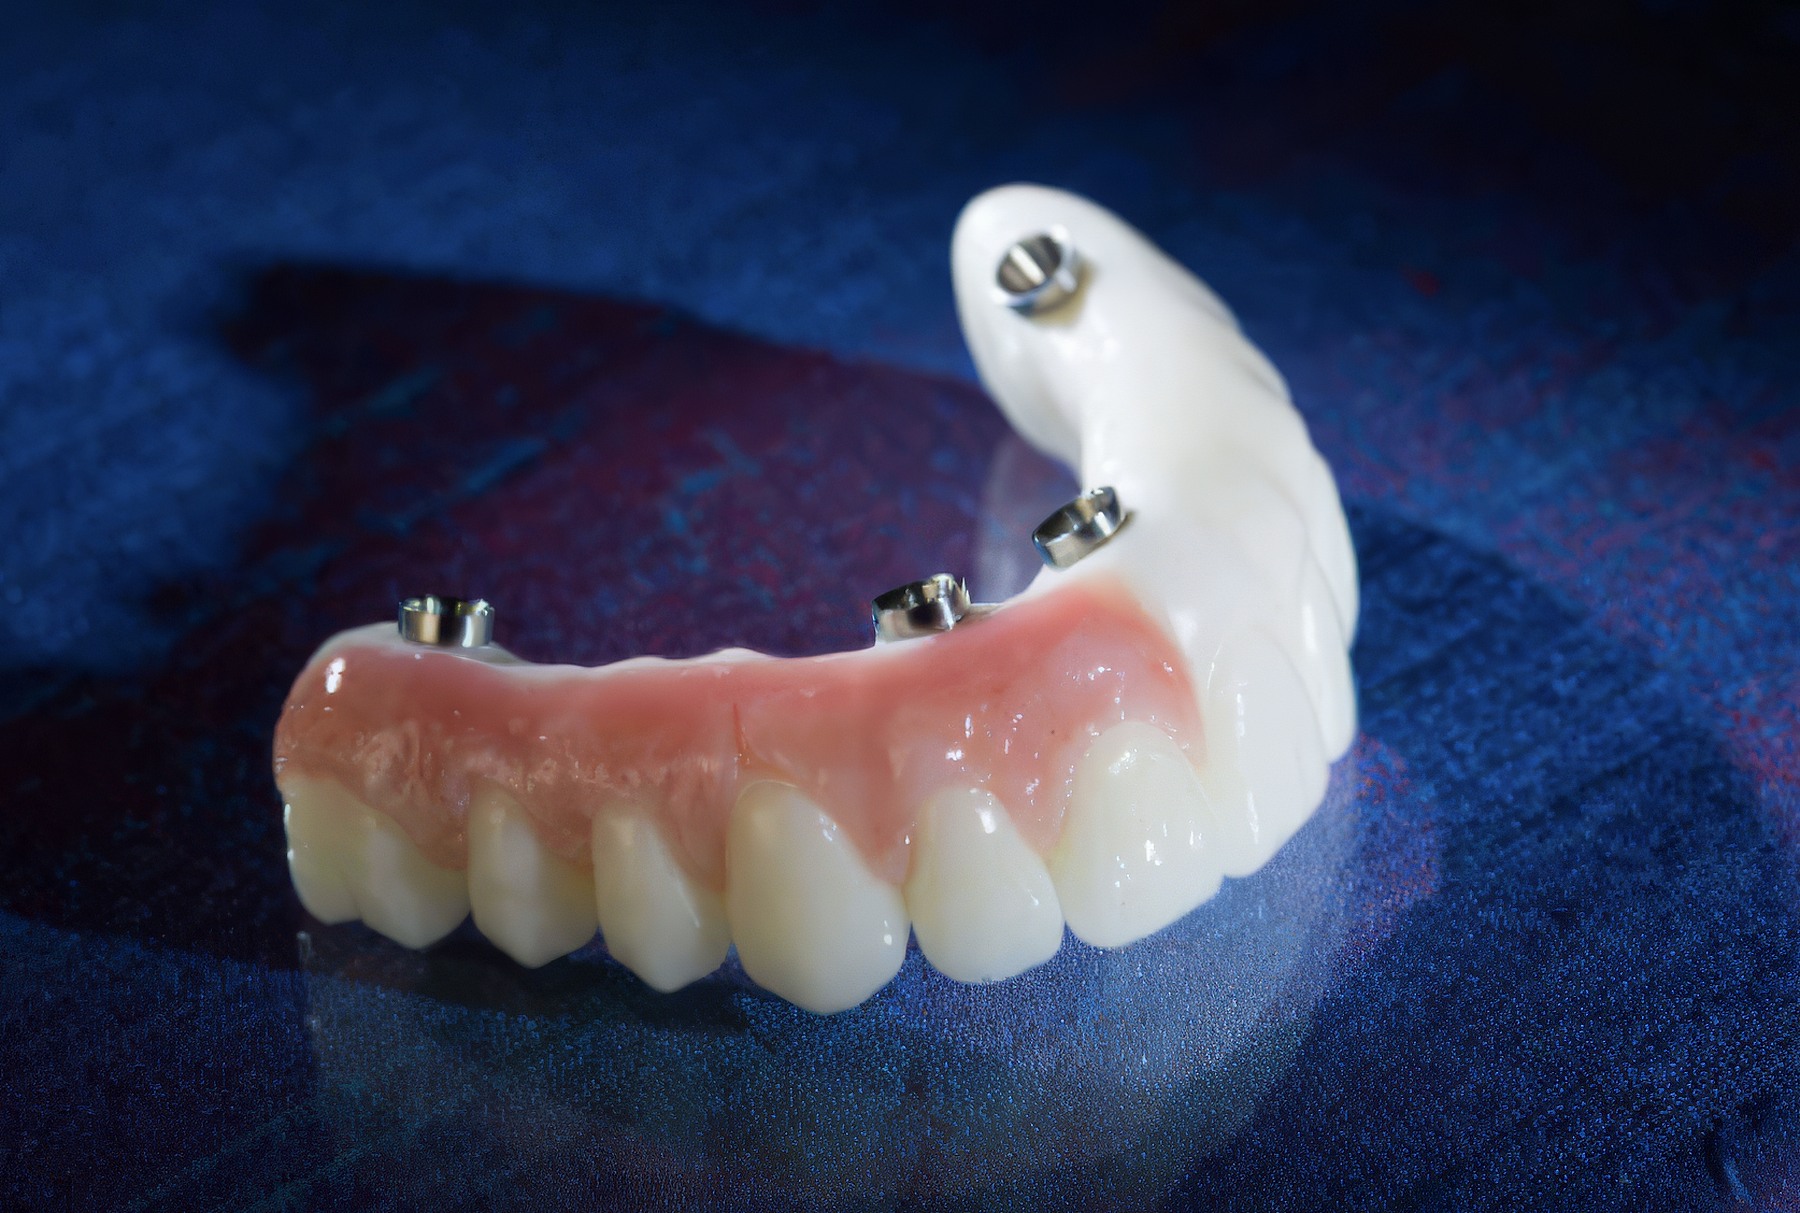
9. Deliver the final and plan maintenance now
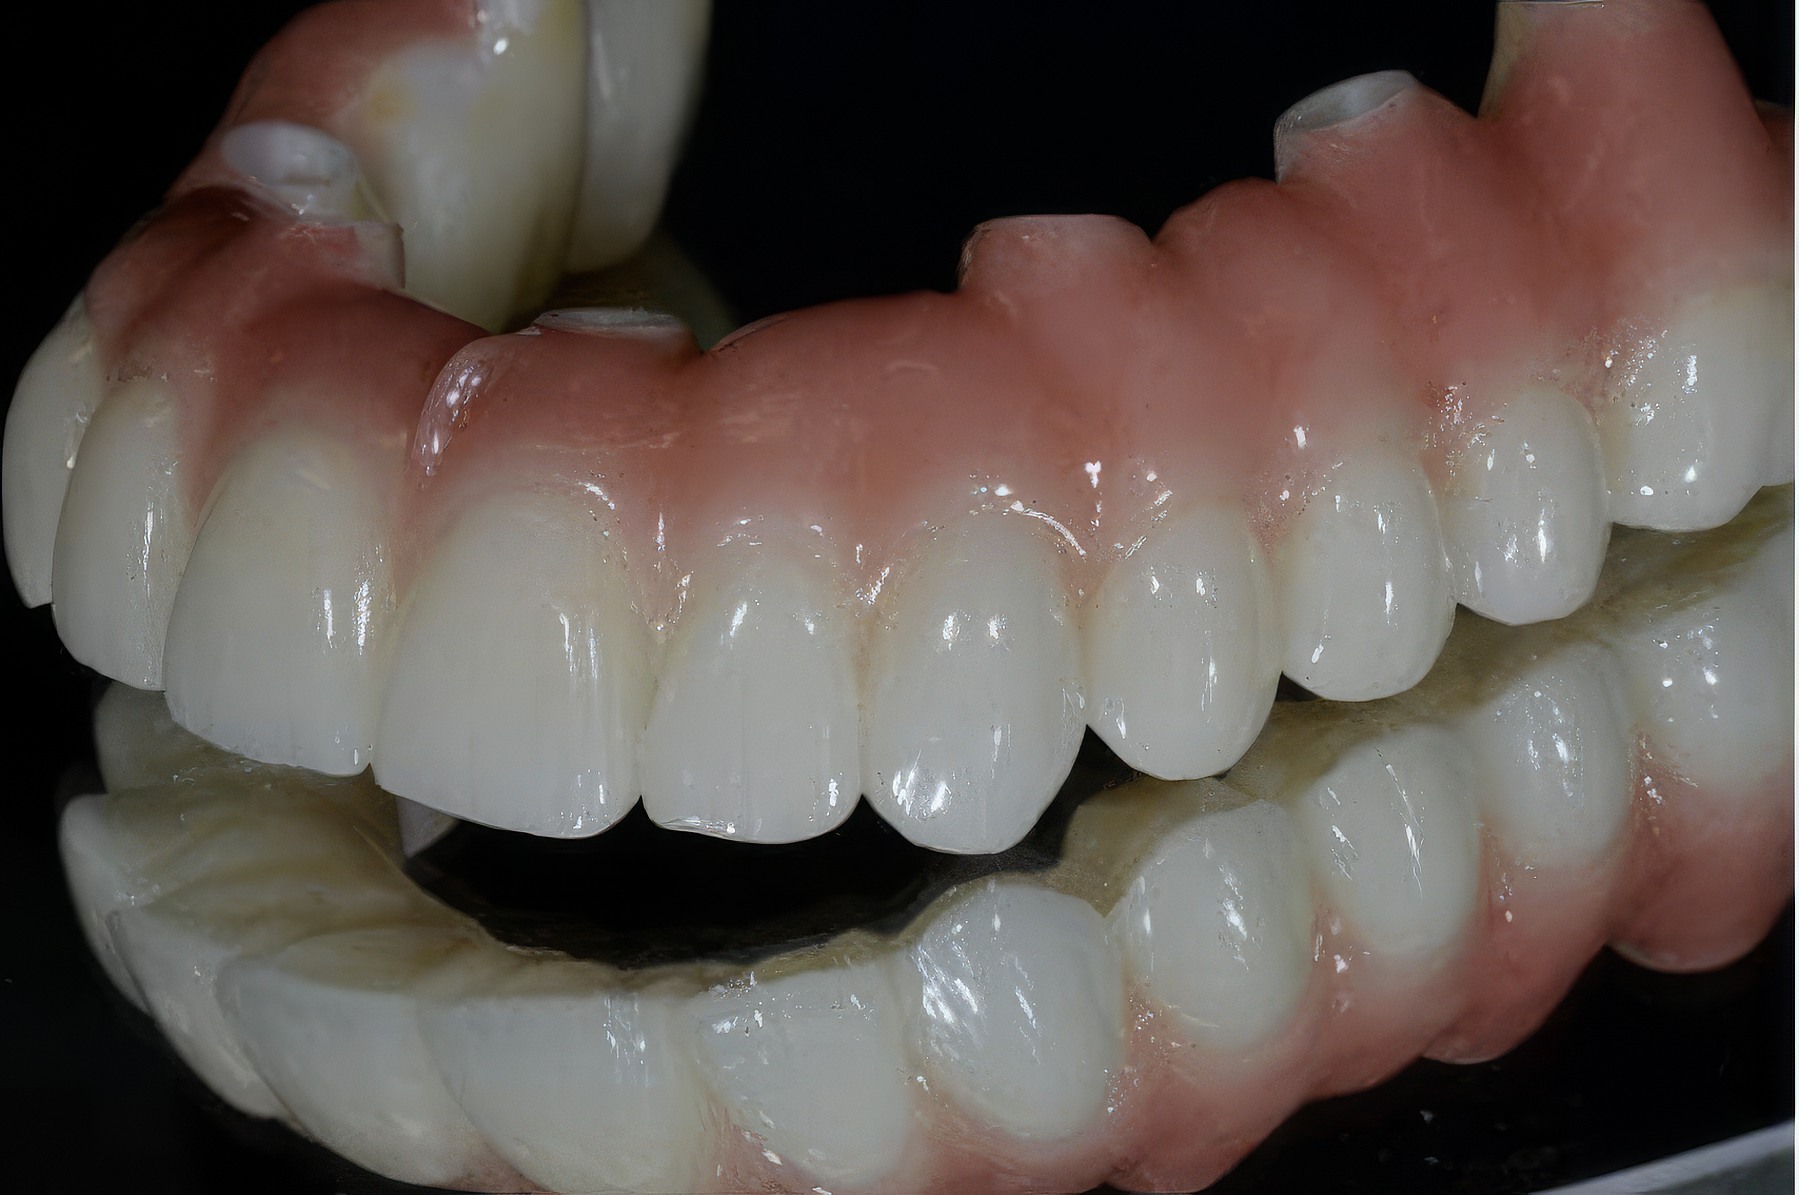
The final should carry everything the provisional proved and ship with a maintenance plan already set. Confirm the material, log the delivery, and set recall and monitoring at insertion, not later, once something’s gone wrong.
Watch out for choosing a material without weighing hygiene, access, and repair, or treating recall as an afterthought.
Full-arch restorations need structured maintenance. This includes peri-implant and prosthetic monitoring on an individual recall. Not “set and forget.”
Full-Arch Digital Records Checklist
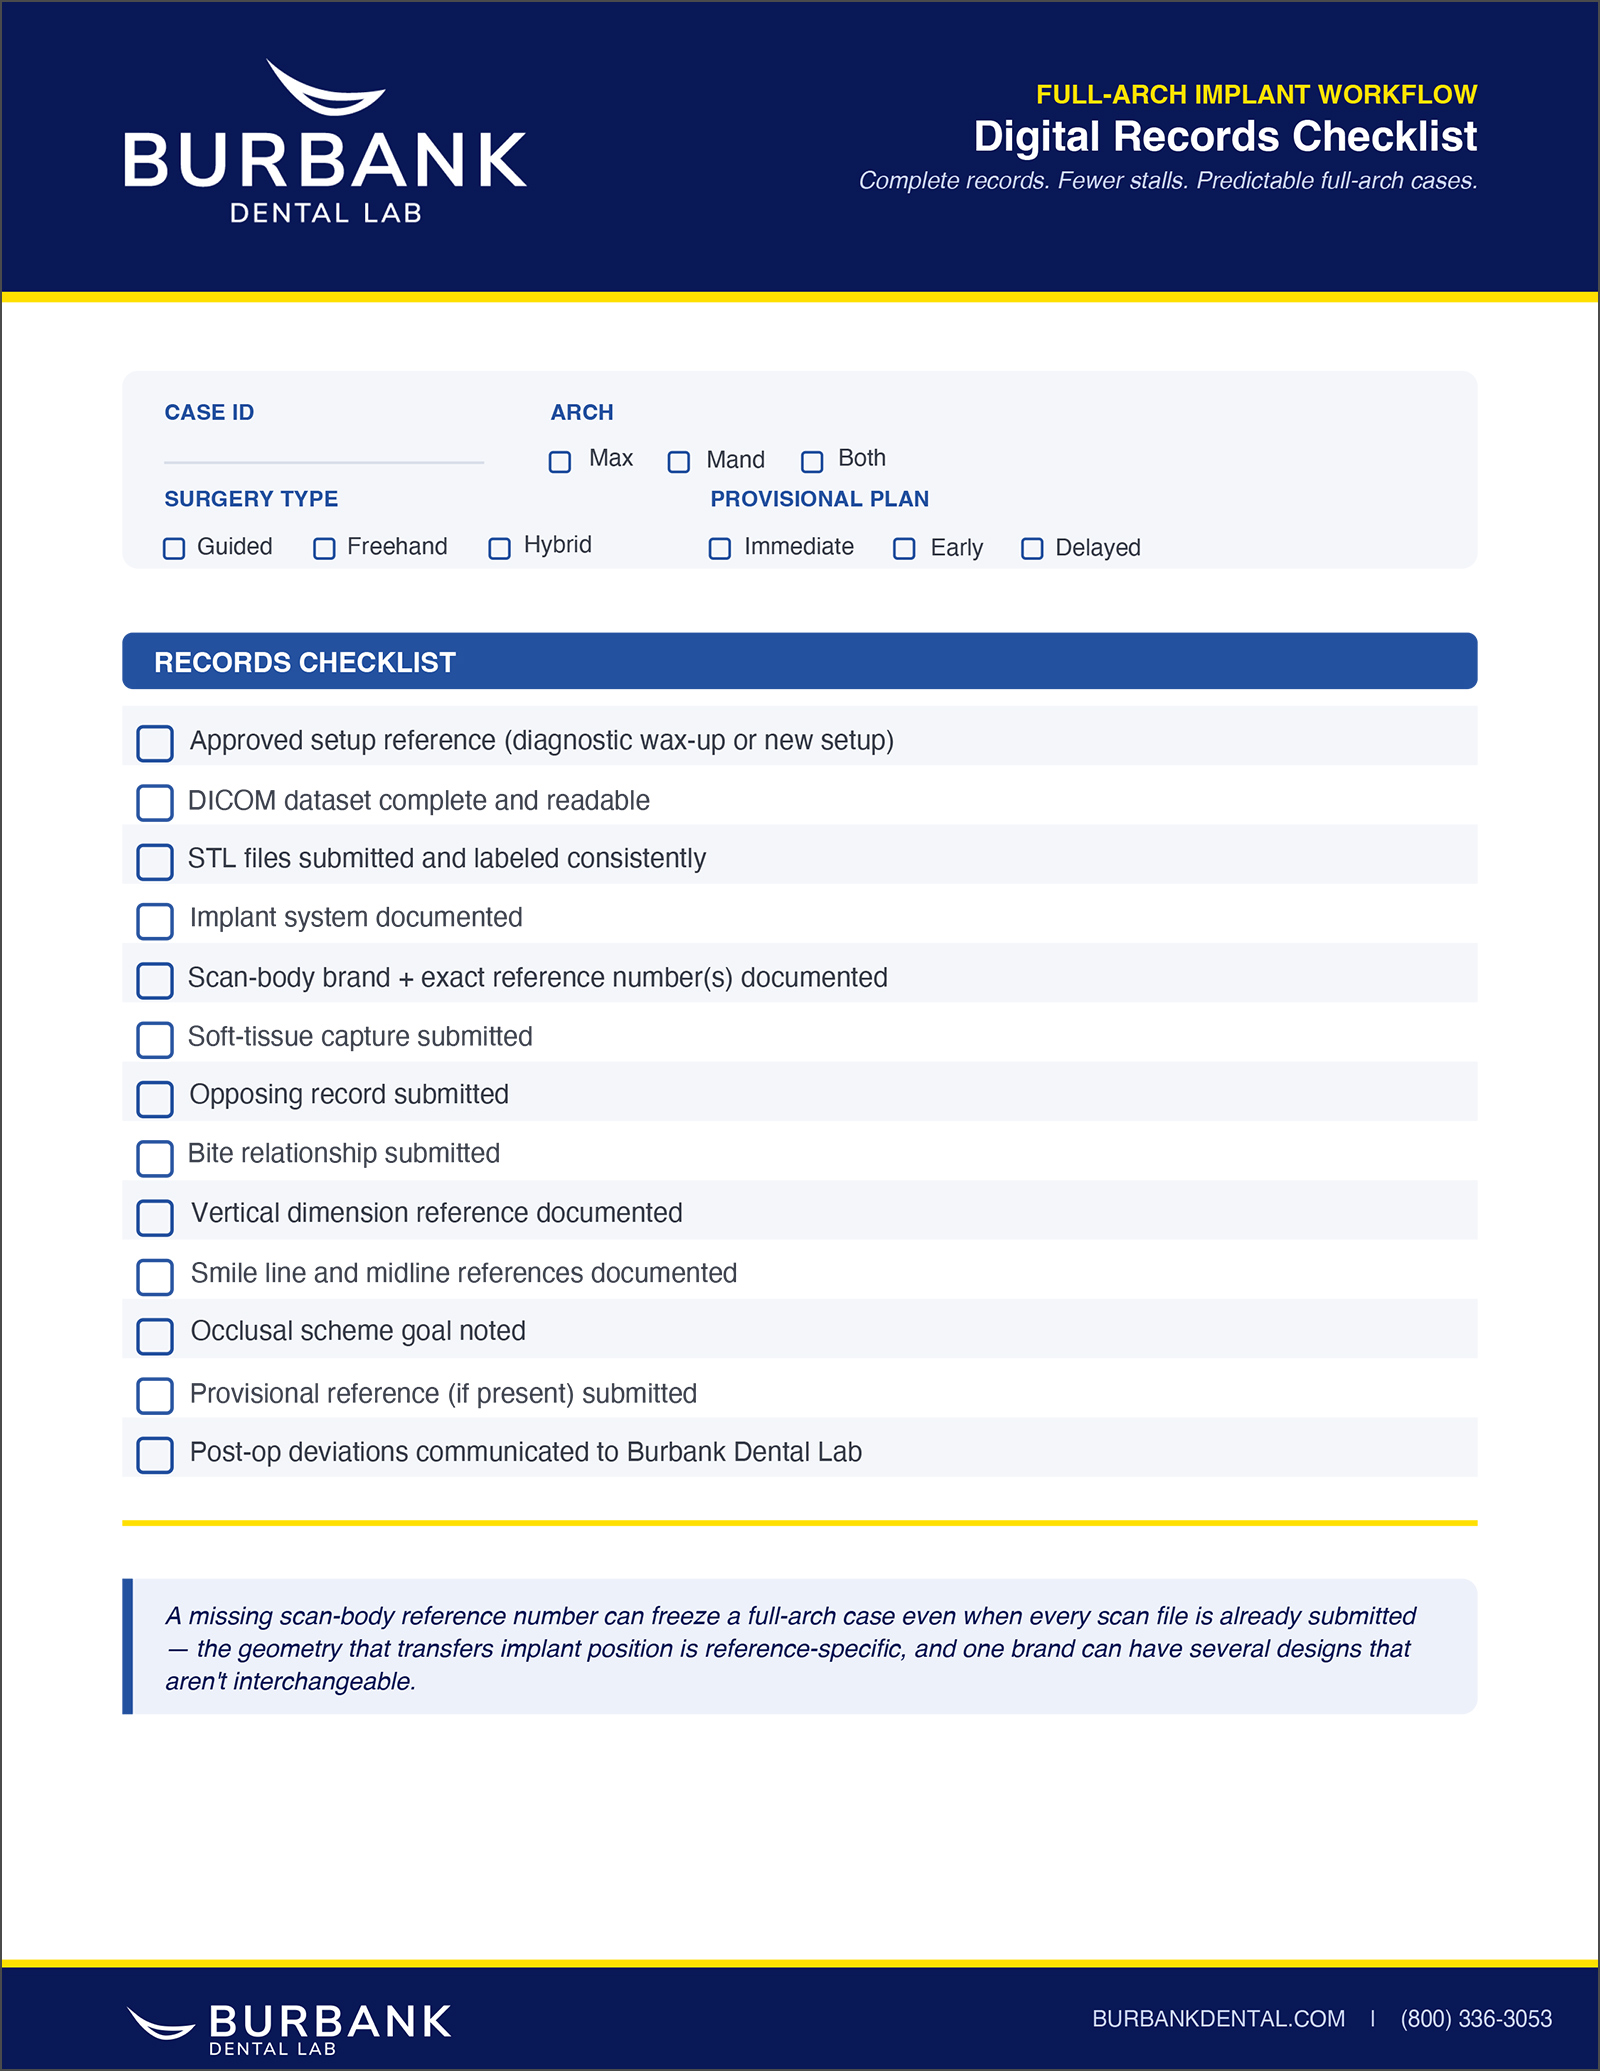
DOWNLOAD THE FULL-ARCH DIGITAL RECORDS CHECKLIST
Record Checklist
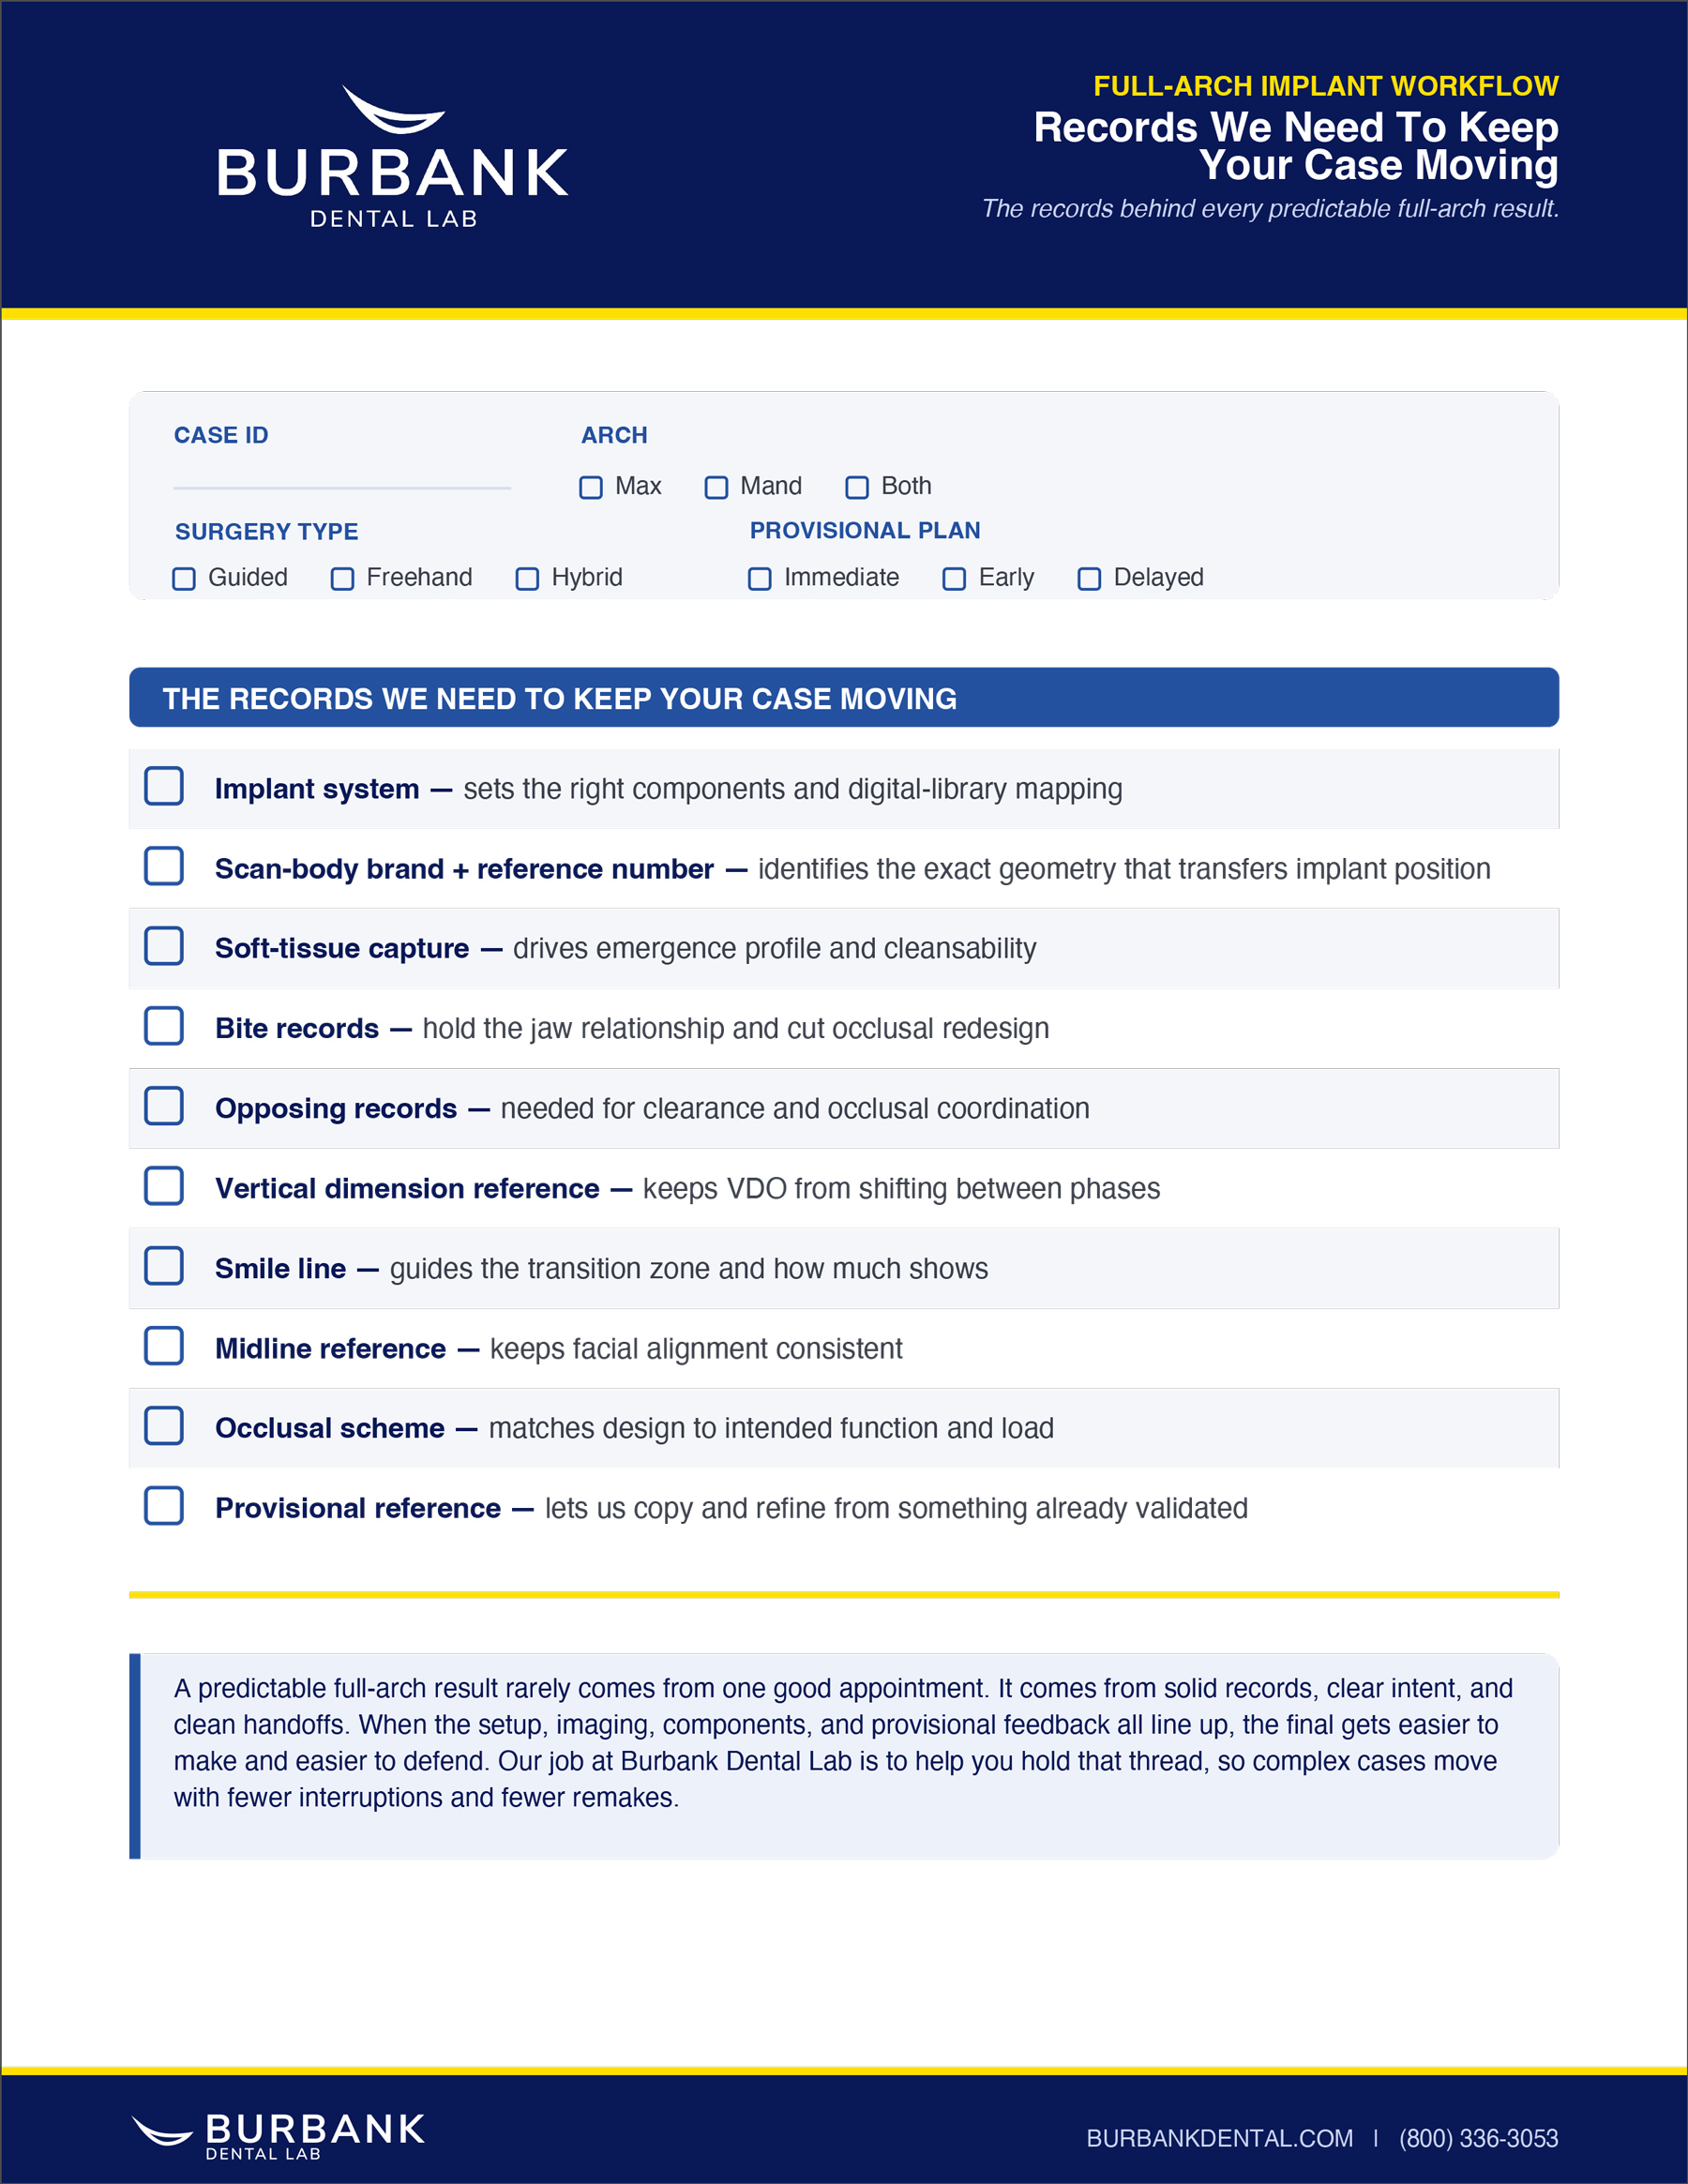
DOWNLOAD RECORD WE NEED
TO KEEP YOUR CASE MOVING CHECKLIST
A completed checklist doesn’t guarantee a perfect case — but an incomplete one guarantees a delay.
FREE TO DOWNLOAD – SUCCESS GUIDES
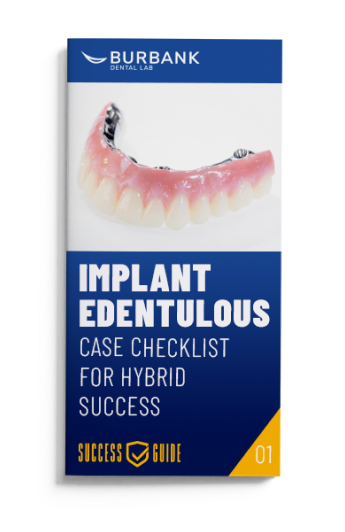
DOWNLOAD A GUIDE
FAQ


 Previous Post: