


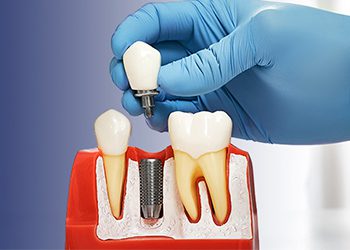


One of the common challenges that our implant team at Burbank Dental Lab facilitates solutions for is restorative workarounds for implant placements that make accomplishing the desired restorative goals difficult.
The implant placement problems that we see include:
Challenging angulation
An inappropriate height of the implant
VDO that will not allow the desired restoration to be used
AP spread that does not support desired results
Implant "tooth" position that creates challenges restoring dentally and esthetically
Tissue problems that were not in surgical considerations
The best way to avoid many of the problems that come up is, to begin with planning the prosthetics. The prosthetic options and available space must be addressed first, then the surgical plan should attempt to support the restorations planned.
Approaching implant dentistry as a prosthetically driven discipline, not just as a surgically driven one, is the only way to accomplish predictable restorative results. Yet more often than not, the restorative dentist defers to the specialist to place the implant in the “right place”. This all too often leads to restorative challenges. Defining restorative goals and evaluating existing parameters must be the first steps in the treatment progression.
Dr. Carl Misch defined a prioritized order of progression for implant dentistry. Misch’s evaluation criteria are listed below in descending order of importance, beginning with prosthetic design.
Prosthesis design
Patient force factors
Bone density in implant sites
Key implant positions and number
Implant size
Available bone
Implant design
The first step is and must be prosthetic design, then followed by a supportive surgical plan.
Diagnostic and Planning Steps to Implant Success
Step 1:
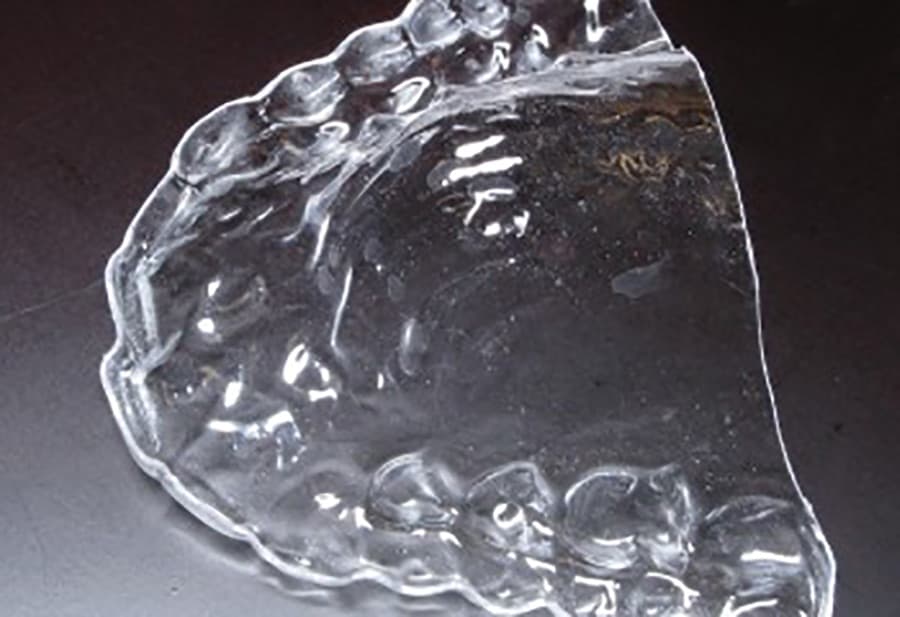
Diagnostic Wax-Up

Diagnostic wax-ups are too often undervalued and skipped. But there is no better way to begin building a sound foundation for your restorative work. Your wax-up will allow you to test your design hypothesis, become the template for your provisionals, and be your guided surgery planning matrix.
Items to consider as you design your wax-up include:
Tooth Position
Overjet and Overbite
Buccal Corridor
Smile Line
Tooth Display
Occlusion
Vertical Opening
Step 2:
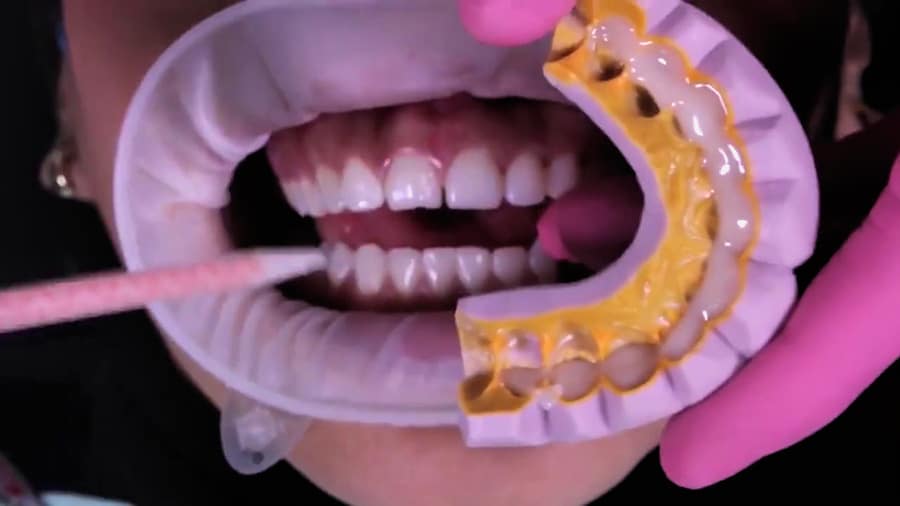
Measuring & Evaluation
Diagnostic wax-ups or wax set-up for edentulous can be used for many critical evaluations and measurements. Your wax-up will be your road map, but even more importantly it will tell you if your proposed route is not tenable. Nothing is worse than getting halfway through an implant case and realize that you will not be able to implement your plan. This is true regardless of whether you are doing a single unit or an edentulous prosthetic.
Elements a diagnostic allows you to measure and evaluate:
Step 3:
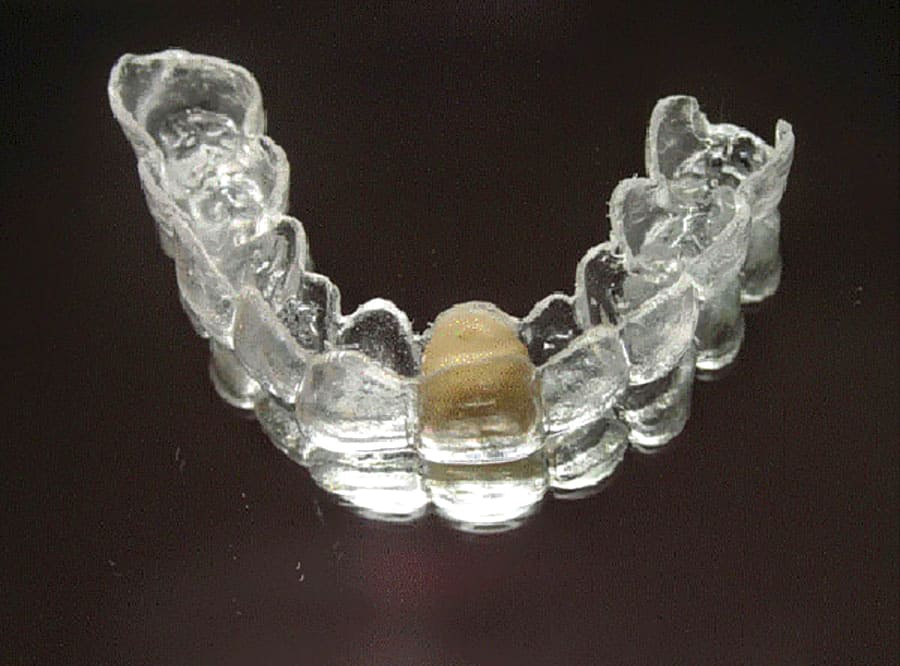
Surgical Planning Based on Diagnostic Mock-Ups

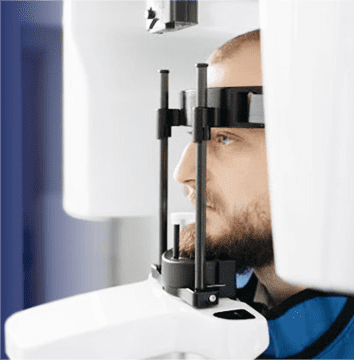
CT Scan
Finally using the CT scan to determine where the implant restorable sites and positions are, relevant to where you have determined you want to place your restorations, based on your diagnostic wax-up.
With all of the above examined and evaluated you can determine what type of restoration will work where you need it. One of the critical evaluations that you need to determine is the vertical clearance required.
The following is a list of minimum requirements for different types of restorations.
Single and Quadrant restorations for partially edentulous patients.
Screw-retained vertical clearance requirements - 4 mm of interocclusal space.
Cement Retained vertical clearance requirements - 7 mm of interocclusal space.
Full arch restorations for edentulous cases
| PFM Hybrid | 7 MM | 8 MM | 2.5 MM |
| Zirconia Hybrids | 8 MM | 10 MM | 3 MM |
| Smart Composite Hybrid | 10 MM | 9 MM | 3 MM |
| Conventional Hybrid | 11 MM | 11 MM | 3 MM |
| Denture over Hader Bar | 11 MM | 11 MM | 4 MM |
| Denture over Locator Bar | 12 MM | 11 MM | 4 MM |
| Denture with Locator Bar | 10 MM | 10 MM | 3 MM |


