


One of dentistry’s most difficult esthetic challenges is matching single anterior veneer restorations to the existing dentition. In many instances, cases like these may require several attempts to achieve an optimal result. If these cases are not appropriately managed, they can lead to unhappy patients.
There are, however, steps that can be implemented to help ensure a more predictable outcome. Preparation, material choice, communication, and dental lab support are critical in achieving a match that exceeds patient expectations.

REQUEST THE BURBANK DENTAL LAB FEE SCHEDULE
REQUEST FEE SCHEDULE HERE
REQUEST FEE SCHEDULE

FREE TO DOWNLOAD – SUCCESS GUIDES
DOWNLOAD SUCCESS GUIDES

Steps to perfecting veneers and creating a predictable outcome
1. Effective communication is important.
Communication is critical when matching a veneer to the existing dentition. These cases require a high level of evaluation to achieve a natural result. The assessment should begin by recording the characteristics of the existing dentition.
Here, the shade, value, translucency level, shape, surface texture, and luster should be evaluated.
Make sure to provide the following:
2. Photography is essential for the best results.
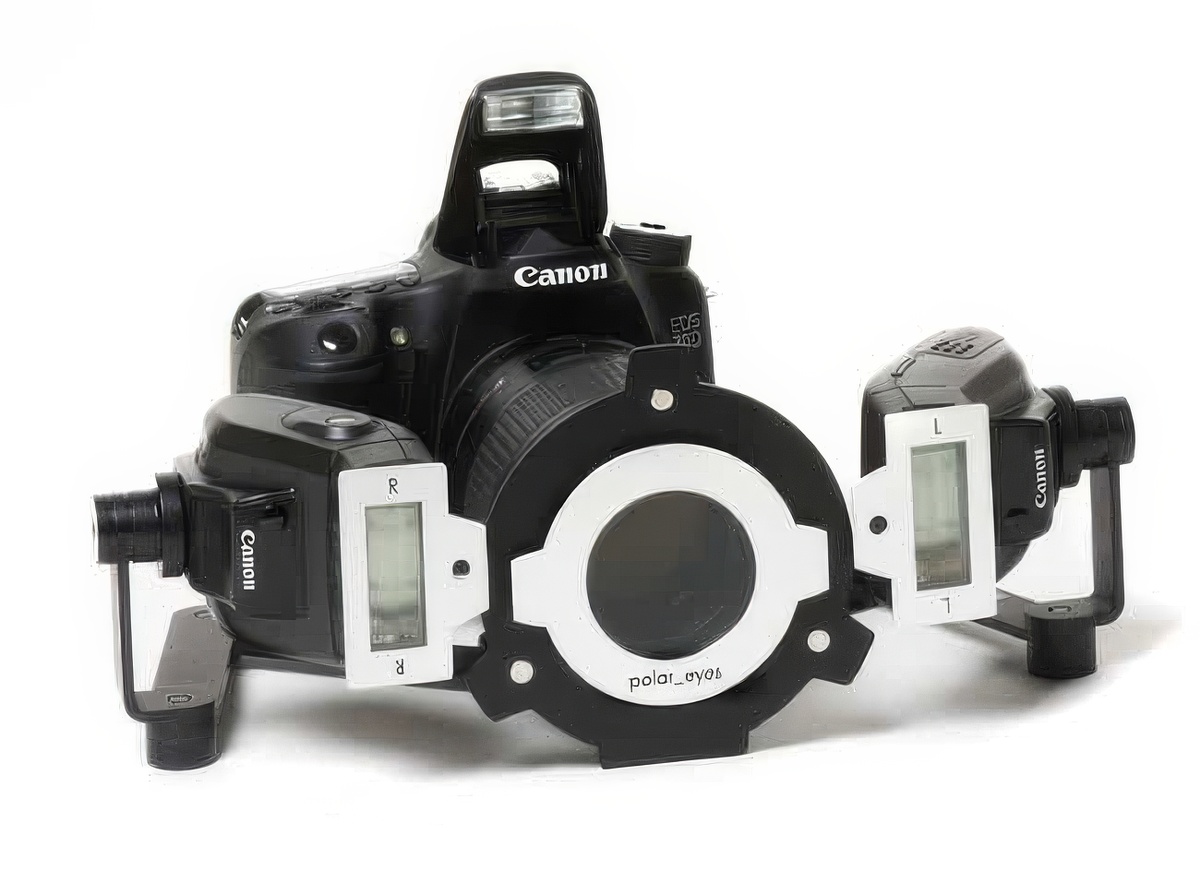
To obtain the best results, photographs are essential. They are ineffective at communicating color but crucial for providing characteristic information, such as showing hypocalcified teeth or crack lines. Pictures should also be taken when evaluating the shade of the dentition and the shade of the preparation.
Whenever matching a restoration to natural dentition, provide the following photos:
During this appointment, it is helpful to involve the patient in the color selection process and educate them on the challenges inherent in matching dental restorations to the existing dentition.
3. Choose the right material choice
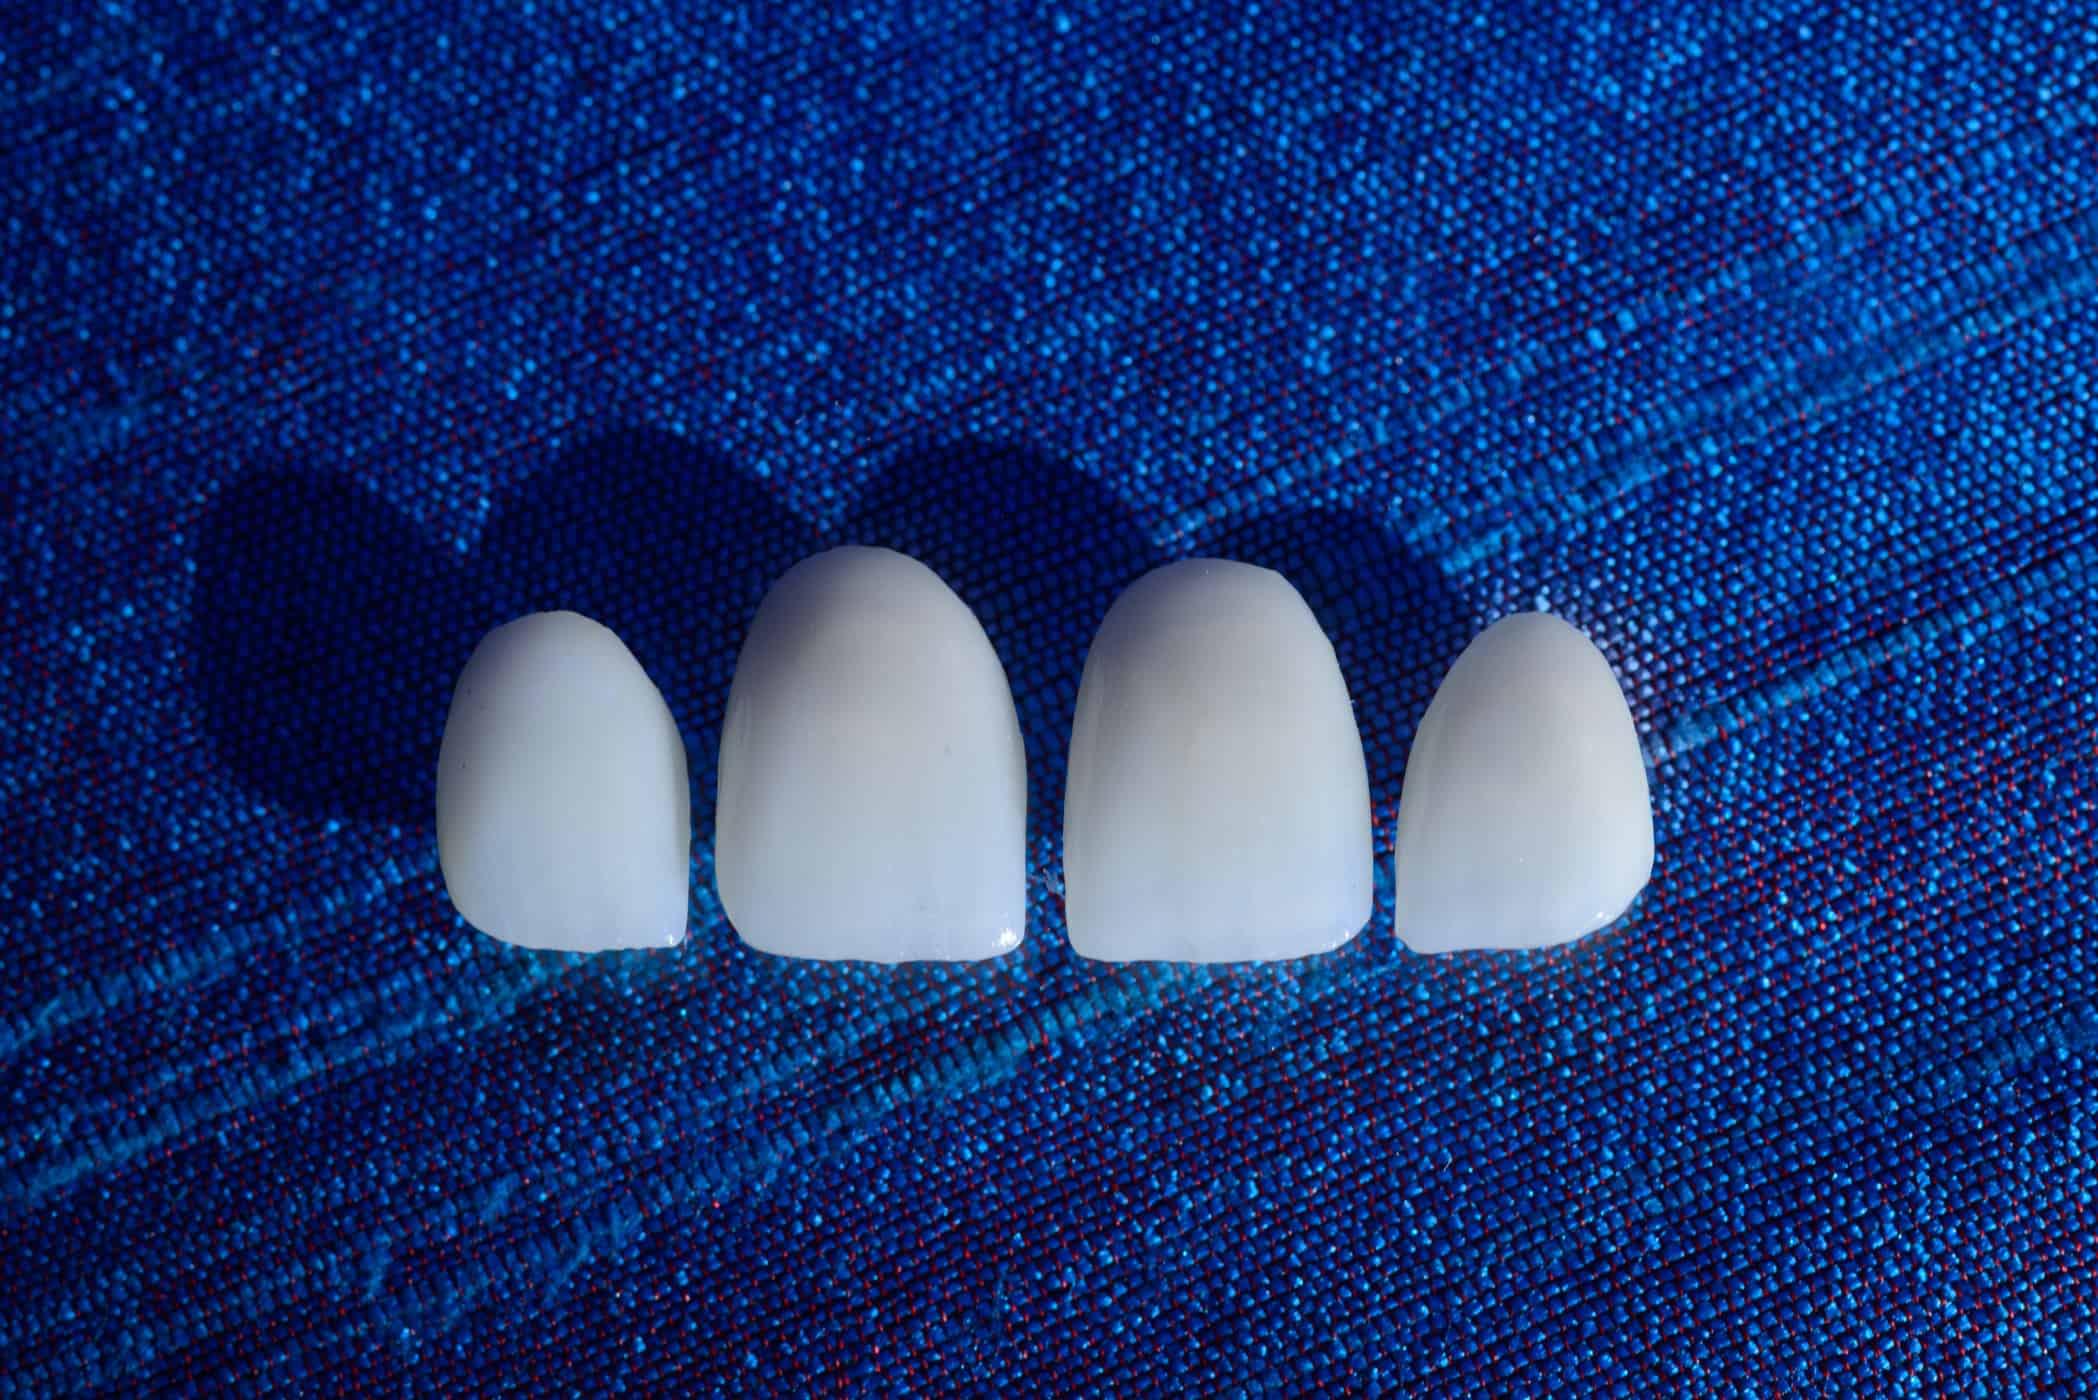
In most cases, when matching a veneer restoration to natural dentition, a lithium disilicate (IPS e.Max) material, such as Burbank Dental Lab’s layered veneers, is an ideal material choice. In some cases, feldspathic porcelain veneers are the best option.
Nano Press & Layered Veneers
Nano Press and Layered Veneers should be requested when a more aggressive preparation is needed. For example, these veneers work well where a shade correction is required. This option is ideal when a color shift of up to 3 steps is needed to properly match the dentition. These veneers are pressed and layered, and come in ingot shades that vary in color and opacity.
Preparation design:
Feldspathic Porcelain Veneers
Feldspathic porcelain veneers are entirely layered to mimic natural dentition. They are great for cases where unfavorable underlying colors, such as those found in tetracycline cases, must be blocked out to properly match the natural dentition. These veneers can mask out severe discolorations while providing a very natural translucent result. They are fabricated using either foil or a refractory die.
Preparation Design:
Each case must be evaluated separately. The preparation can vary and require variation from the above recommendations. It is critical to review all case information and prepare accordingly.
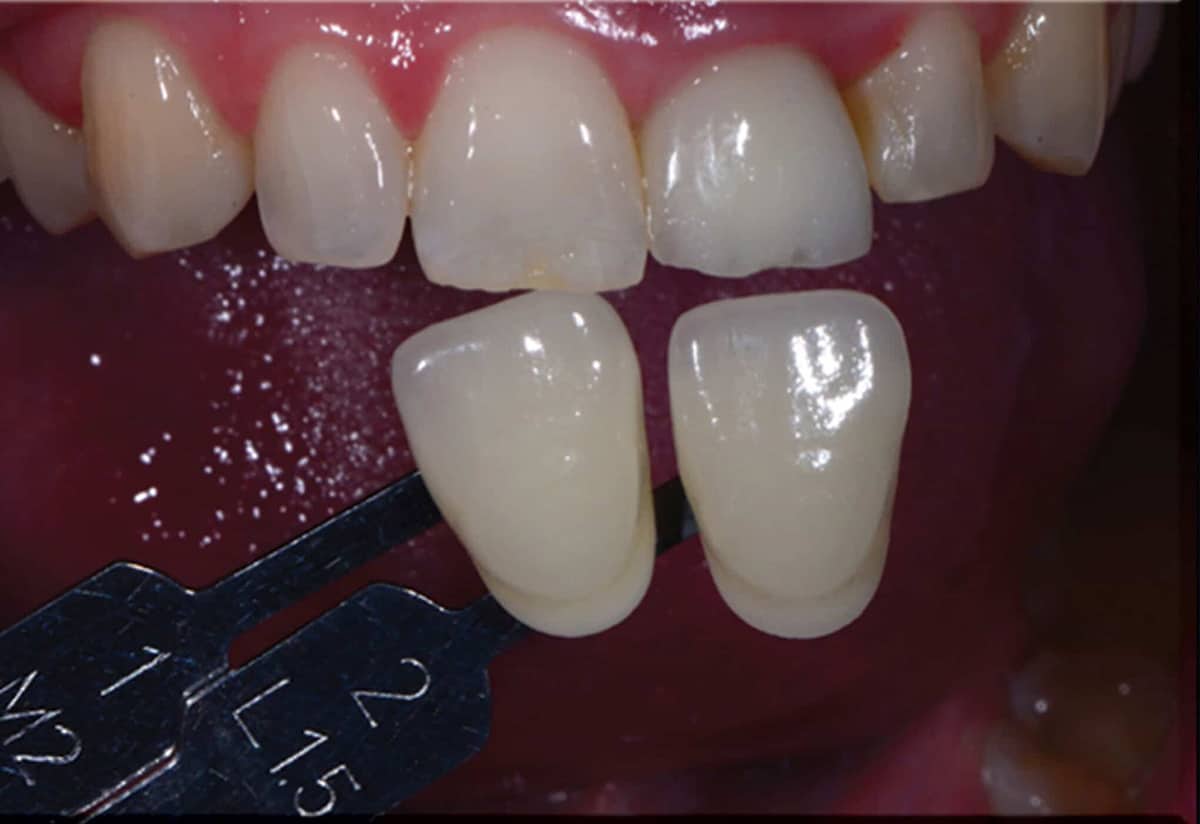
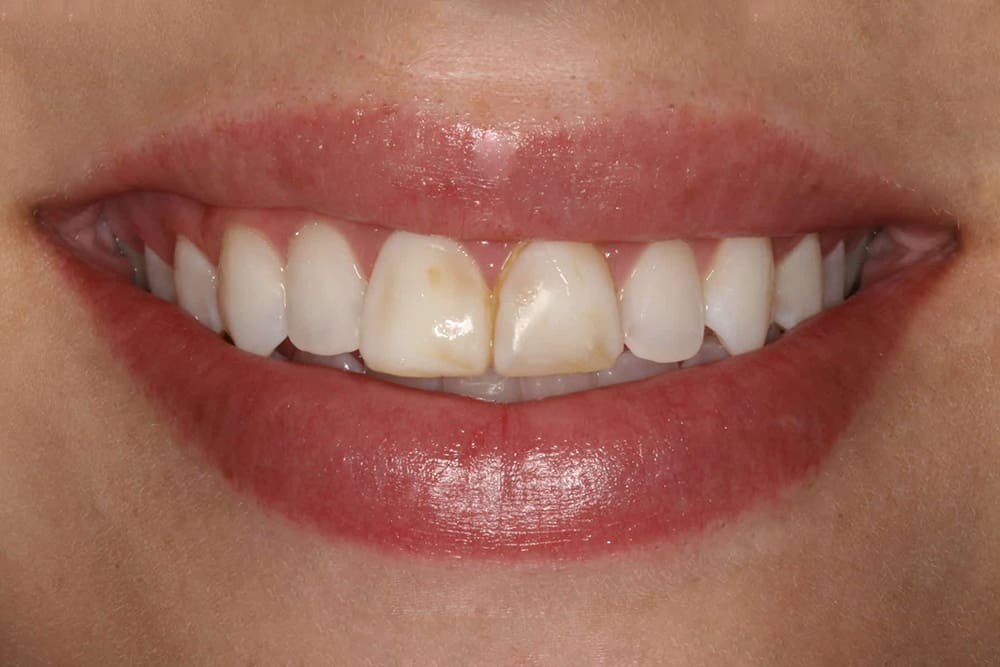
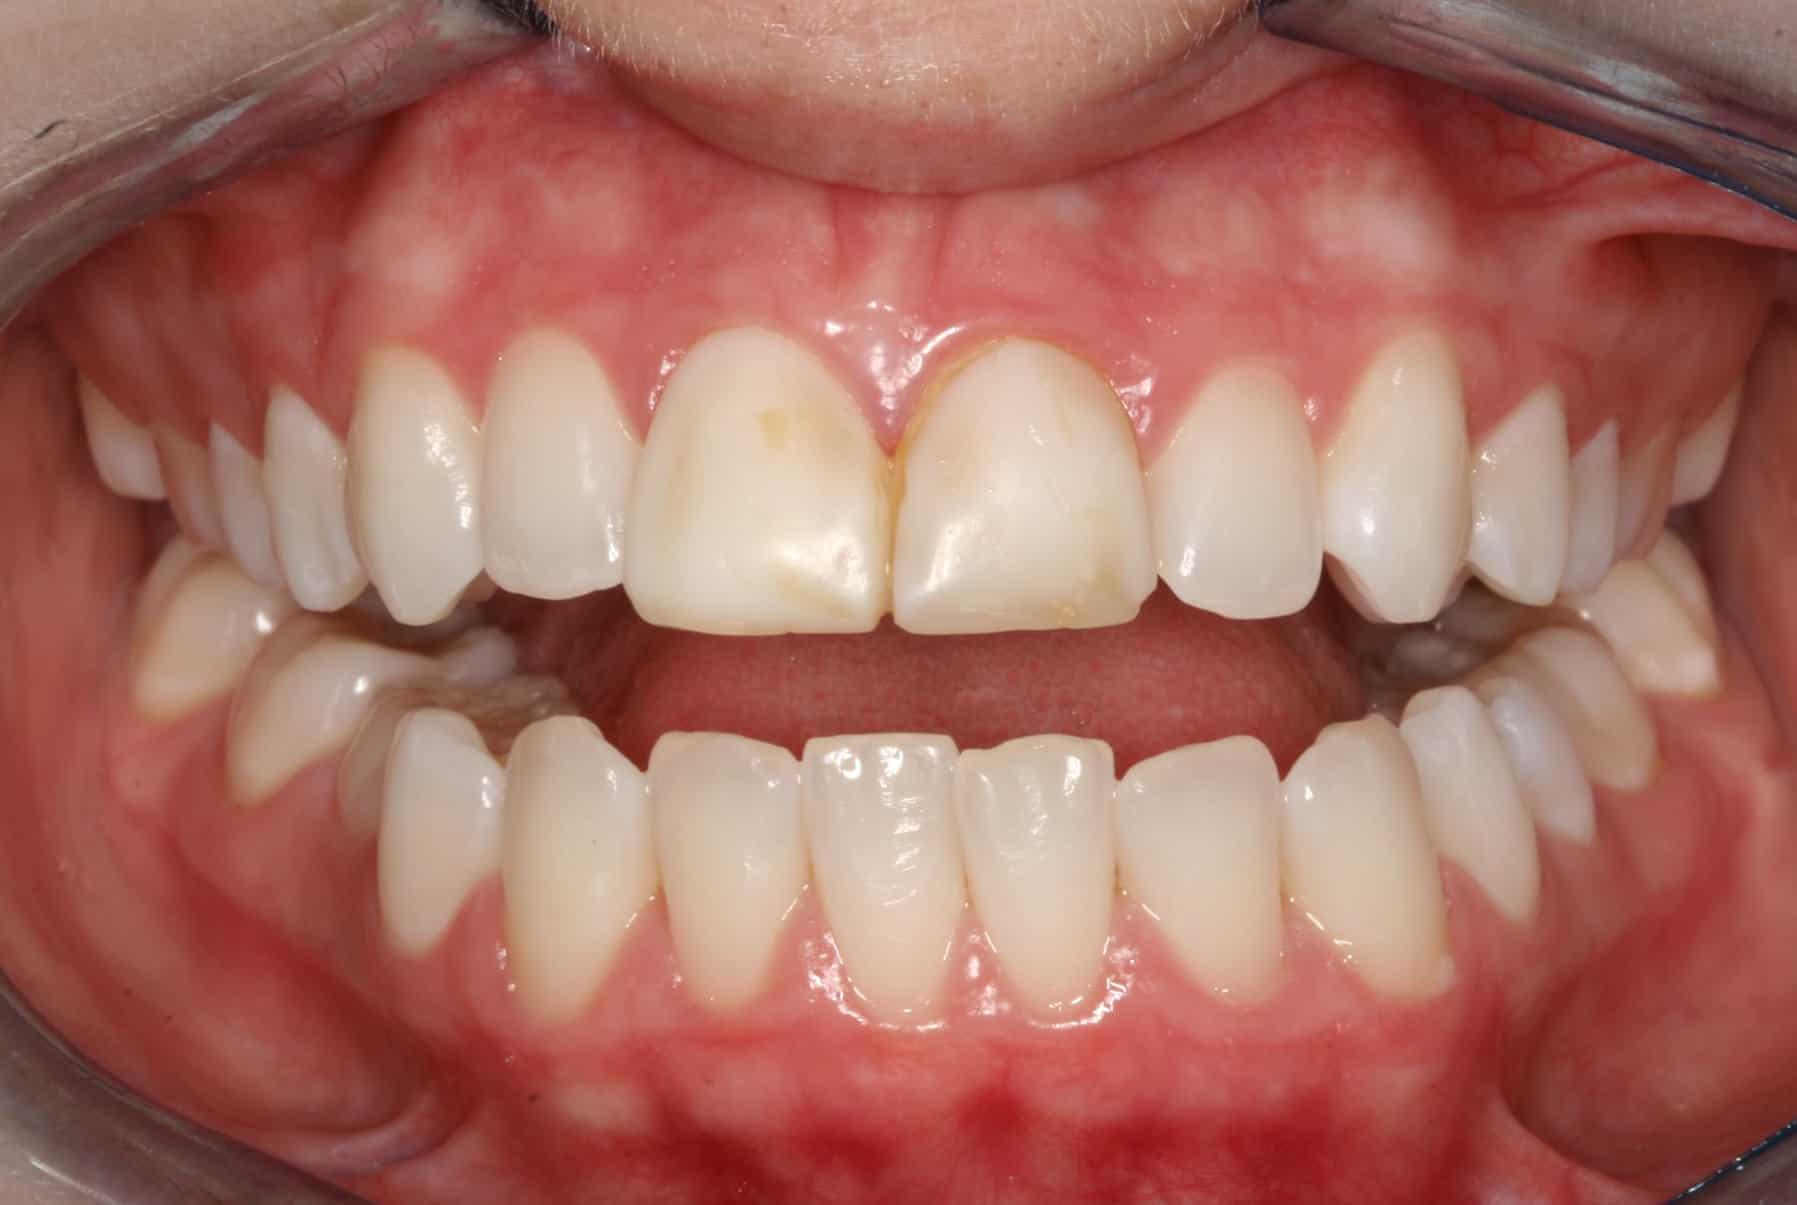
The following case was presented with two old composite veneers on teeth numbers 8 and 9. The patient’s biggest concern was the discoloration that had developed over time. There were also some shape issues. After receiving the color information and noting the underlying color, it was determined that Nano Press & Layered Veneers would provide the best results.
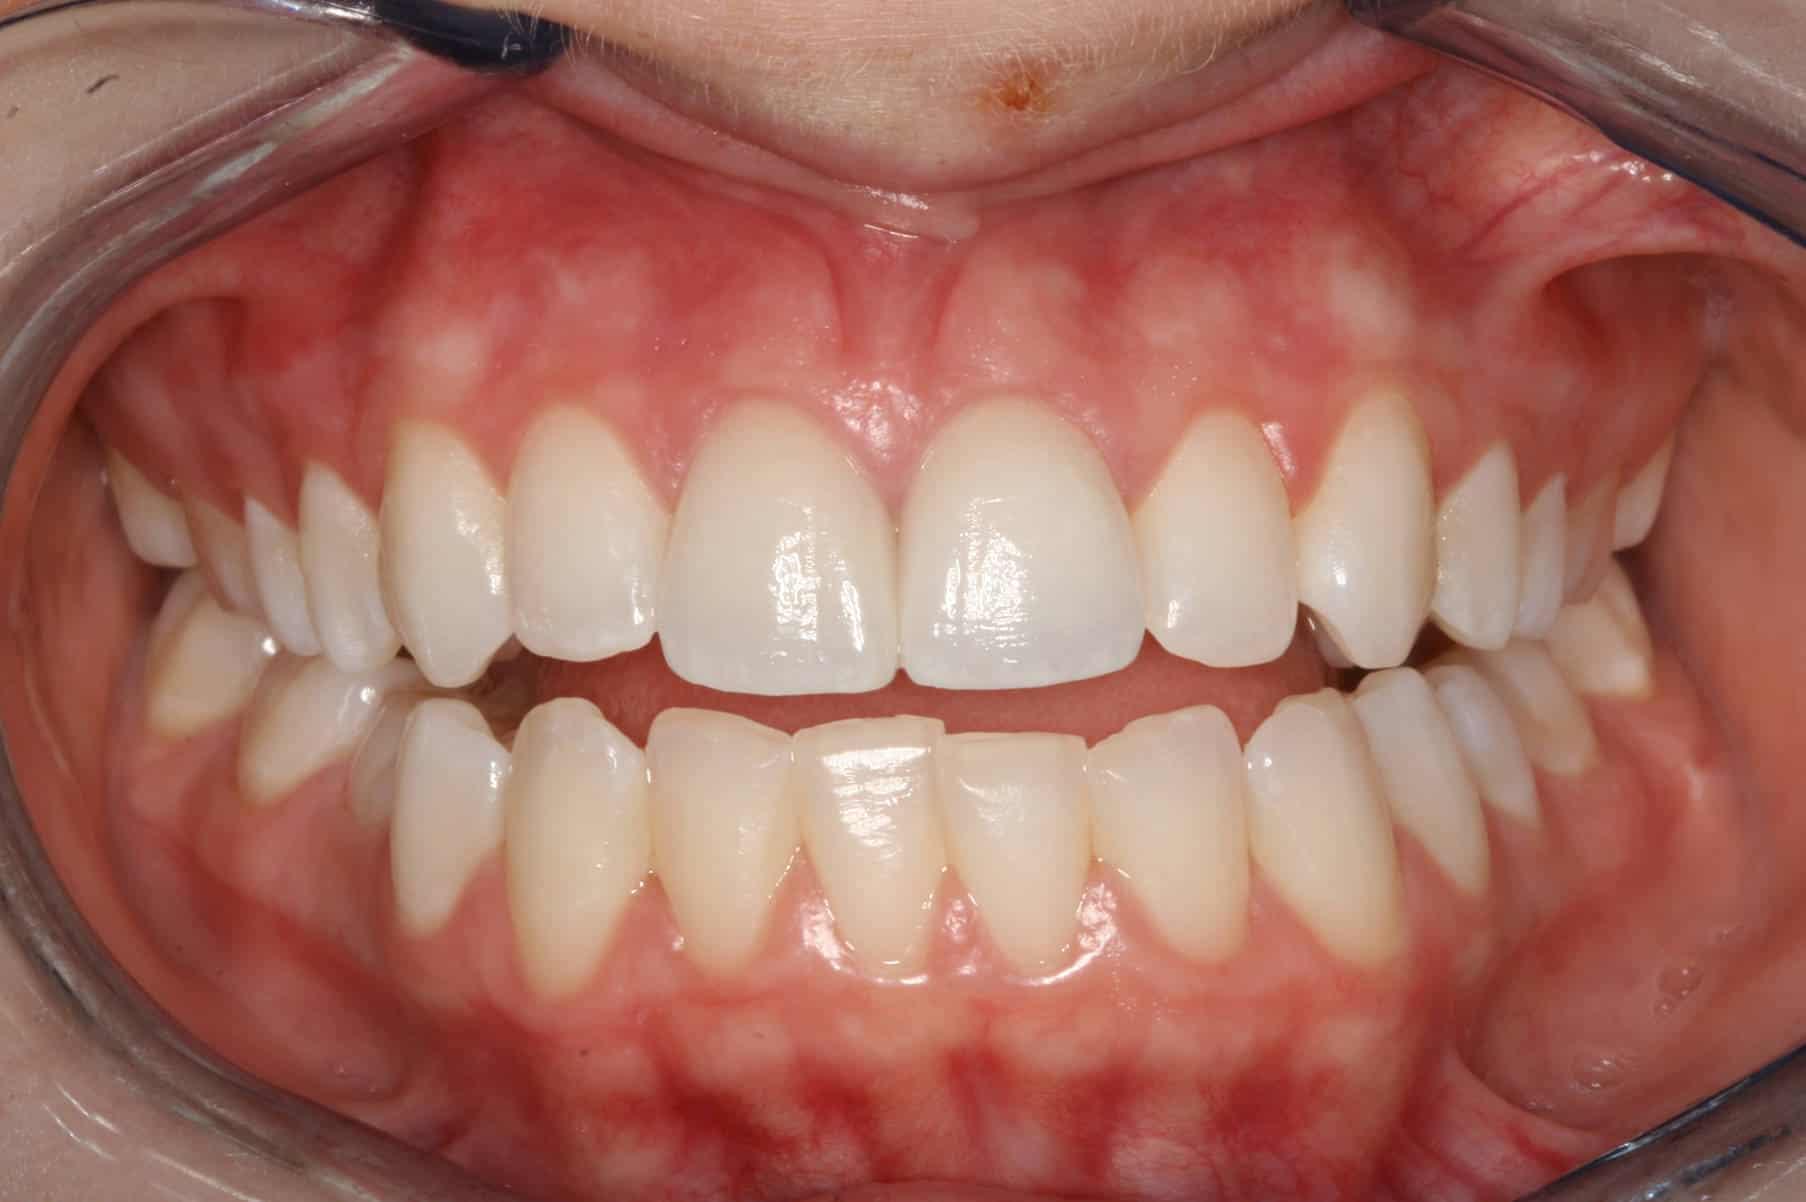
It is crucial to try in the veneers with try-in gel before cementation to evaluate color and shape before the final cementation. This case resulted in a more harmonious result, with the restorations matching the color and shape of the existing dentition beautifully. This outcome is achievable when proper communication is provided.

Matching a single anterior veneer to natural dentition is a challenge and many factors can affect the outcome of a case. Fortunately, providing the correct information to the dental lab helps manage these cases’ success. Informing the patient of the difficulties involved is paramount in managing the patient’s expectations.
Today, we have various material options that can deliver successful results in almost every situation without requiring repeated adjustment.
Call or chat with our Smiles by Design team today to plan your next veneer case.

3 STEPS TO
PHOTOGRAMMETRY SCANNING

WE HELP YOU GET IT RIGHT
EVERY TIME
STEP 1
Burbank Dental Lab implant scan specialist provides the special scan bodies for insertion in the patient’s newly placed implant sites.
STEP 2
Scan Bodies are removed and special healing abutments are placed on the implant sites. Soft tissue can now be scanned with an intra-oral scanner.
STEP 3
The data from both scans are then sent to the laboratory. The ICam4d data and soft tissue scans are aligned to become a high-precision dental model.