


BURBANK DENTAL LAB / PRODUCTS / ZIRMAX ME Zirconia
ZIRMAX ME Zirconia
Request a Quote

REQUEST FEE SCHEDULE
DOWNLOAD RX FORM
SCHEDULE A PICK-UP

What can we help you with today?
All Content
Products
Videos
Articles
Resources
Events
Popular Searches
Total Results: 0
Product Results: 0
Video Results: 0
Article Results: 0
Resources Results: 0
Event Results: 0
Search Time: 0ms
What can we help you with today?
All Content
Products
Videos
Articles
Resources
Events
Popular Searches
Total Results: 0
Product Results: 0
Video Results: 0
Article Results: 0
Resources Results: 0
Event Results: 0
Search Time: 0ms
Unmatched Strength
and Aesthetic Excellence
At Burbank Dental Lab, we understand that dentists demand materials that deliver exceptional strength without compromising aesthetics. ZIRMAX ME zirconia is engineered to meet these exacting standards. Combining multi-layered translucency with industry-leading strength, this zirconia ensures your patients receive restorations that are as durable as they are beautiful.
What is ZIRMAX ME Zirconia?
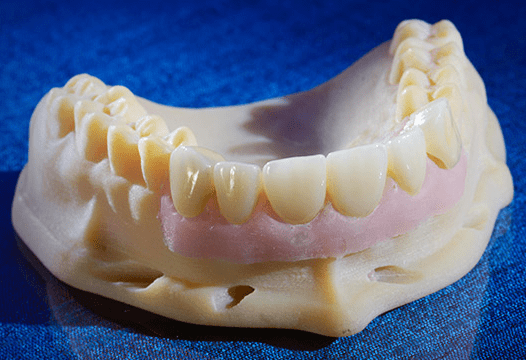
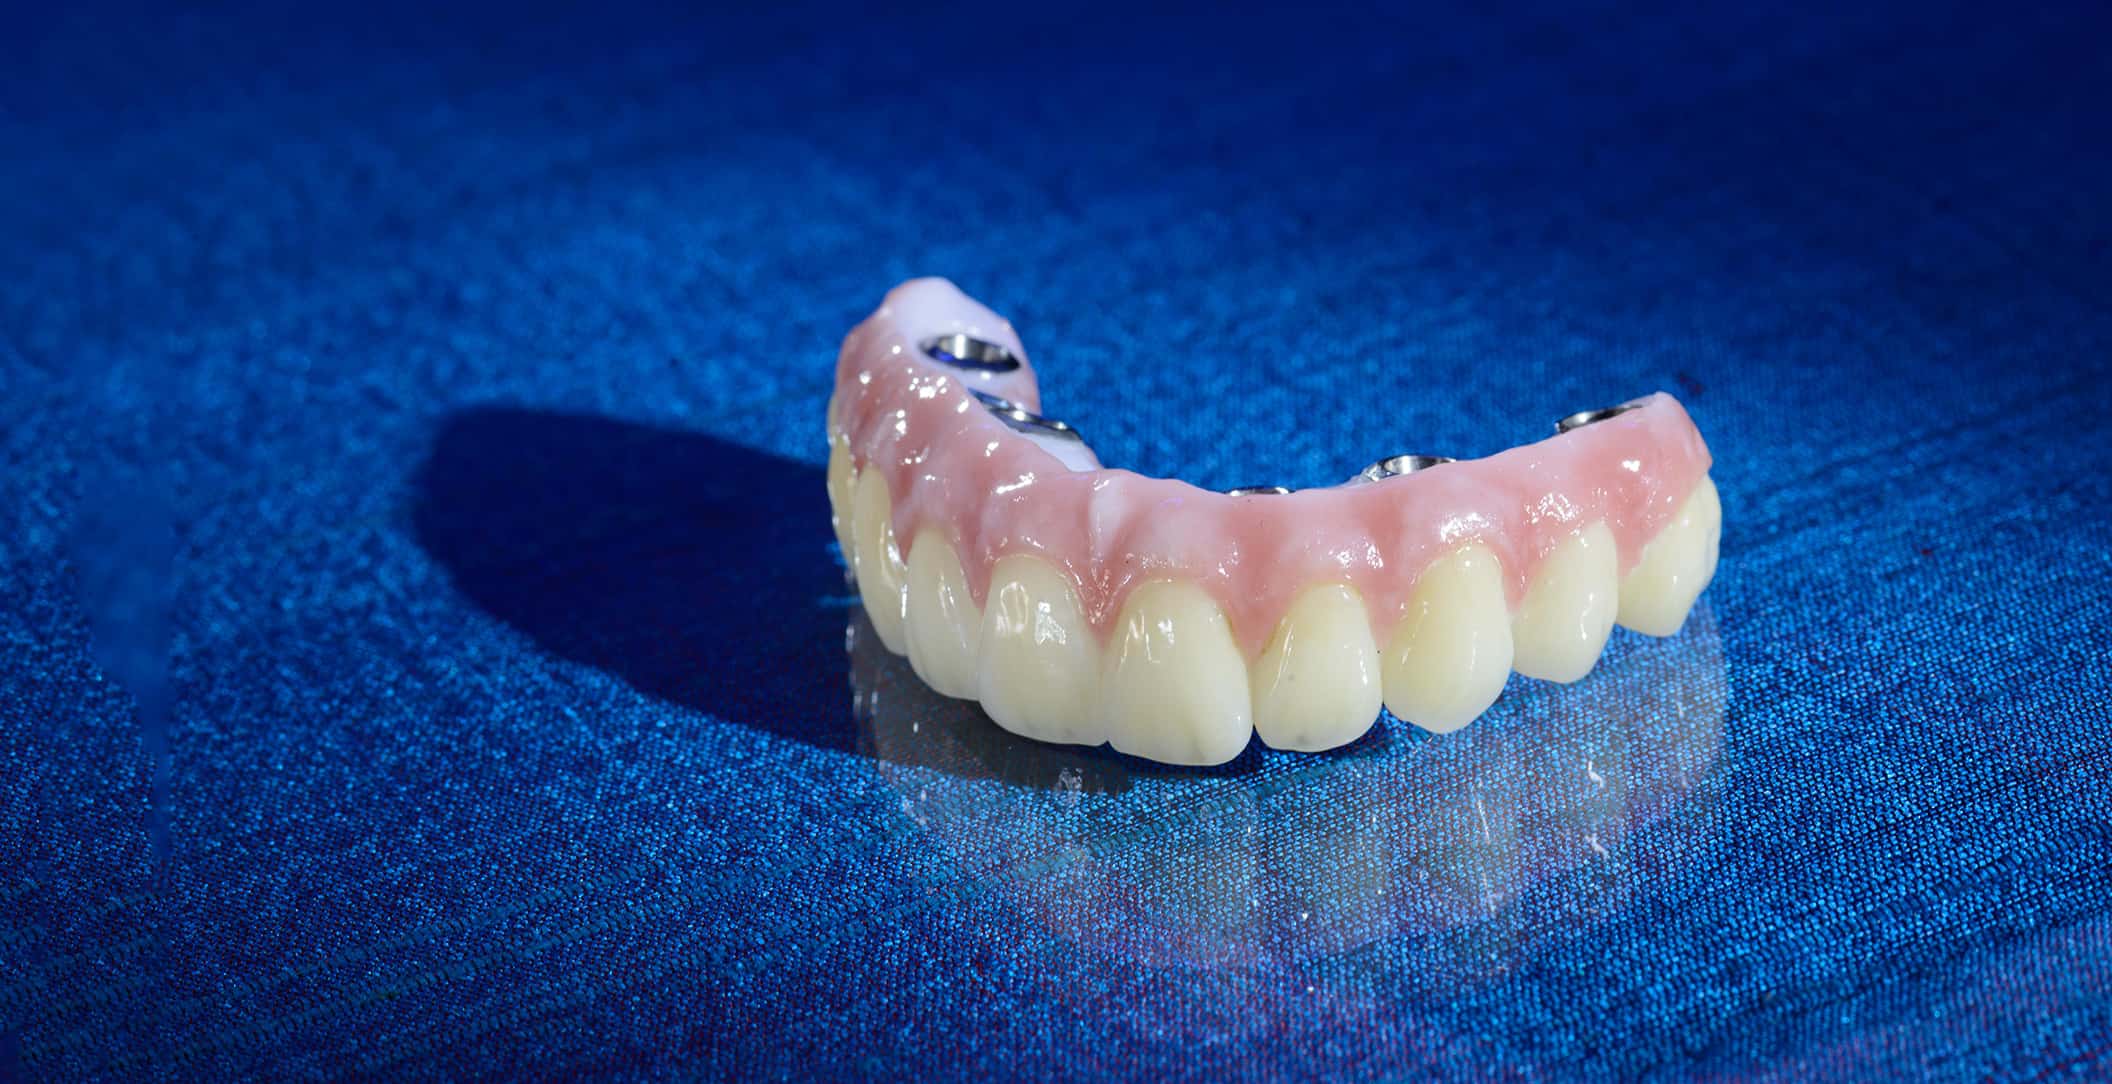
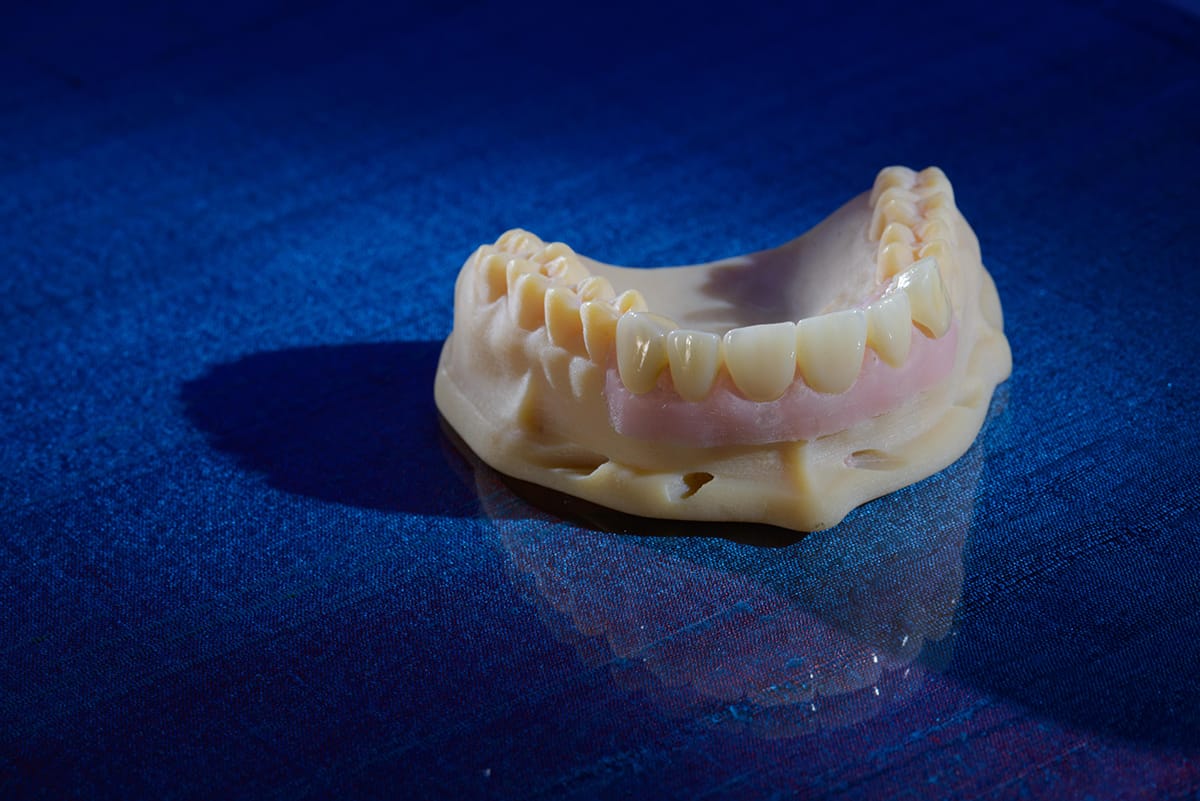
ZIRMAX ME features a proprietary multi-layered construction that mimics the natural gradation of a tooth. The layers transition seamlessly from high-opacity dentin to translucent enamel, ensuring restorations look natural in any lighting condition. Its high-density microstructure enhances durability and minimizes chipping and wear, even under high occlusal loads.

Key Features of ZIRMAX ME Zirconia:
Dentists trust ZIRMAX ME zirconia for its reliability and versatility in various restorative applications. Here’s why it stands out:
ZIRMAX ME features a proprietary multi-layered construction that mimics the natural gradation of a tooth.
COMPOSITION
Zirconium Oxide & Yittrium Oxide
IN-LAB WORKING TIME
5-Days
WARRANTY
10-Years
FLEXURAL STRENGTH
1,000 MPa


REQUEST A QUOTE
Indications for Use
ZIRMAX ME zirconia is a versatile material ideal for:
Clinical Handling
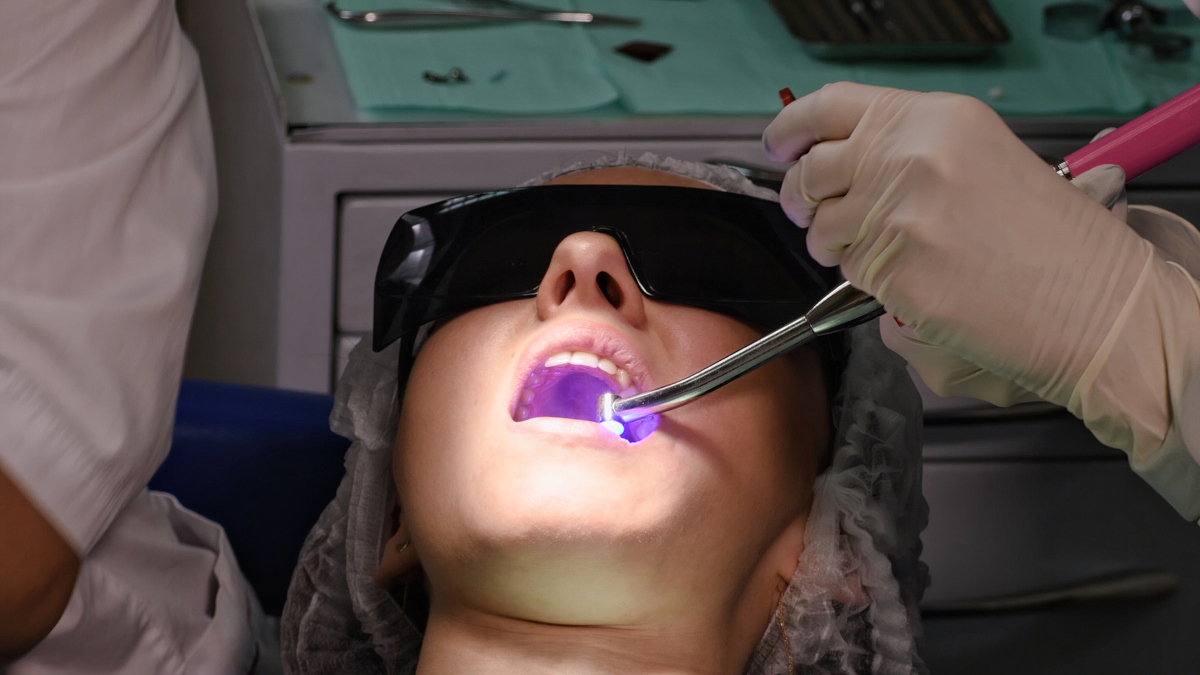
Proper tooth preparation is crucial for the success of ZIRMAX ME zirconia restorations. Adhering to specific guidelines for anterior and posterior teeth ensures optimal fit, durability, and aesthetics.
Enhance the success of ZIRMAX ME zirconia restorations, providing patients with durable and aesthetically pleasing outcomes.
REQUEST A QUOTE
Preparation Guidelines
Proper tooth preparation is crucial for the success of zirconia crowns, ensuring optimal fit, strength, and aesthetics. Here are the ideal preparation guidelines for anterior and posterior zirconia crowns:
Anterior ZIRMAX ME Zirconia Crowns:
Posterior ZIRMAX ME Zirconia Crowns:
General Recommendations:
ZIRMAX ME features a proprietary multi-layered construction that mimics the natural gradation of a tooth. The layers transition seamlessly from high-opacity dentin to translucent enamel, ensuring restorations look natural in any lighting condition. Its high-density microstructure enhances durability and minimizes chipping and wear, even under high occlusal loads.
Cementation Guidelines
Proper cementation of zirconia restorations is essential for their durability and performance. Here’s a concise guide to the recommended procedures:

Preparation of the Zirconia Restoration:
Air-abrasion – Before try-in, the internal surface of the zirconia restoration should be air-abraded to enhance micro-mechanical retention. This process increases the surface area for cement adhesion.

Try-In Phase:
Fit evaluation – Place the restoration to assess fit and make necessary adjustments.

Decontamination:
Cleaning – After try-in, the restoration’s internal surface may be contaminated with salivary phosphates, which can hinder bonding. Clean the surface using one of the following methods:

Priming (if Bonding):
MDP primer Application – For adhesive cementation, apply a primer containing 10-methacryloyloxydecyl dihydrogen phosphate (MDP) to the cleaned internal surface. This primer enhances chemical bonding between the zirconia and resin cement. Follow the manufacturer’s instructions for application and drying times.

Tooth Preparation:
Cleaning – Ensure the tooth surface is clean. Use a brush with cleaning paste, rinse thoroughly with water, and dry with oil-free compressed air.
Desensitizer application – Consider applying a desensitizing agent to reduce postoperative sensitivity.

Cementation:
Cement selection – Choose the appropriate cement based on the preparation:
REQUEST A QUOTE
Chairside Adjustments
Effective chairside adjustments and polishing are critical to ensure the restoration’s functionality, longevity, and aesthetic appeal. Below are essential tips to guide clinicians through the process:
Use the Right Tools
Select fine-grit diamond burs for adjustments to minimize surface scratches. Avoid coarse-grit burs, as they can leave deep marks that are more difficult to polish.
Adopt Proper Technique
Apply light and consistent pressure while working with rotary instruments to prevent material overheating or weakening. Excessive force can lead to damage. Use copious amounts of irrigation/water to prevent the material from heating and cracking while adjusting.
Follow a Stepwise Polishing Approach
Start with coarse polishing tools to smooth out initial scratches, then progress to medium and fine polishers to achieve a glossy, smooth finish. This approach enhances both the functionality and appearance of the restoration.
Dry Polishing Where Recommended
Some polishing systems, such as those designed for zirconia restorations, function optimally without the use of water. Ensure you follow the specific protocol for the material being adjusted.
Follow a Stepwise Polishing Approach
After polishing, examine the restoration to confirm a smooth, uniform surface. A well-polished finish improves aesthetics and reduces plaque buildup and wear on opposing teeth.
Incorporating ZIRMAX ME Zirconia into your practice elevates the quality of care you provide. Patients benefit from functional restorations that are indistinguishable from their natural teeth.
Dentists benefit from the confidence of using a material designed for optimal performance and longevity.
REQUEST A QUOTE
FAQ
What is the difference between ZIRMAX M and ZIRMAX ME zirconia?
ZIRMAX M and ZIRMAX ME zirconia are both high-quality zirconia materials offered by Burbank Dental Lab, but they serve different purposes based on the patient’s clinical needs.
ZIRMAX ME:
When should I use ZIRMAX M over ZIRMAX ME?
What are the advantages of zirconia crowns over traditional porcelain-fused-to-metal (PFM) crowns?
Zirconia dental crowns offer several benefits compared to PFM crowns:
CASE STUDIES
REQUEST A QUOTE
We Appreciate You Sharing This Product


