


Implant therapy has been a true game-changer for people suffering from tooth loss. As the population ages and edentulism becomes more prevalent, implants as a restorative option continue to grow.
For patients, the idea of placing an implant, rather than other treatment options such as a three-unit bridge or a removable partial denture, is more appealing. This is especially true when edentulism occurs in the esthetic zone. This area is by far the most challenging and requires careful planning to ensure the case meets the patient’s expectations.
Presenting the Case
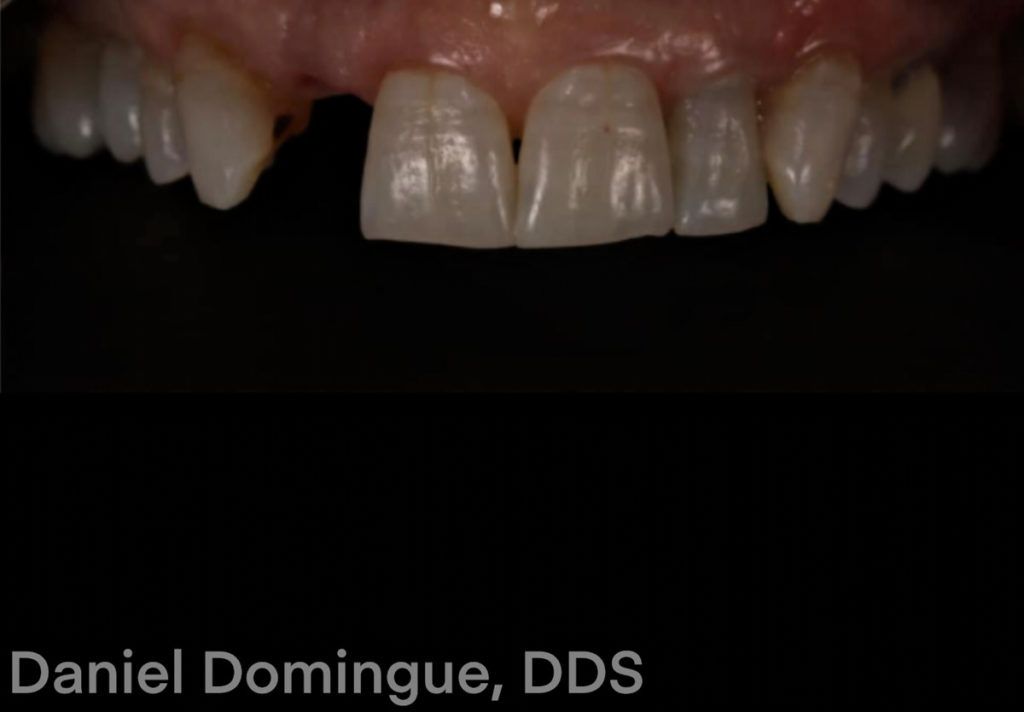
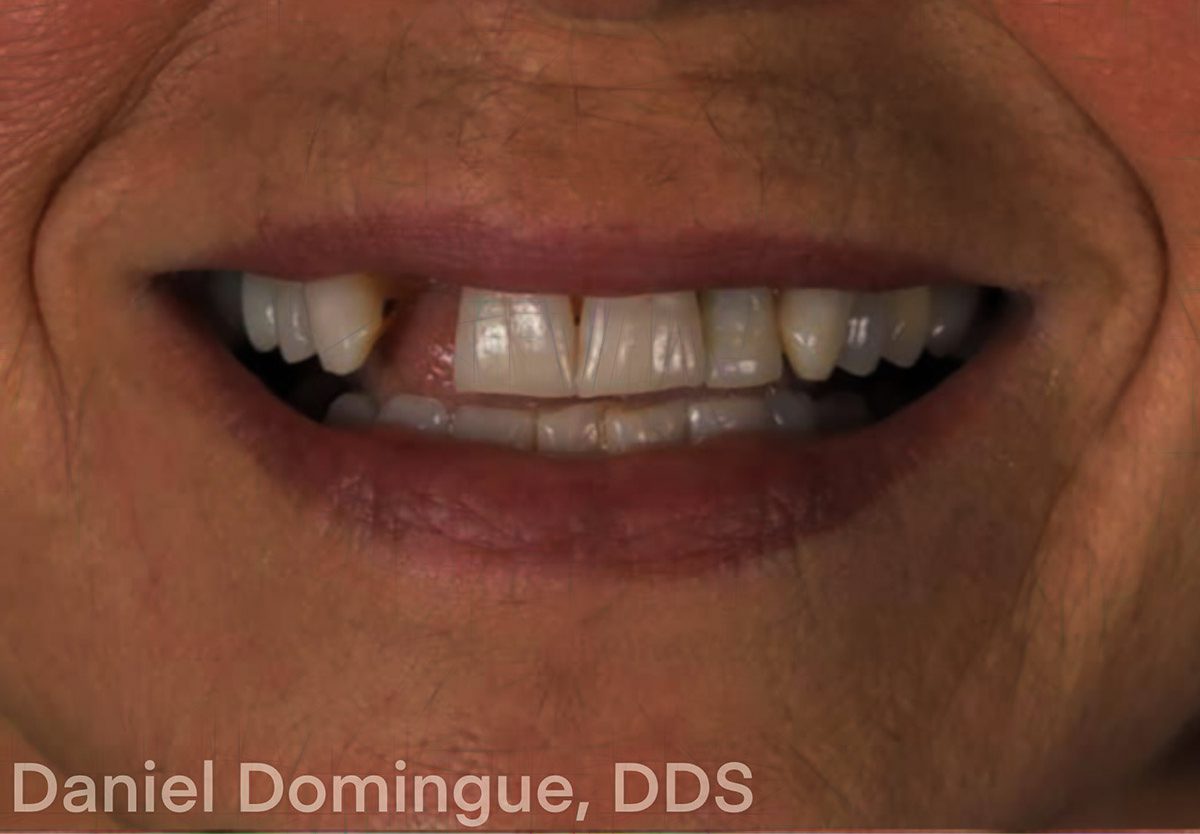
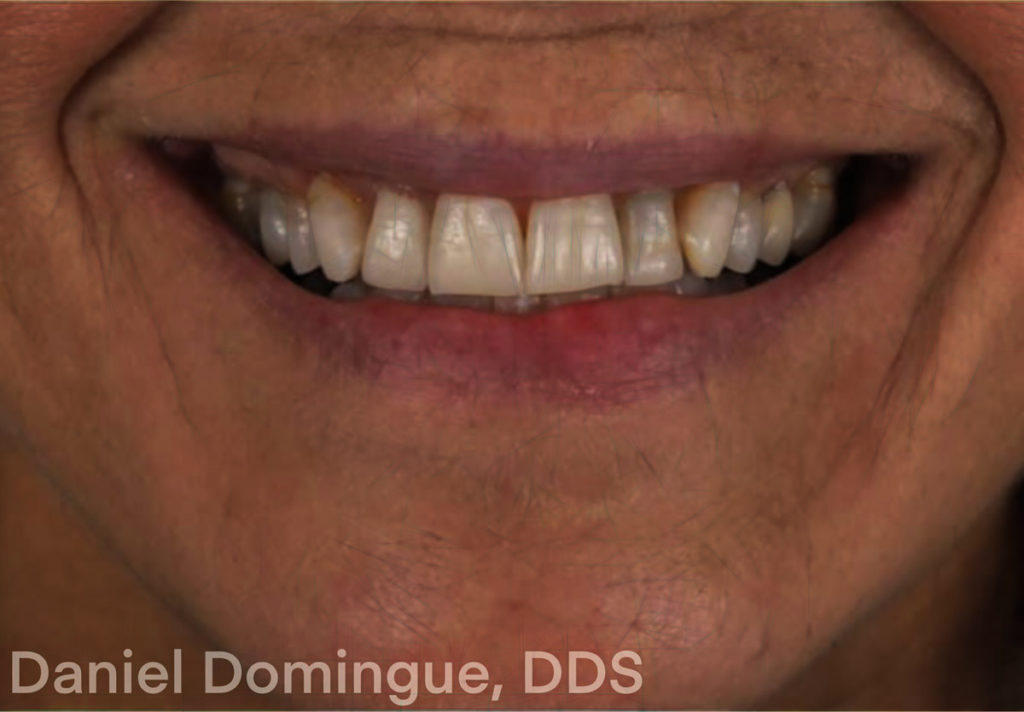
Burbank Dental Lab is fortunate to have worked with Dr. Daniel Domingue on the following anterior implant case. As with most anterior maxillary cases, this case presents challenges.
The lateral tooth needed extraction.
The implant was pilot-drill guided, and the implant type was an AnyRidge by Megagen.
It was determined that immediate implant loading was a viable option. Whenever the case calls for replacing one to two teeth in the anterior maxilla, the provisional process can be simplified by immediate loading.
Once healed, the temp can be removed and the soft tissue scanned.
The case was scanned using the appropriate scan body for the implant system used in this case. This scan records the proper height, angle, and implant position.
In addition, a scan of the tissue and opposing was done.
The digital scans were sent to Burbank Dental Lab, where the challenge of designing and fabricating a restoration that maximizes esthetics by blending in with the surrounding dentition began. This aspect is critical in supporting clinicians in ensuring overall patient satisfaction.
To ensure these types of cases meet these expectations, consider the following:
Small-line Consideration
The height and width of a patient’s smile line are important to consider when determining whether a case will meet patient expectations.
A high smile line will reveal much more of the gingival tissue and restoration. The key is to maintain the peri-implant tissue support throughout the planning, surgery, provisionalization, and restorative steps.
Lower smile lines require less of this type of evaluation.

Implant Placement
Implant placement requires evaluating the restorative goals and present biological issues. The biological problems focus on bone and tissue management, while the restorative concerns concentrate on aesthetics and proper contour.
Abutment Selection
This is critical in achieving the desired results.
Case Planning
It was decided to restore with a Burbank Dental Lab, SMART 1 custom zirconia abutment with a titanium base.
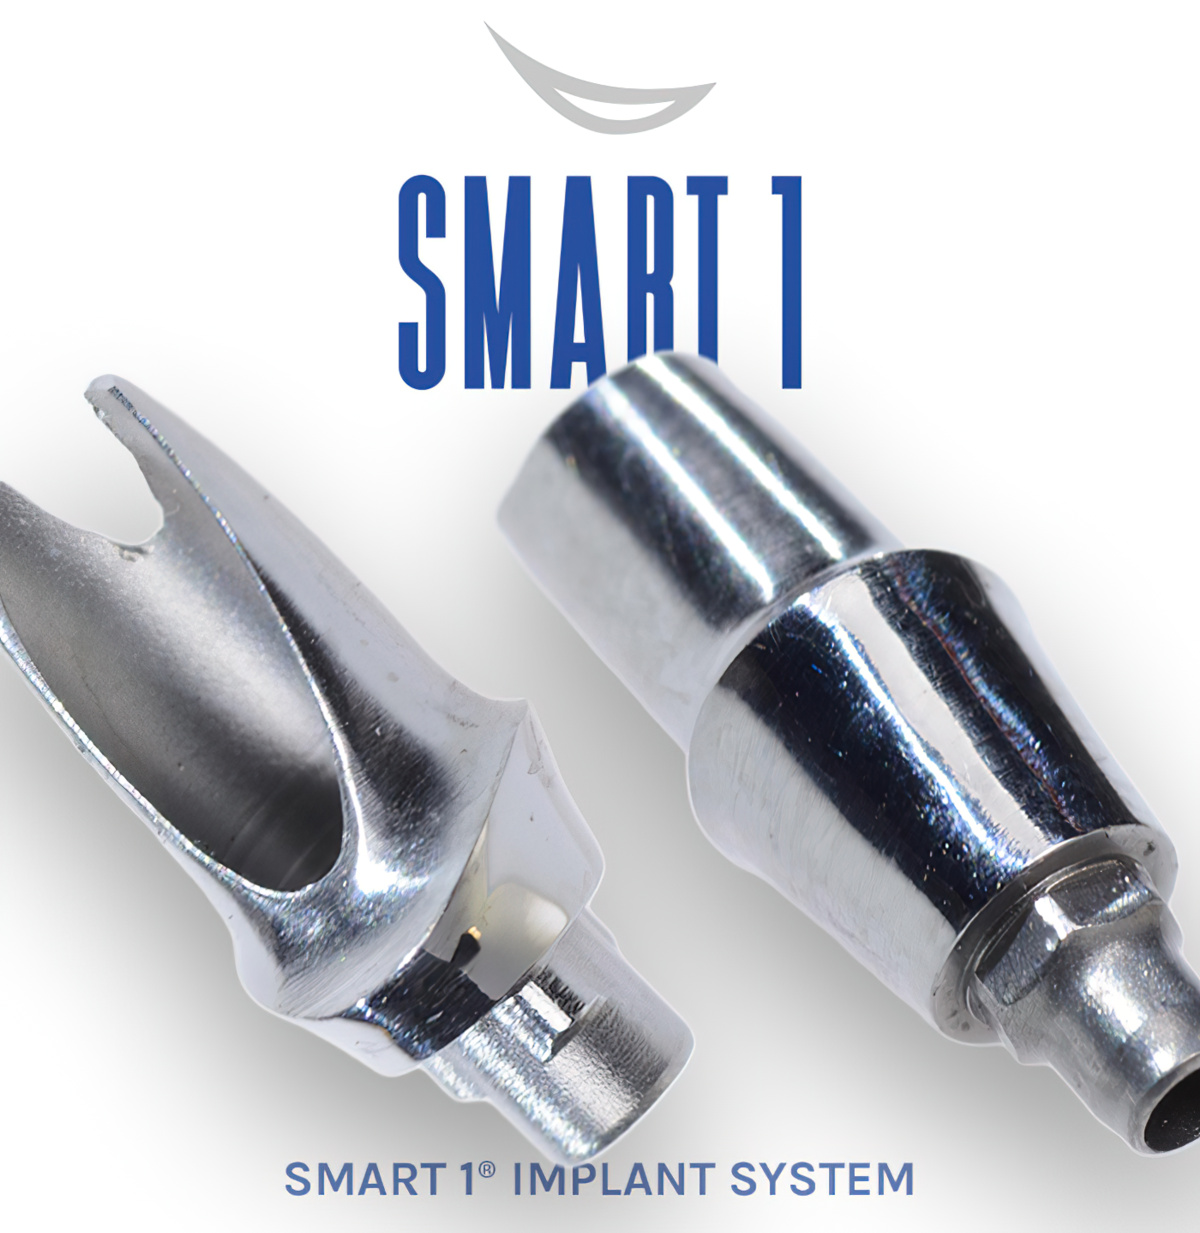
SMART 1 Zirconia abutments offer a superior esthetic result by eliminating the gray cast visible through the tissue that can occur with some titanium abutments.
When designing the abutment, the implant team at Burbank Dental Lab evaluated the patient’s soft tissue, contours, and emergence profile to create an ideal abutment tailored to the patient’s specific needs. Using some of the most advanced computer-aided manufacturing equipment in the industry, the abutment was milled.
The patient’s esthetic needs were evaluated to determine the restorative material for fabricating the final crown. This step is critical to the case’s overall success, as the final crown must blend seamlessly with the adjacent teeth.
FREE TO DOWNLOAD – SUCCESS GUIDES


DOWNLOAD A GUIDE
Proper communication from Dr. Domingue is what led to such an amazing outcome.
The best way to communicate the specific esthetic needs of the case is as follows:
The Final Restoration
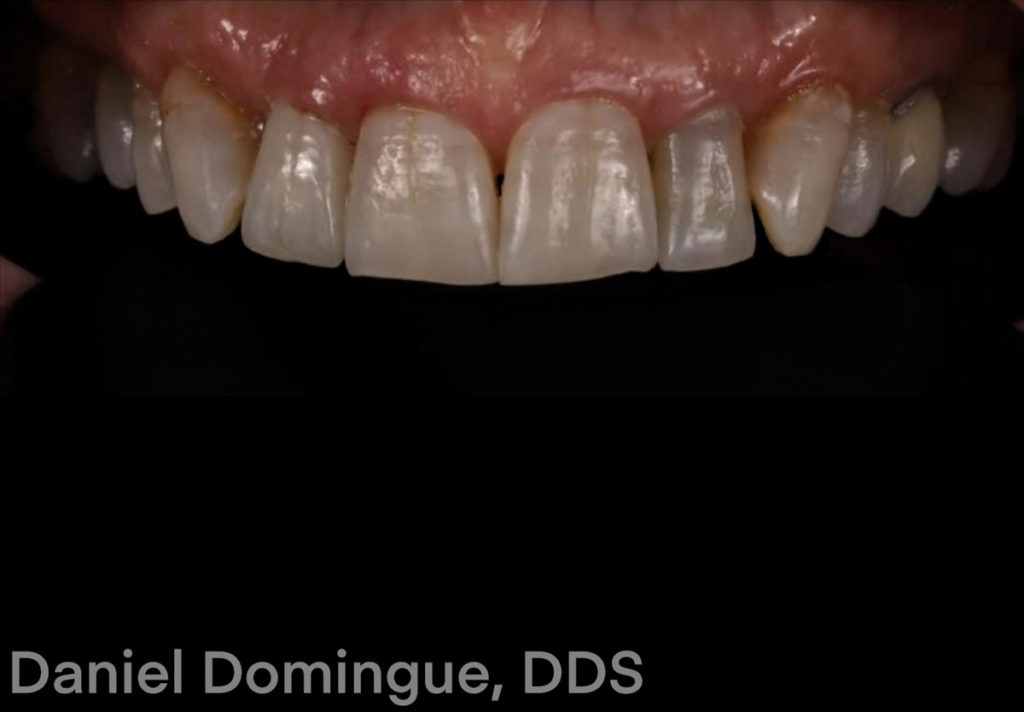
Based on all of the information provided and the specific esthetic needs of this case, an E.MAX crown was prescribed as the final restoration. E.MAX is an excellent material when esthetics is the number one concern.
E.MAX has a wide color selection and translucency options, and a wide range of benefits, including:
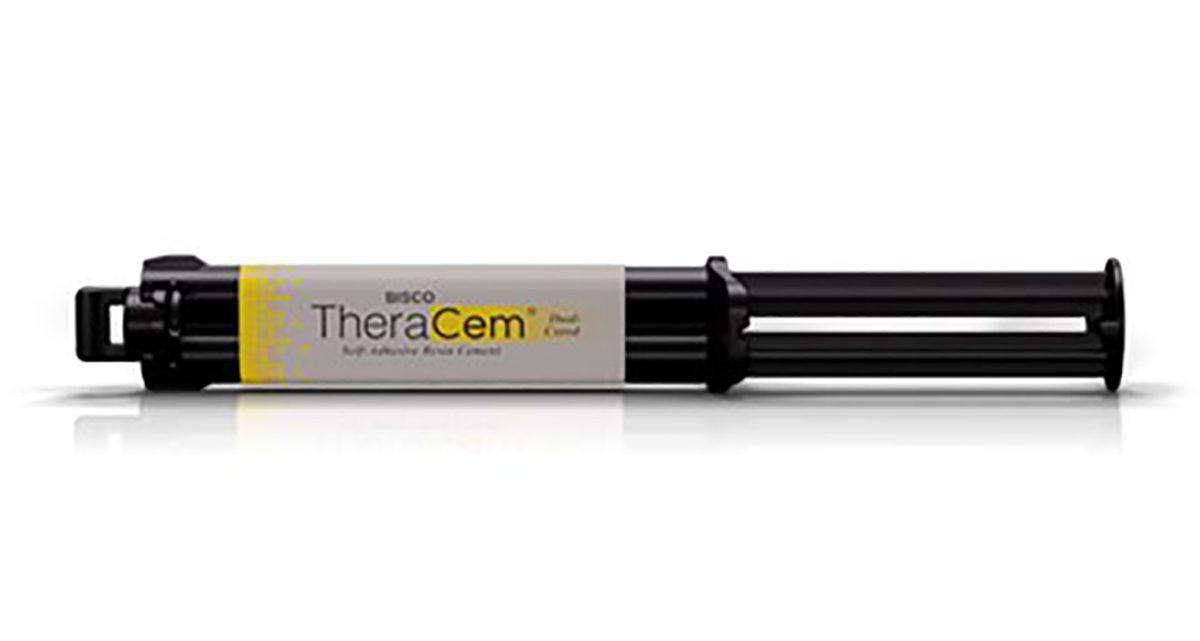
The E.max crown was fabricated over the implant abutment. It was cemented to the SMART 1 Zirconia abutment using TherCem by Bisco Dental.

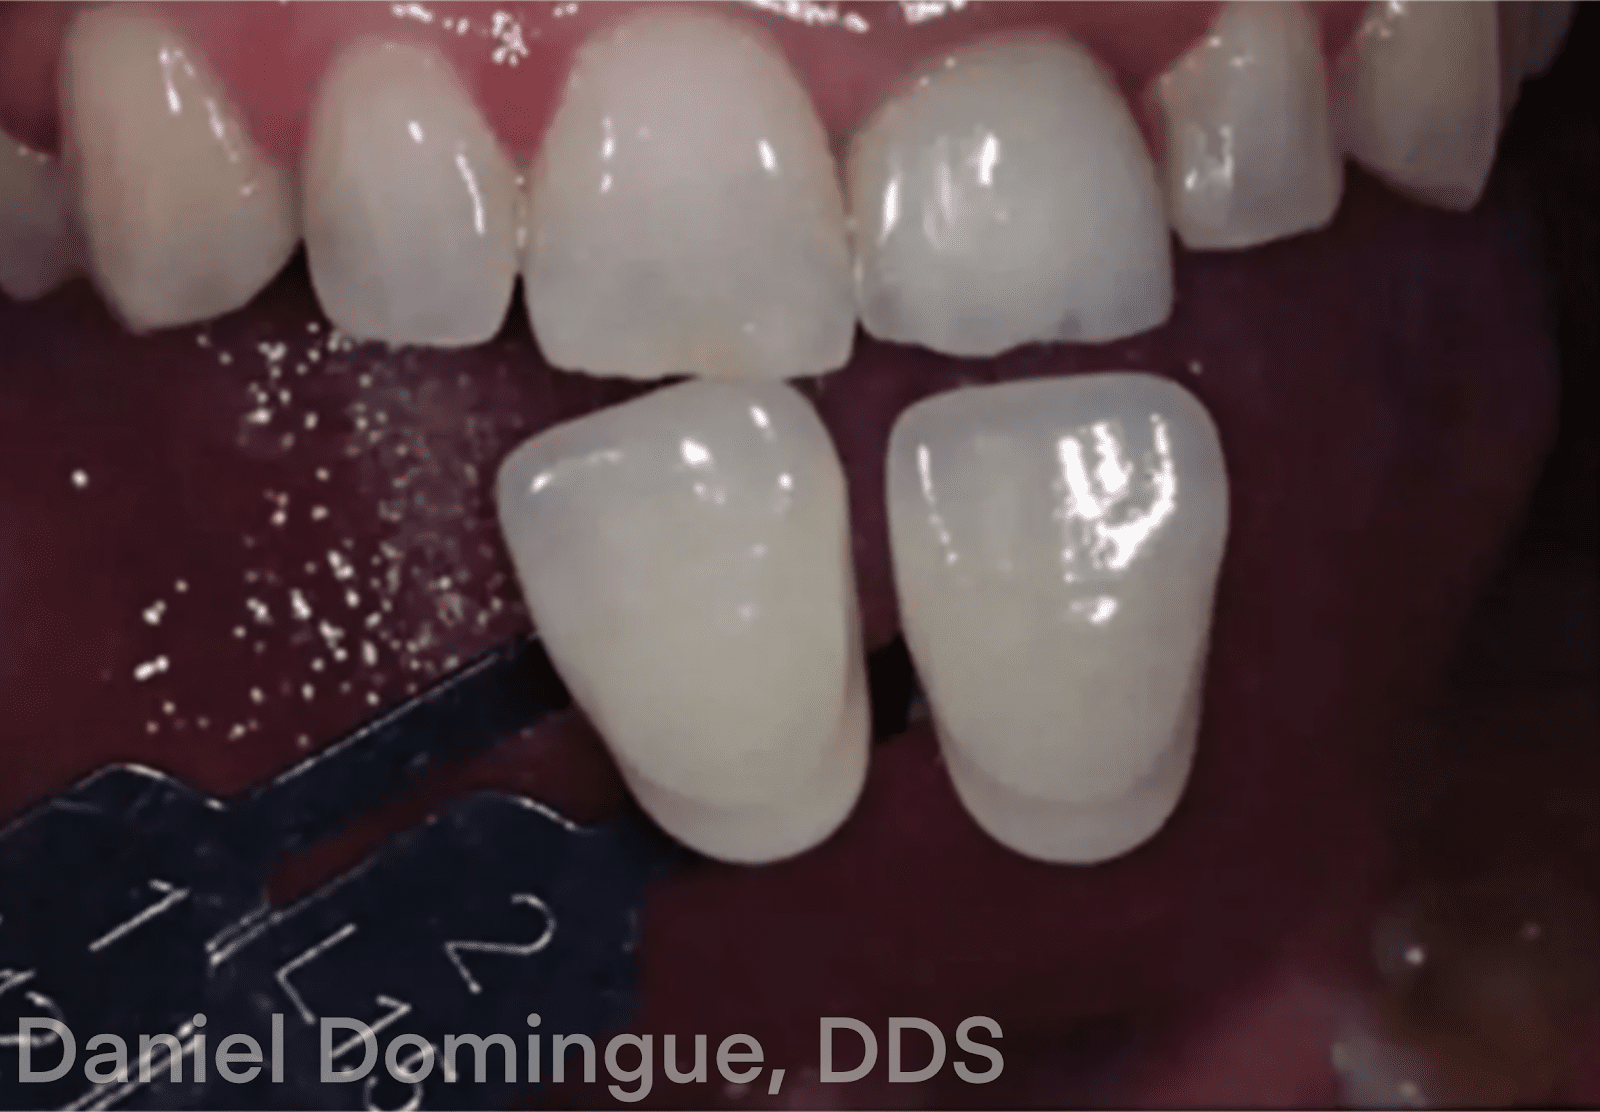
The Shade-Taking Process
Considering all the factors that make an implant case successful — proper planning, skill from both the clinician and the dental lab, and clear communication — makes the difference in creating a predictable, functional, and esthetic restoration.
Special Thanks
Burbank Dental Lab would like to thank Dr. Daniel Domingue for letting us provide lab support for this case.
Dr. Daniel Domingue


