See Part 1: Digital Workflow for Guided Surgery Appliance & Implant Restorations
This article is a two-part series. If you have not read Part 1, we recommend you read that first. You can access Part 1 by clicking here.
Surgery Using a Guided Surgery Appliance
As you proceed with guided surgery, it is important to note there are several treatment plans that guided surgery can facilitate. A guide can be useful for single tooth and quadrant cases, and even more so for full arch edentulous restorative cases. The surgical guide may rest on the teeth, gingiva, or bone. For this article, the focus will be on partially edentulous restorations and the associated steps required, as such the guided procedures will be for tooth-borne guides. (Figure 1 & 2)


Other guide options include tissue-borne guide, bone reduction guide, guide seated on bone.
Guided surgery is becoming a standard treatment choice, as it provides many advantages. Dr. August de Olivera names three key reasons why guided surgery is a preferred treatment protocol for dental implant surgery namely: Safety, Predictability, and Efficiency.
August 19, 2013, by August de Oliveira, DDS, and Ryan C. Maher, DMD, FICOI
Things to Be Aware of Regarding Guided Surgery
While guided surgery can reduce many risks associated with implant surgery, it is still surgery, and it is always important to be aware of conditions as they unfold in the mouth. It is also critical to recognize that guided surgery is not a substitute for advanced training in implant surgery.
The following are some of the cautions that you need to be watchful of when performing a guided implant surgery. These are a few examples from Dr. Armen Mirzayan.
1. The only way to replicate the 3D design during surgery is to use a fully-guided stent, and guided surgery kit. (Figure 3)

2. Make sure that the guide is completely seated and not binding anywhere.
3. Many people believe that guided surgery means that you have “tissue punch”. "Although this is less traumatic to the patient, it can sometimes lead to issues that can cause the implant to fail. If the tissue does not completely heal over the healing abutments or cover screws, a pericoronitis type of phenomenon can occur.“ Note: When making an incision for flapping tissue, avoid placing it on the crest of the ridge so you don’t have to manage two flaps. In this case, a lingual incision is often best.
4. The ring in the sleeve may pop out during surgery. Make sure to properly protect the patient’s airway at all times during surgery.
5. Confirm that you fully drilled to depth and have bottomed out the drills.
6. Make sure that your carrier has not bumped into bone and did not allow you to seat all the way.
7. Double-check the plan and consider confirming the exact drills that are to be used.
8. Consider using anesthetic without epinephrine; blood flow is good for the wound!
Two Additional Benefits of Guided Surgery that Burbank Dental Lab Can Provide
- Custom Healing Cap
Burbank Dental can make a custom healing cap that will shape tissue for ideal emergence and support of papillae.
- - Immediate Load Provisional
One advantage of using guided surgery is the possibility to pre-fabricate a provisional that can be placed as immediate load at the time of surgery. Generally, an immediate load restoration will be delivered by the lab in 2 pieces: titanium base, and the implant abutment body. The two components are best bonded together in the mouth after the implant is delivered and the Ti interface is torqued in, then the abutment body is bonded to the titanium. ( Figure 4)

Be aware that the term “Immediate load” is somewhat of a misnomer as it is essential that there is no contact on the provisional in centric occlusion or excursive movements.
Conditions Required for Consideration of Immediate Loading:
- Implant features - the implant used must support immediate loading.
- - Bone quality and quantity - the bone must be evaluated from the CT scan to be of sufficient quality and quantity to support immediate loading.
- - Initial stability - the implant must be able to be torqued into the prescribed NcM of the implant manufacturer.
Scanning Implant Case to Fabricate the Final Restoration
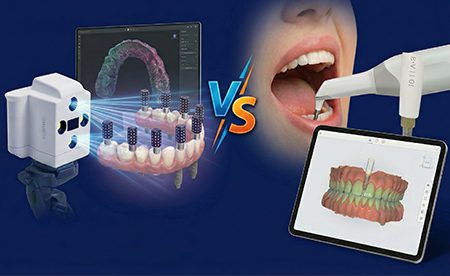
After the implant is determined to be stable, the next appointment is the scanning of the implant scan body. This procedure will vary slightly from one IOS to another, but the basic steps are similar.
There are 4 basic steps to scan a scan body:
1. Scan the arch the same as you would for any other case.
2. Set the IOS to scan a scan body and define the tooth number, then place the scan body in place and screw down finger tight.
3. Scan the defined area with scan body. This will be repeated for each implant and scan body. ( Figure 5)
Scan Bodies Supported by Burbank Dental Lab
- NT Trading
- Dess®
- Blue Sky Bio®
- NobelProcera® (Elos Accurate) - For Nobel Original Parts
- Encode® & Certain® - Biomet 3i® Original Parts
- Straumann® or Straumann CARES® - Straumann® Original Parts
- Vulcan® - Bio Horizon® Original Parts
Scan Bodies Available from Burbank Dental Lab
- NT Trading
- Medentika ®
- ElOS (Nobel)
4. Send the .stl files to the lab either through the IOS portal or upload to Burbank Dental Lab’s portal.
Fabrication and Delivery of the Final Restorations
1. The lab uses the scan file of the dentition and scan body to create a digital and 3D printed model with a lab analog digitally positioned into the model.
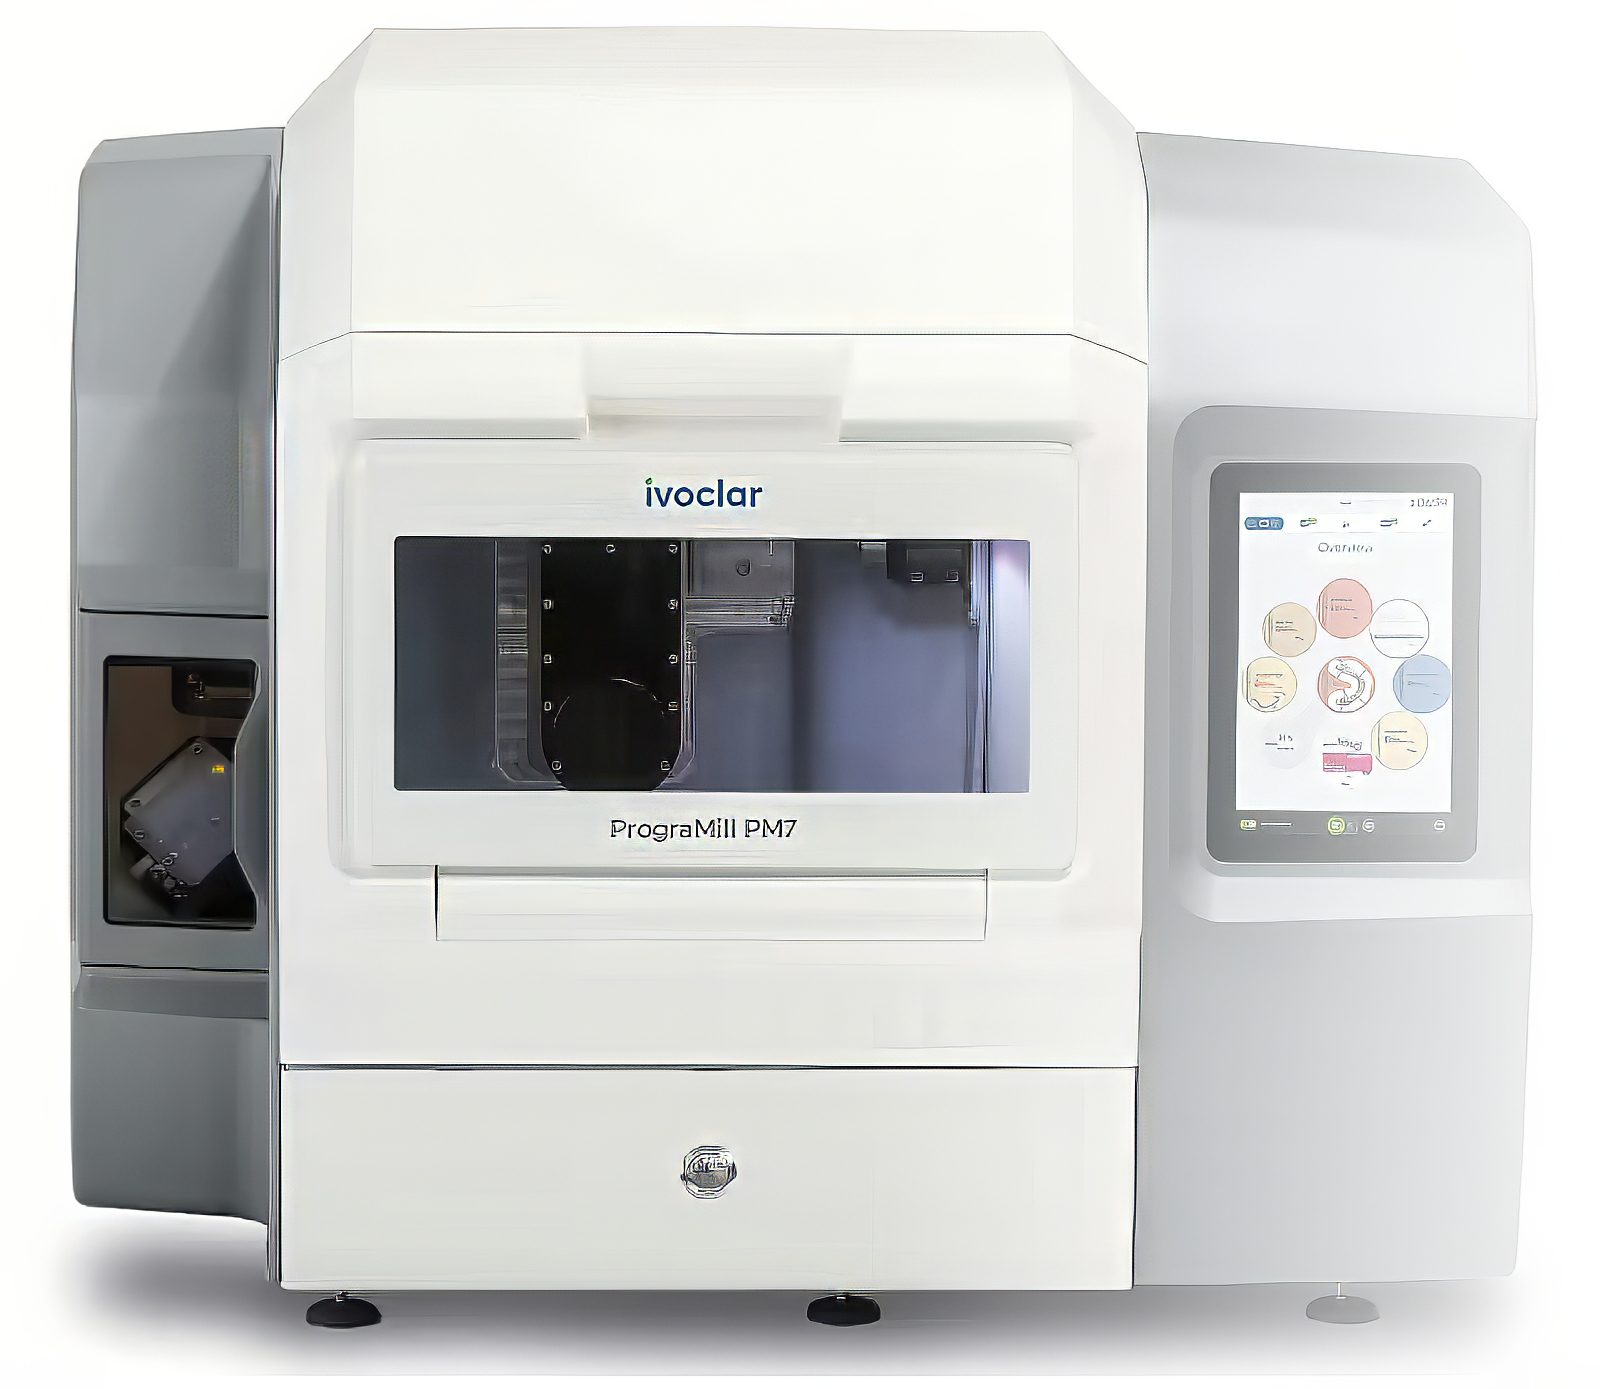
2. The abutment(s) and restorations are digitally designed and milled in the prescribed materials.
Virtually any type of prosthesis can be generated from this digital workflow, however for larger cases, and especially edentulous arches, there are still the conventional steps of set-ups, and try-ins.
Restorations that can be fabricated for final delivery after the scan appointment:
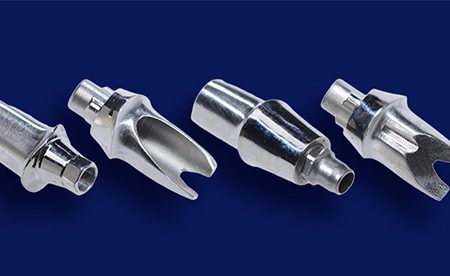
1. Smart1® Titanium and Zirconia abutments, for cementable crowns and bridges, as well as the crown restoration of your choice of materials.
2. Smart1® screw-retained restorations, including zirconia or e.max® with titanium bases, in either monolithic or layered, and also PFM screw-retained restorations. (Figure 6)

It is probable that single units and smaller bridges (5 units and under) can be delivered to the appointment following your scan appointment. It also must be understood that on a case by case basis, a frame try-in or bisque try-in may be necessary.
Restorations that require additional appointments for bite-block, set-up, and frame try-in steps:
1. Denture over implant supported bars
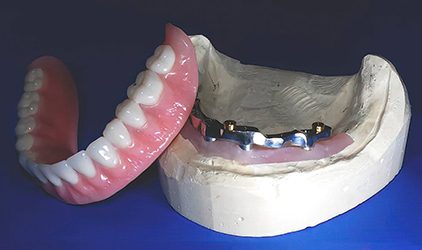
2. Hybrid prosthesis cases
- Traditional hybrid denture - metal substructure with acrylic and denture teeth
- Monolithic zirconia hybrid prosthesis (Figure 7)

- Smart1® Composite hybrid prosthesis
- Porcelain fused to metal hybrid prosthesis
3. Full arch porcelain fused to metal C & B style restorations
Regardless of the treatment plan, Burbank Dental Lab is dedicated to collaborating with our clients to facilitate the best possible outcome for your patients.
