Porcelain veneers have been a viable treatment modality since their inception. The introduction of adhesive technologies made the preservation of tooth structure possible while providing an excellent option for improving both the patient’s esthetic wants and restorative needs. With improvements made in both dental materials as well as techniques, porcelain veneers today provide durability, esthetics, and structural improvement and are one of the most conservative treatment options.
Case Study
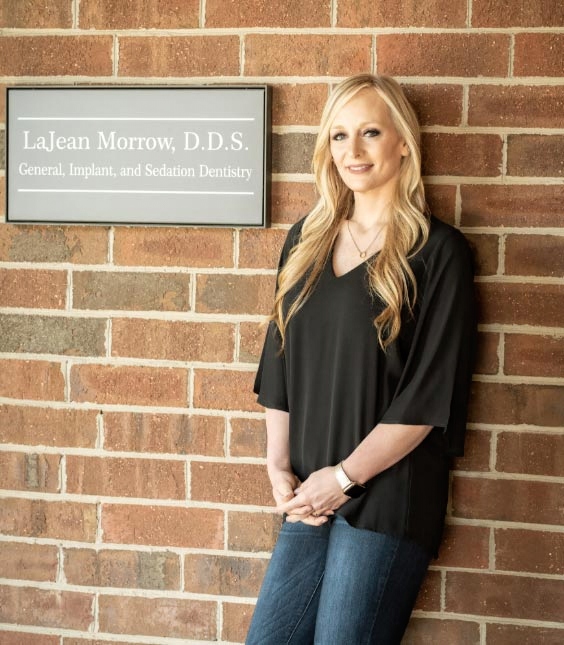
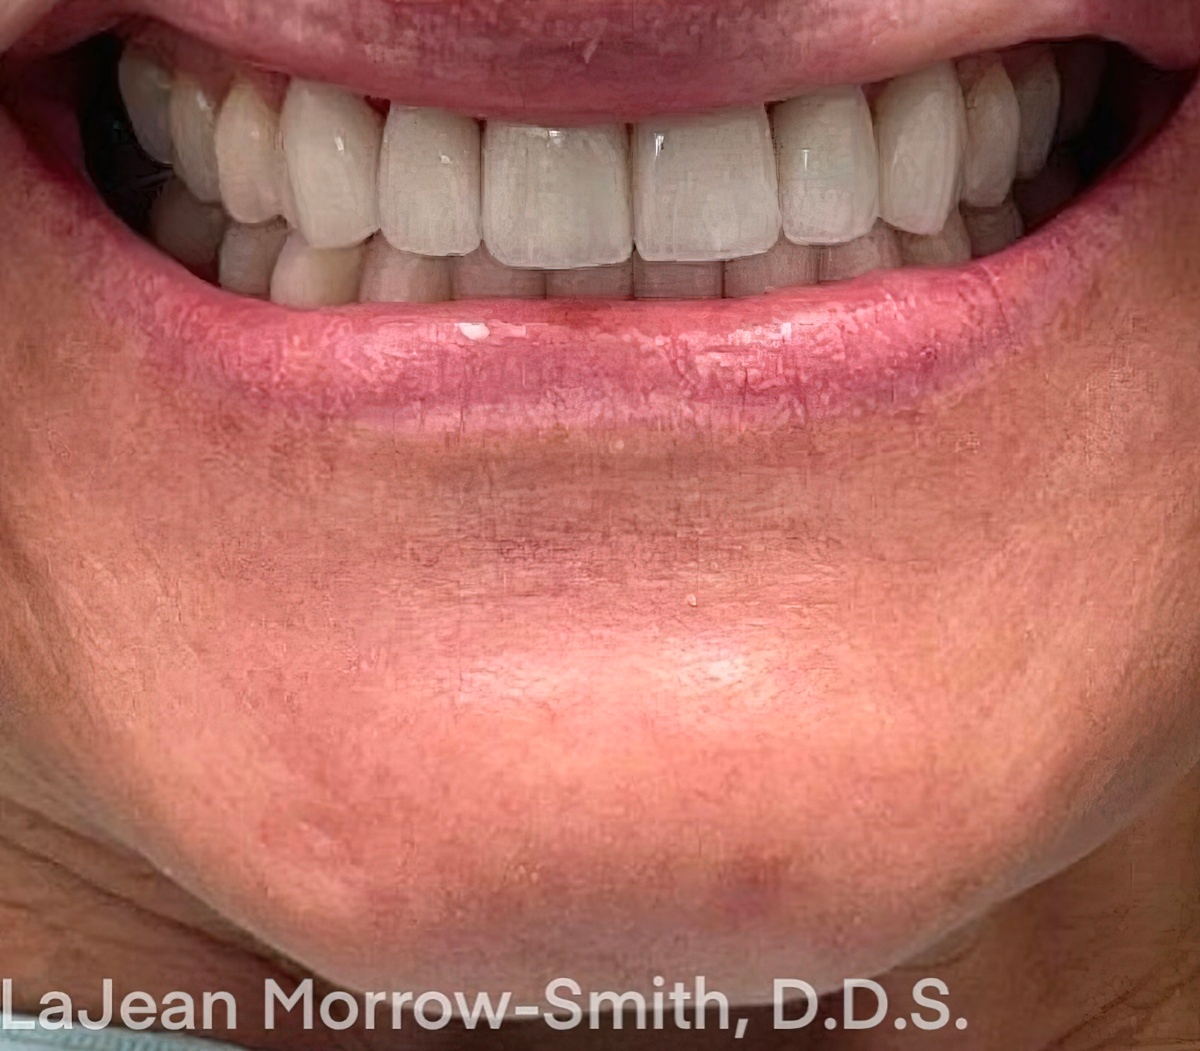
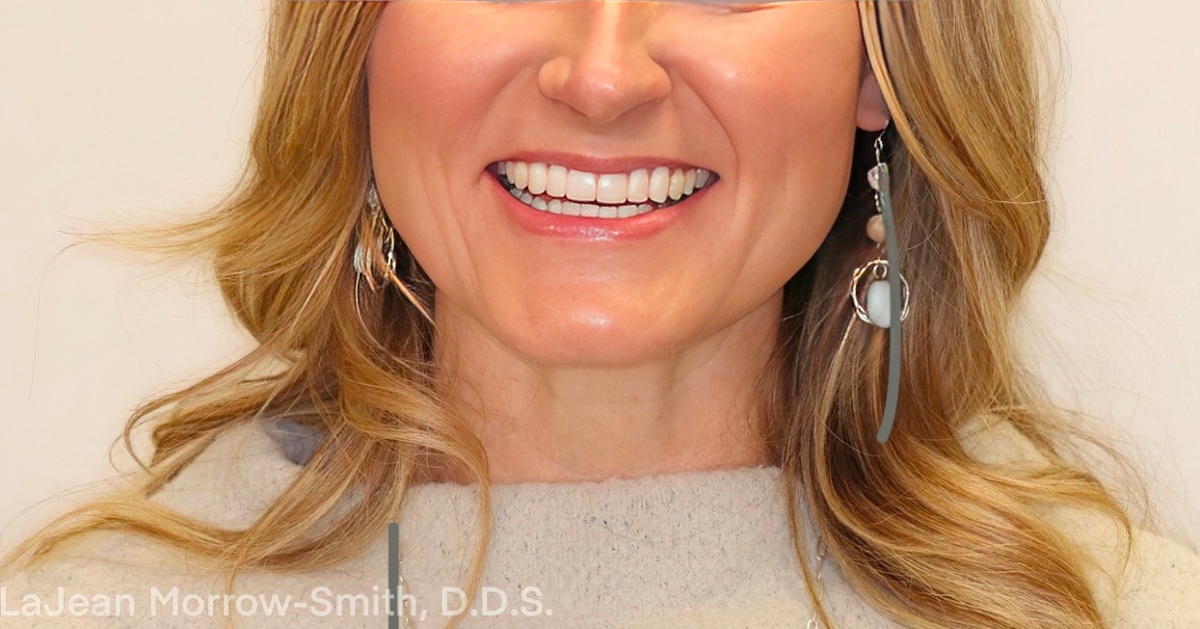
The following case was sent to Burbank Dental Lab from Dr. LaJean Morrow-Smith. According to Dr. Morrow-Smith, the patient had undergone Invisalign treatment to get her teeth in better alignment. The patient was happy with the results of her Invisalign treatment, but now wished for better esthetics. Her teeth were not even, showed some chipping on the incisal edges, and the canines appeared bulbous. The patient also wanted her teeth to be longer and brighter. To achieve the esthetics wanted by the patient most conservatively, porcelain veneers were the obvious treatment choice.
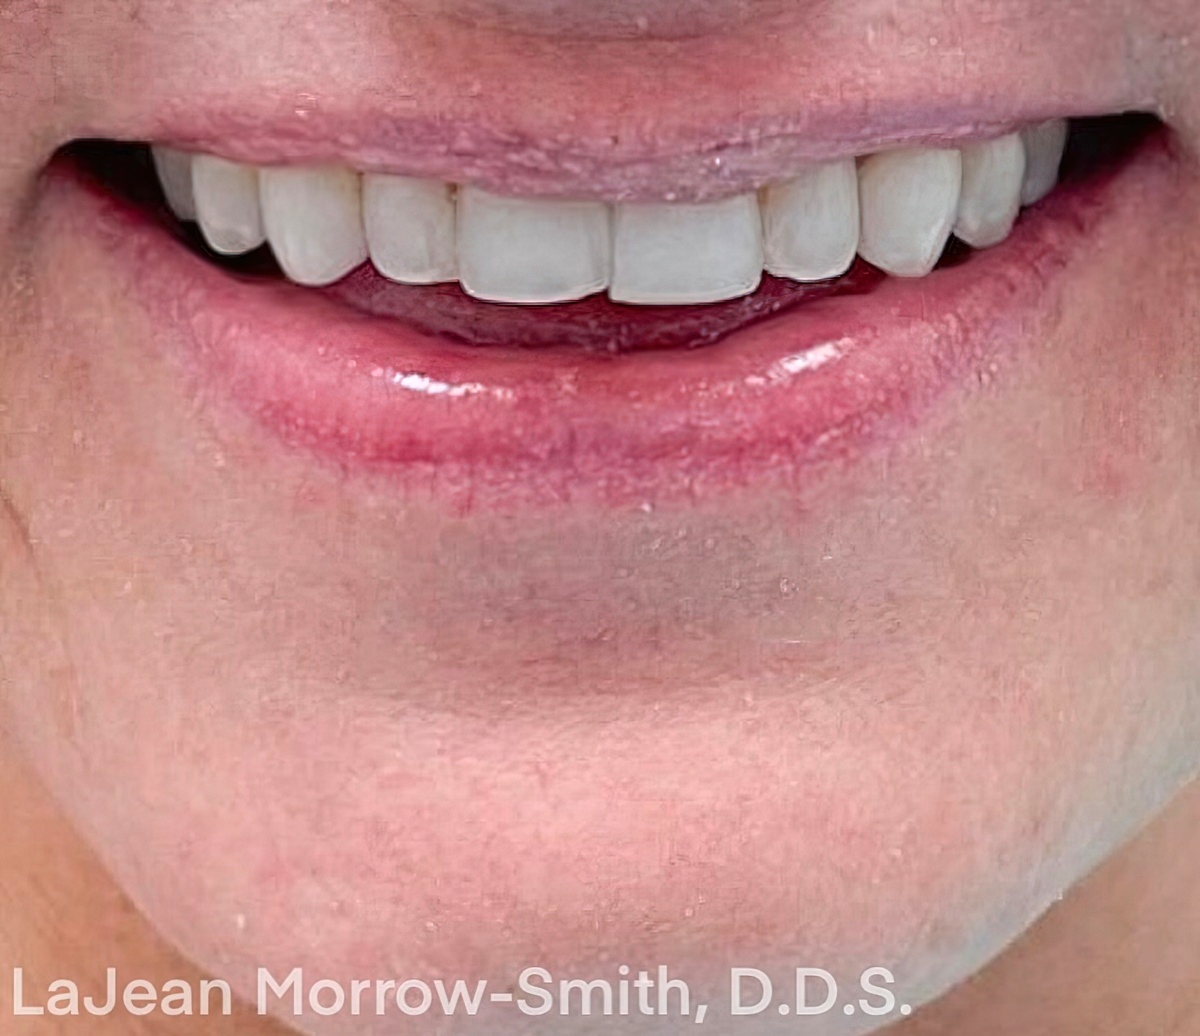
Dr. Morrow-Smith had the patient try in a mock-up that corrected all of the issues the patient had indicated she disliked about her smile. A moderate preparation was completed. The proper impressions and bites were recorded. The case was sent to Burbank Dental Lab for fabrication based on the doctor’s prescription. Emax veneers were placed to correct the esthetic issues. According to Dr. Morrow-Smith, the patient was thrilled with the results of her case.
Steps for Excellent Porcelain Veneers
Burbank Dental Lab has fabricated thousands of porcelain veneers over the years. This experience has revealed the steps necessary to ensure successful cases, predictable results, and ultimately high levels of patient satisfaction. These steps include the following:
1. Treatment Planning
Every successful case must begin with the end in mind. This requires understanding exactly what the patient desires coupled with what is possible. Listening to what the patient dislikes about their current smile is essential information. In addition, having the patient look at photos of smiles and understanding what shade, shape, and other attributes they find appealing will help to give them exactly what they desire.
2. Diagnostic Wax-up
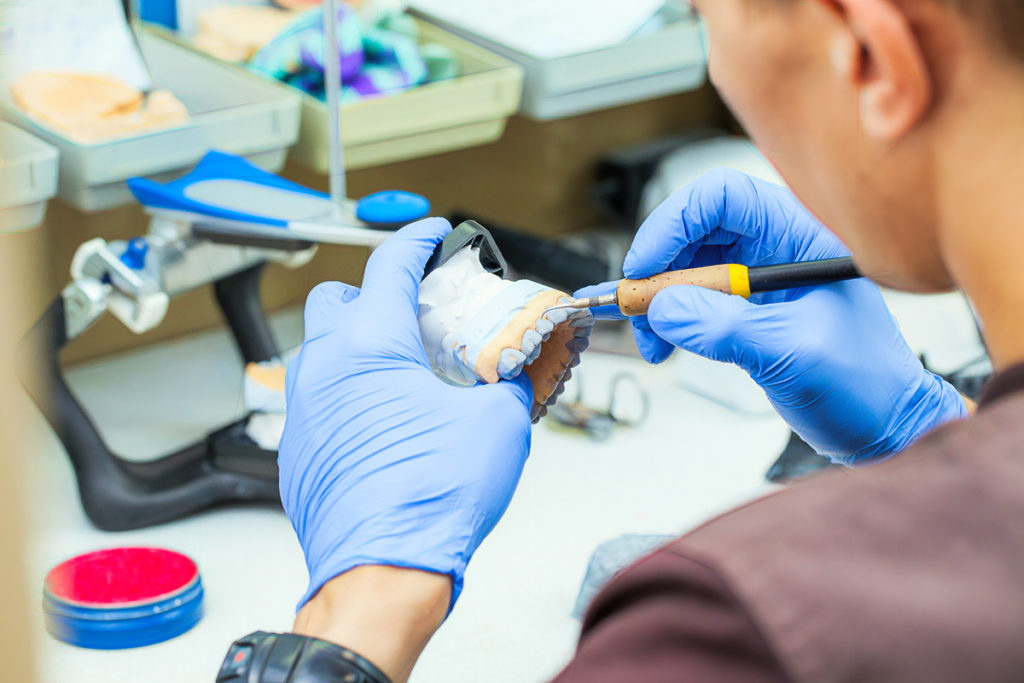
Cases that begin with a diagnostic wax-up tend to have more successful outcomes and more satisfied patients. The information obtained from the patient in step one can now be incorporated into the diagnostic wax-up.
A mock-up of what the case can look like can be tried in the patient’s mouth so they can get a preview of what the final restorations can look like.
Preparation
The preparation design is extremely important to the overall success of a veneer case. The proper preparation will ensure that there will be enough room for the ceramist to create restorations that will achieve the desired results. The proper preparation will also ensure a clear finish line.
There are essentially three categories for preparation:
1. Minimal preparation
A minimal preparation is great for cases that are basically in proper alignment, have no large diastemas, and the case requires only a minor shift in color. Preparation design requires the following:
- Facial preparation .5 mm to .7 mm
- Margin preparation .3 mm chamfer margin
- Incisal preparation .75 mm to 1.5 mm reduction with a 90º butt joint.
2. Moderate Preparation
The most common type of preparation is a moderate preparation. This is used for cases that require moderate corrections to alignment, less than 1 mm of diastema corrections needed, and shade changes of up to 3 steps (A4-A1).
Preparation design requires the following:
- Facial preparation .8 mm to 1 mm
- Margin preparation .3 mm chamfer
- Incisal preparation 1 mm to 2 mm reduction with a 90º butt joint. Also, prep the incisal facial plane to be slightly retroclined to allow for porcelain layering.
- Interproximal preparation requires prepping into the contact area halfway through the contact. Create an interproximal “dog leg” / “elbow.”
3. Aggressive Preparation
An aggressive preparation is used when deficits exist in the oral environment. This may include more severe alignment issues, larger diastemas, flat papillas, or more severe color shifts.
Preparation design requires the following:
- Facial preparation 1 mm to 1.5mm
- Margin preparation .3 mm chamfer
- Make a slice preparation through the contact to the cingulum that should be at least .5 mm subgingival.
3. Shade Selection
This section will vary depending on whether or not the case is a large transformation or whether or not we are matching teeth to the existing environment. If a larger case, simply indicate the desired shade and provide the stump shade of the prepared teeth. When matching teeth to the existing environment, communicating the shade needs to be more exact so that proper matching can occur.
4. Photos
Provide the following photos:
- A photo of the patient smiling
- A photo with the lips retracted
- Pictures of the temporaries
- Pictures with the shade tabs in the same plane as the natural tooth.
5. Impressions
Impressions can be either traditional or digital. It is best to provide the following:
- Impression of the teeth preparations
- Impression/model of the opposing
- Impression/model of the case preop
- Impression/model of the temporaries
6. Kois Facial Analyzer
Along with providing the appropriate bite registrations for proper case mounting, a Kois Facial Analyzer is great for recording both the steepness and tilts in the occlusal plane. It registers the proper occlusal/horizontal plane of reference, and it registers the facial midline; all related to an average 100 mm axis-incisal distance.
7. Temporization
After the teeth have been prepared according to the case parameters, the wax-up can be used to create temporaries. The best situation would be to have the patient wear the proposed new smile for a few days so that they can properly evaluate what their new smile will look and feel like.
It is best to get any issues resolved prior to completing the final veneers.
There are ways to help make the matching process more predictable.
FREE TO DOWNLOAD – SUCCESS GUIDES
DOWNLOAD A GUIDE
Shade Communication
Understanding the patient’s desires is one of the key factors in ensuring patient satisfaction is achieved. Allowing the patient to test drive a new smile prior to finalization is essential in reducing potential issues. Proper communication, preparation, and information will help Burbank Dental Lab deliver excellent results every time.
Call or chat today with a Burbank Dental Lab Smiles by Design team member on your next porcelain veneer case.

