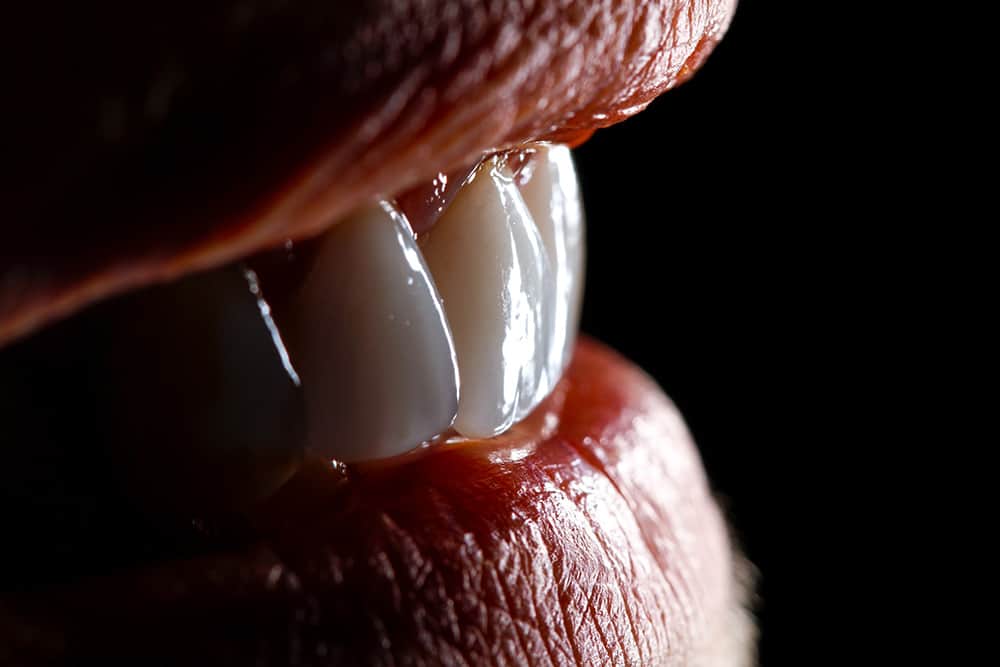


The anterior zone poses one of the most significant clinical challenges in implant dentistry. Often referred to as the “esthetic zone,” this region is central to a patient’s smile, confidence, and first impressions.
REQUEST FEE SCHEDULE
FREE TO DOWNLOAD – SUCCESS GUIDES


DOWNLOAD A GUIDE
A successful anterior implant rehabilitation must combine surgical precision with prosthetic artistry to achieve natural, lifelike results that blend seamlessly into the surrounding dentition.
At Burbank Dental Lab, we provide high-quality restorations that support optimal esthetic and functional outcomes. In this blog, we’ll explore the key considerations, best practices, and material innovations that ensure predictable success in anterior implant rehabilitation.
Speak to Technical Support
Call us at
Why the Anterior Zone Requires
Specialized Implant Strategies
Placing an implant in the anterior maxilla differs from working in the posterior region. The high visibility, thin buccal bone, and delicate soft tissue structures require careful planning and precise execution.
Top challenges include:
Due to the high aesthetic demands, a multidisciplinary approach—combining surgical excellence with prosthetic planning—is essential.
Step 1
Case Evaluation
and Diagnostic Planning
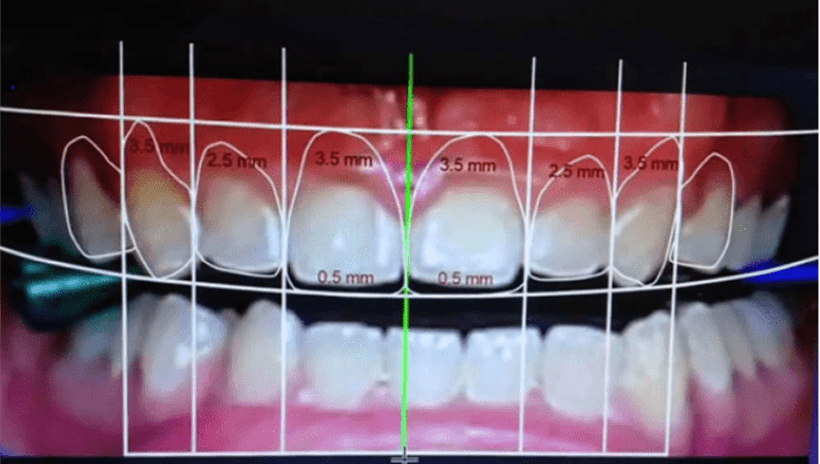
Anterior implant success begins before any incisions are made. Comprehensive diagnostics form the foundation of every great outcome.
Critical diagnostic steps include:
Working closely with the dental lab during this phase can significantly enhance the predictability of esthetic results. Burbank Dental Lab offers digital planning and virtual wax-ups to align treatment objectives with final prosthetic outcomes.
Speak to Technical Support
Call us at
Step 2
Implant Placement
in the Esthetic Zone

Precision is paramount during
surgical placement in the anterior.
The implant must be positioned prosthetically-driven, respecting both function and esthetics.
Best practices include:
If bone defects or thin buccal plates are identified, guided bone regeneration (GBR) or immediate grafting with membranes and particulate grafts may be required.
Step 3
Managing the Soft Tissue
for Esthetic Integration
Soft tissue contours are as crucial as implant position for esthetic success. Rebuilding and maintaining papillae and gingival symmetry can dramatically affect the final smile.
Soft tissue techniques include:

Working with Burbank Dental Lab, you can request custom abutments and provisional crowns that support soft tissue development during healing.
Speak to Technical Support
Call us at
Step 4
Choosing Between Screw-Retained
vs. Cement-Retained Restorations
One of the most debated choices in anterior implant cases is the selection of screw-retained vs. cement-retained crowns. Each has advantages and limitations.

Modern options like angled screw channel abutments now allow for screw-retained restorations even in cases with suboptimal angulation—giving the best of both worlds.
Burbank Dental Lab offers a full range of custom
abutments with SMART 1 Implant Abutments
to suit any clinical need.
Step 5
Final Restoration –
Precision and Artistry
The final restoration represents the culmination of months of careful planning and healing, where cutting-edge technology meets skilled artistry to create a prosthetic that not only functions flawlessly but achieves the natural beauty patients expect in their smile.
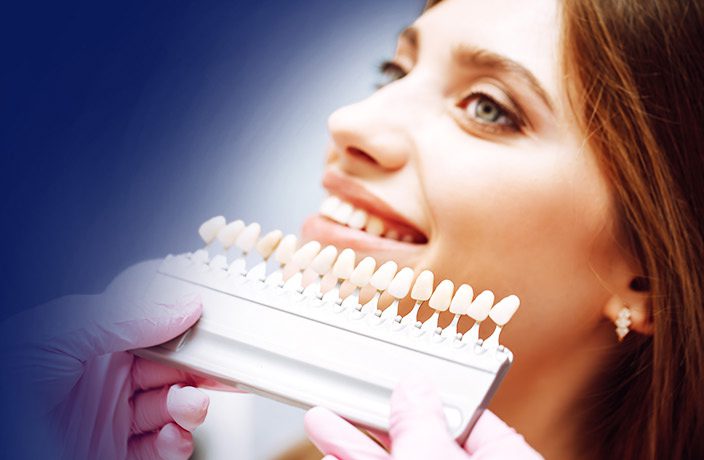
Once the tissue is healed and the foundation is set, the final restoration must deliver lifelike esthetics and reliable function.
Key prosthetic considerations:

Burbank Dental Lab’s ceramic team hand-finishes each case to ensure natural contour, texture, and light reflection, matching the adjacent dentition as closely as possible.
Speak to Technical Support
Call us at
Step 6
Maintenance and
Long-Term Success
Implants in the esthetic zone are not a “place-and-forget” treatment. Long-term maintenance is essential for both function and appearance.
Post-placement protocols include:
Burbank Dental Lab offers support even after delivery to ensure your patient’s smile remains healthy and beautiful.
Partnering With the
Right Dental Lab Matters
Anterior implant rehabilitation involves detailed treatment spanning diagnostics, surgery, prosthetics, and long-term care. Collaborating with a lab that understands these aspects cannot be overstated. They can make a big difference when the right tools and expertise are available to solve challenges.

Why dentists trust
Burbank Dental Lab
Custom abutments designed for esthetic zones
Digital implant workflows for accuracy and speed
In-house ceramic artists specializing in anterior esthetics
Immediate load provisionals for soft tissue management
Collaborative treatment planning support
Anterior implant rehabilitation is both an art and a science. With careful planning, meticulous surgical technique, and close collaboration with a high-quality dental lab, clinicians can achieve esthetic excellence that meets even the highest patient expectations.
If you’re looking for predictable results in the esthetic zone, trust Burbank Dental Lab to be your partner in delivering functional, natural-looking anterior implant restorations. Call or chat with a Burbank Dental Lab Implant Specialist today to plan your next case.
Speak to Technical Support
Call us at
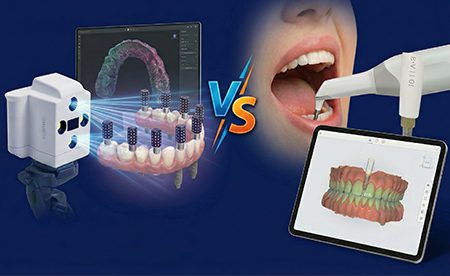
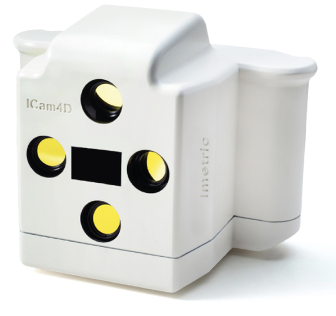
3 STEPS TO
PHOTOGRAMMETRY SCANNING
WE HELP YOU GET IT RIGHT
EVERY TIME
STEP 1
Burbank Dental Lab implant scan specialist provides the special scan bodies for insertion in the patient’s newly placed implant sites.
STEP 2
Scan Bodies are removed and special healing abutments are placed on the implant sites. Soft tissue can now be scanned with an intra-oral scanner.
STEP 3
The data from both scans are then sent to the dental lab. The ICam4d data and soft tissue scans are aligned to become a high-precision dental model.


