


Determining the shade of natural teeth can be a challenge. To be effective at communicating color, the clinician must understand both the characteristics and shades of natural teeth and the science of color.
Once this has been determined, it must be effectively communicated to the dental lab, where it must be interpreted by dental technicians who share the same understanding of shades, surface characteristics, and color science.
This information must be interpreted by choosing the correct materials to effectively create a restoration that will blend seamlessly with the surrounding natural dentition. Often getting the color correct is a critical factor in ensuring patient satisfaction.
Color can be broken up into three categories: hue, value, and chroma.
Hue
The hue distinguishes one color group from the other. This then would be represented in dentistry as A, B, C, D on a shade guide such as the Vita guide.
Value
The amount of light that reflects off of an object is called value. This is often revealed as white-to-black grayscale.
For example, the grayer, the darker an object will appear, while the lower the gray, the brighter the object.
Chroma
When we talk about chroma, we are describing the intensity of the hues. If the chroma increases, the value decreases. The Vita shade guide represents this with numbers. The higher the number, the more the chroma is increased.
Understanding this is just the beginning, as there are several factors to consider to take an accurate shade.
How Does Light Affect Taking A Shade?
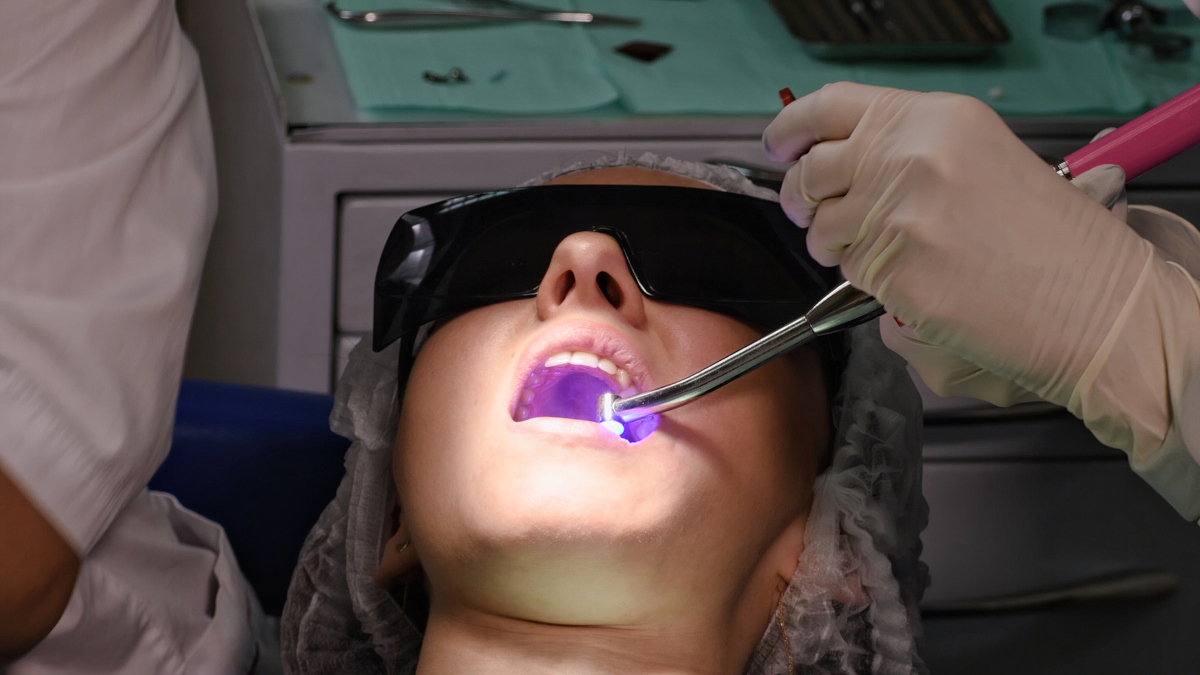
The quality of the light source is the most important factor when taking a shade. Mid-day natural light is the most accurate for matching colors. If possible, taking shades at this time would be the optimal choice.
Of course, this is not always an option, so artificial lighting is a more practical solution. The ideal light, artificial lighting, would be those that are most like natural sunlight. Color-corrected lights or full-spectrum LED lights are great options. The lighting needs to be close to natural light and balanced.
Take these steps in your office environment to help with taking an accurate shade:
- Invest in window coverings that can block out the outside light.
- The color of the furniture, floors, and walls should be nonreflective and have low saturated colors.
Shade matching is significantly improved when done with proper lighting.
The Effect of Colors On Shade Matching
Surrounding colors should be neutralized prior to taking the shade.
Things such as lipstick or clothing can profoundly affect color perception. Patients should be asked to remove any lipstick, and a neutral gray cloth should be used to cover the patient’s clothing.
In addition, shades should be taken quickly. To avoid hue accommodation, do not look at the area for more than 5 seconds. If it will take longer, look at a neutral gray background to get rid of glare.

The Shade-Taking Process
One of the biggest reasons for remakes on cases where the surrounding dentition needs to be matched is inaccurate shade selection or interpretation. It is essential to accurately select and communicate shades as it will lower the need for remakes or adjustments. Also, this is one of the key areas that can negatively affect the patient’s perception of their experience and overall satisfaction.
Below are some steps to implement to greatly improve taking the shade. The shade should be taken early into the patient’s appointment to avoid dehydration. If teeth are left to dry out, which can happen in just a few minutes, the chroma and translucency diminish while the value increases.
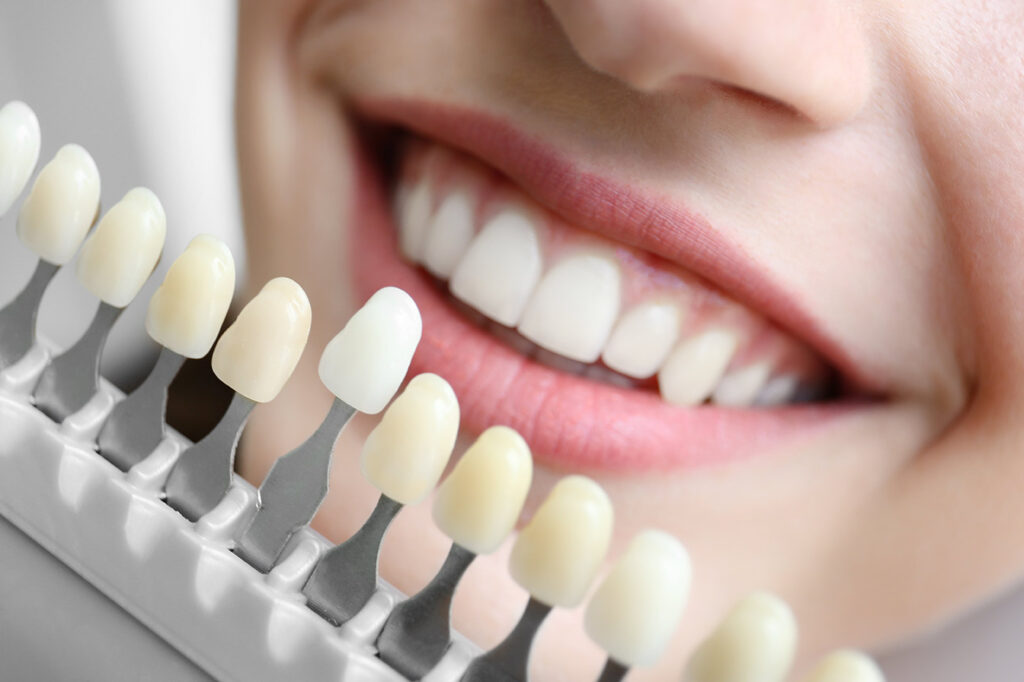
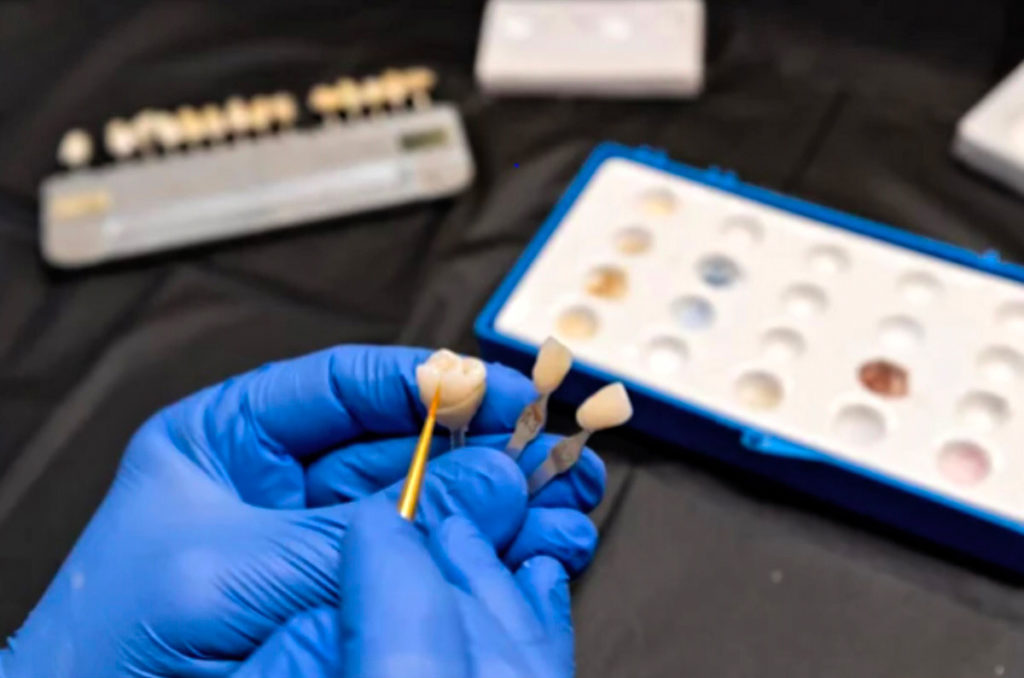
Use The Correct Color Guide
Different materials dictate the specific shade guides that should be used during the shade-taking process. It is ideal to have a shade guide of the material that is being used. However, if this is not possible the clinician should call the lab and talk to a Smiles By Design advisor to discuss how and with what guide they should be taking a shade.
A very common mistake is that clinicians use a 3D vita shade guide to pick a shade for zirconia monolithic restorations since there are certain color limitations with the material. The simple classic shade guide should be used for picking a shade for a zirconia monolithic restoration.

Vision Color Testing
The ability to accurately take a shade can also be affected by the person taking the shade. A person’s age, degree of color perception, and experience can all play a role in their ability to accurately analyze and select an accurate shade. Therefore, because this step is so important in ensuring successful case outcomes, it is recommended to have the dental practice staff tested for color perception.
These tests can reveal whether or not a person has a color vision deficiency and rate their ability to see small color differences.
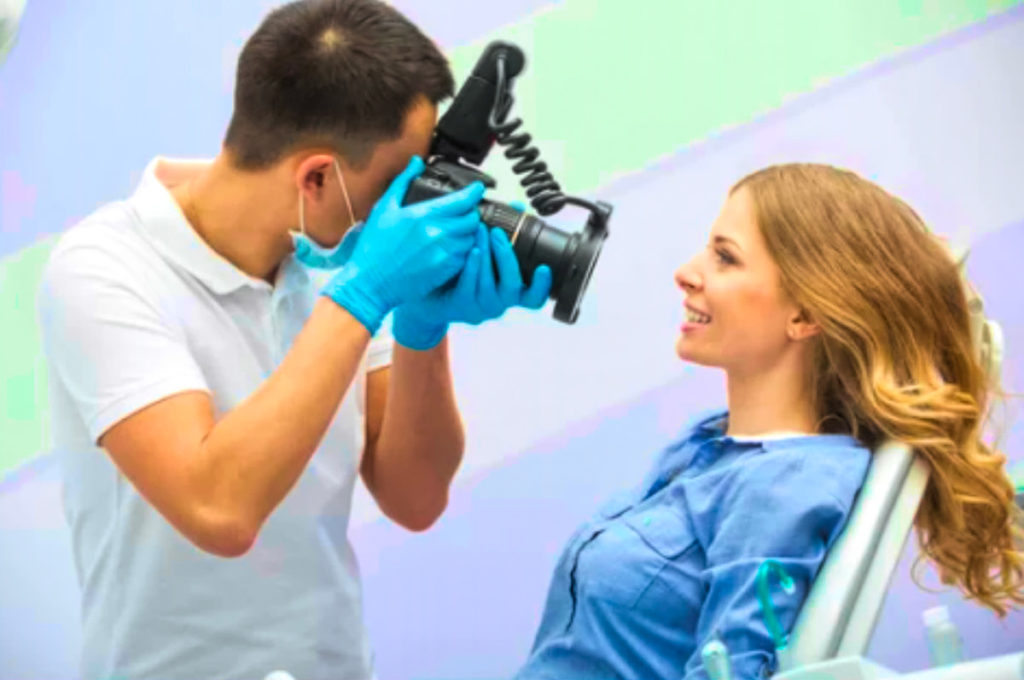
Photography
Including photographs during a shade evaluation is highly recommended.
Although photos may not depict colors with complete accuracy, they can furnish technicians with valuable insights.
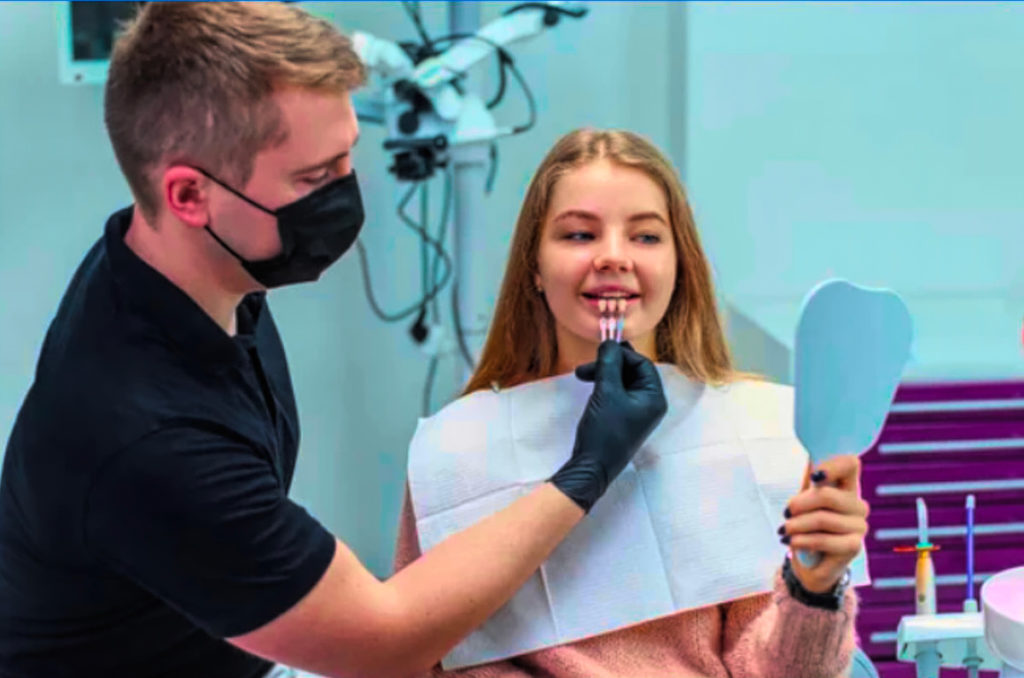
Please provide the following pictures:
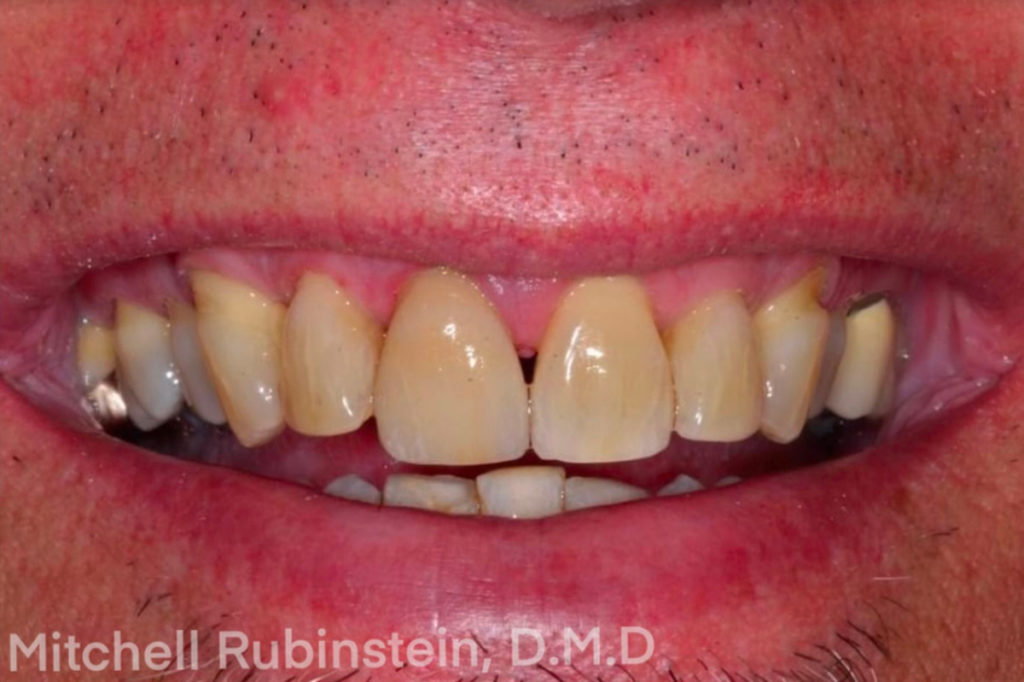
- Natural smile
- Full face
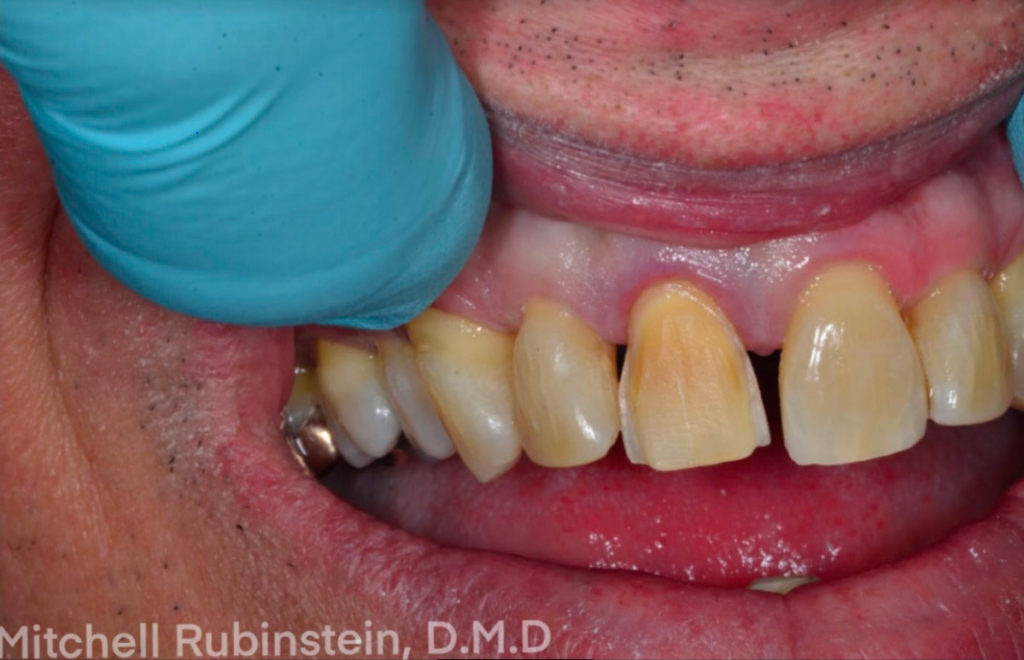
- Retracted lips
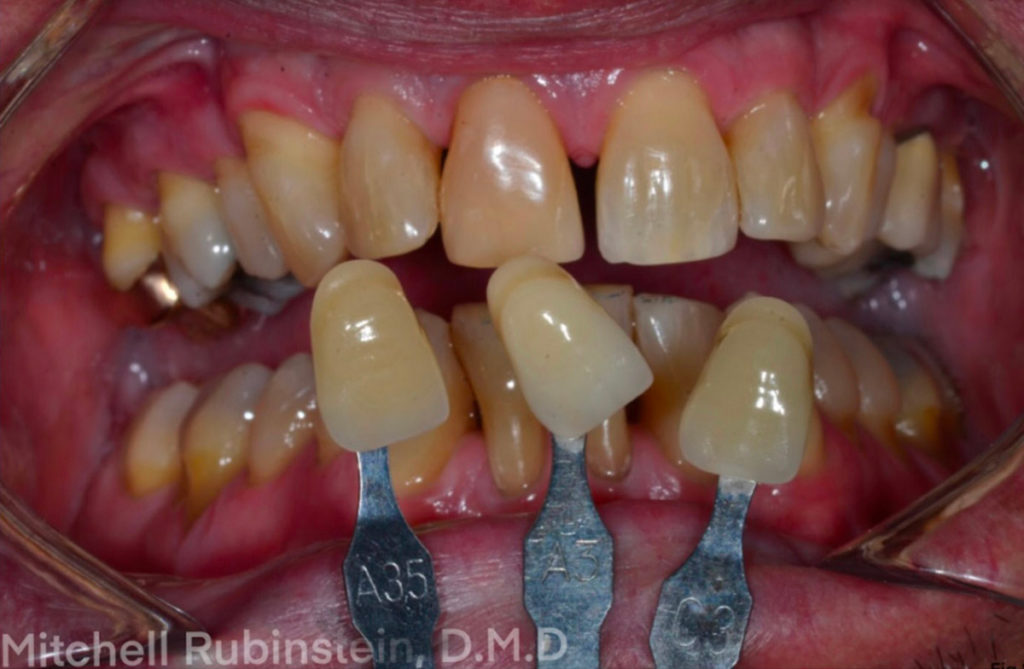
- Pictures with the shade tabs
These pictures will provide the necessary information, including specific characterizations such as craze lines or calcification spots that need to be implemented in the fabrication of the restoration to ensure a natural match to the existing dentition.
Case Study
This case demonstrates the excellent outcome that can be achieved when the clinician gives the dental lab all the required information.
It’s worth noting that although cases usually need to be corrected at least once, this particular case was completed without any need for revisions.
Humans perceive color through a complex process that involves neurons in the brain, the physical limitations of light, and the reflection of light off objects.
The key to succeeding in cases is mastering the art of effectively communicating colors.
At Burbank Dental Lab, our mission is to assist clinicians and help their practices thrive. If you require any assistance with shade-taking or wish to take advantage of our shade-taking services, please don’t hesitate to contact a member of the Burbank Dental Lab team via call or chat. We are always ready to assist you.
Special Thanks
We would like to send a special thank you to Dr. Mitchell Rubinstein for providing the pictures for the case in this article.