


The overall quality of care in dentistry is measured by clinical outcomes and overall patient satisfaction. While clinicians are often concerned with patients’ dental health as a whole, patients can be focused on other issues, such as esthetics or costs. Understanding a patient’s concerns is paramount in ensuring a positive experience. By uncovering their goals, a case plan can be developed to incorporate managing the patients’ expectations and ultimately ensure their satisfaction.
FREE TO DOWNLOAD – SUCCESS GUIDES


DOWNLOAD A GUIDE

REQUEST THE BURBANK DENTAL LAB FEE SCHEDULE
REQUEST FEE SCHEDULE HERE
REQUEST FEE SCHEDULE
Treatment Plan
At Burbank Dental Lab, our role in the dental process is to take the direction of the clinicians we work with and create dental restorations that fit what the patient and clinician have envisioned. The more planning that goes into a case, the closer we can come to fulfilling the desired results.
Even before a handpiece is used for preparation, a case should be well planned. This will ensure the proper preparation design, shade match, and material selection are made to achieve the agreed-upon results.
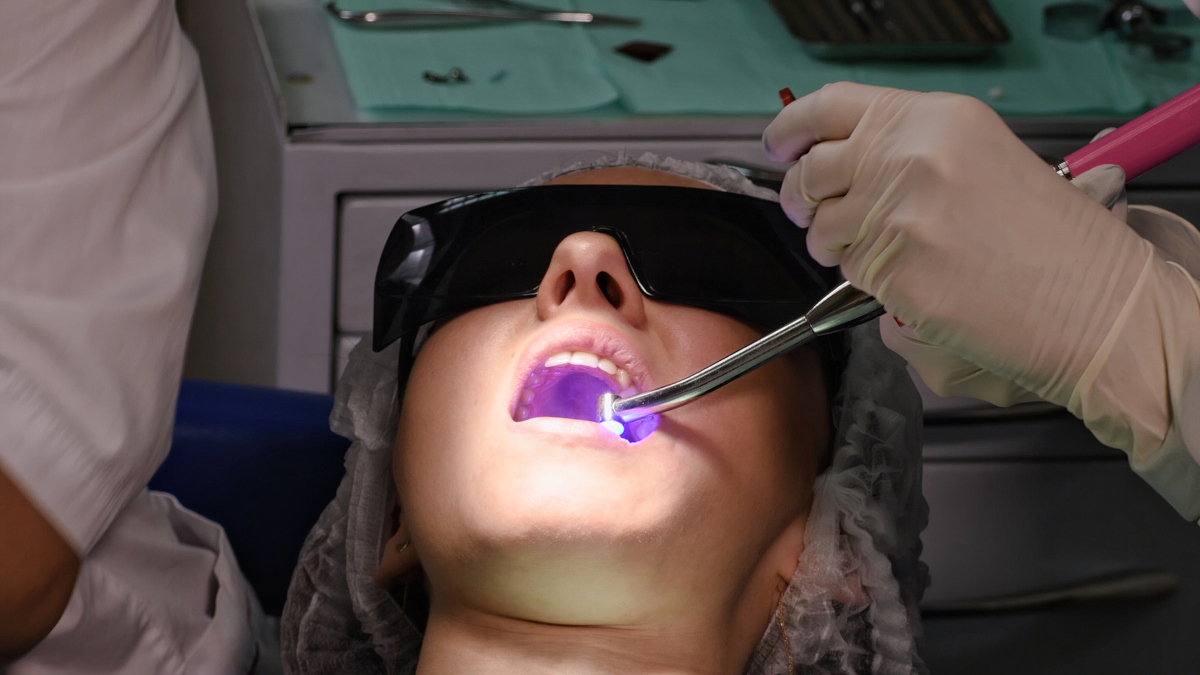
The following case came to Burbank Dental Lab, where Dr. Mitchell Rubinstein prescribed tooth #8 (figure 1, shown below). It is no secret that working on matching single units is one of the most challenging things to do in dentistry. It is not uncommon for cases to need a few adjustments to get these cases just right. Without managing patient expectations, these cases can lead to frustration. When matching a single central incisor, it is very common for a clinician to choose to do both central incisors at the same time to ensure proper symmetry is achieved.

Patient Expectations
This patient was unhappy with the shape, size, and color of tooth number 8 and disliked the diastema between 8 and 9. The patient was happy with the rest of his teeth. He was presented with a treatment plan that included preparing both 8 and 9 to ensure symmetry and handle spatial issues.
He, however, was adamant about only adjusting tooth #8. It was explained that the space for #8 would be wider than #9 and that we could make it look better but only by about 50 to 60% if only tooth #8 were restored. The patient indicated that he would be happy with this amount of improvement.

Photographs
Dr. Mitchell Rubinstein took several pictures to help the Burbank Dental Lab technician match the tooth to the adjacent teeth (Figures 2 & 3, as shown below). Photographs are essential for revealing the characteristics of the surrounding dentition being matched. Pictures reveal character traits such as crack lines, calcifications, and degree of color transitions.
The following images should be sent along with the case to help with the matching process:

Figure 2

Figure 3
Shade Evaluation

In addition to photographs, Burbank Dental Lab also recommends the following steps to ensure adequate information is provided:
This case was then prepared for a veneer on tooth #8 (Figures 4 & 5, shown below). A provisional was placed for the patient to wear while the final restoration was being fabricated (Figure 6, shown below).

Figure 4

Figure 5

Figure 6
Material Selection
The ultimate success of a case relies on material choice. When evaluating what material to choose, the key factors include strength and esthetics. IPS e.max is an excellent option as it is both a strong and esthetic material. Specifically, this material is one of the most widely used and highly successful materials in dentistry.
To restore tooth #8 for this case, it was determined that IPS e.max would be the best option. E.max is a lithium disilicate ceramic that provides excellent esthetic results and a precise fit.
Also necessary is the flexural strength of 500 MPa, helping to ensure that the tooth restoration will last.
The benefits of this material are as follows:

IPS e.max
Veneer Fabrication
Once the information was provided to Burbank Dental Lab, the case was waxed up to an ideal contour to ensure the tooth restoration would address all of the patient’s concerns.
One of the main concerns was the large diastema between teeth 8 and 9. Once the desired shape was achieved, the case was pressed and then layered to match the existing dentition using the photographs and other information provided by the dental clinician.
The case was returned to Dr. Mitchell Rubinstein for insertion (Figure 7, below). This case had a great result, and most importantly, the patient was happy. It required a team approach consisting of the patient, clinician, and dental lab input. The proper plan was created and then implemented.
Proper preparation design, material selection, data gathering, and ultimately appropriate insertion techniques all played a role in achieving an excellent result.
This treatment plan was driven by listening to the patient’s desires and Dr. Mitchell Rubinstein’s pre-op vision. When working on a single unit matching is by far the most challenging type of case and can often lead to unmet expectations for the patient. They don’t always understand the challenges that these types of cases pose for the dental team.
Managing patient expectations is a vital step in ensuring these cases provide patient satisfaction, and this case exceeded the patient’s expectations.

Figure 7
Before & After
BEFORE
AFTER
If you want more information about Burbank Dental Lab or your next restorative case, call us at (800) 336-3053 or click the Chat icon in the right corner to start a conversation with our ceramic team.


