Advanced Full Arch Implant
Ivoclar Digital Denture Workflow for Success
The Ivoclar Digital Denture System
Ivoclar Digital Denture Workflow for
Success

Written by Andrew Sedler

The subject of Digital Dentures is becoming a very hot topic, with many different threads of conversation. But what exactly is a Digital Denture? That definition is dependent upon the manufacturing company’s workflow.

While there are means to capture initial records 100% digitally, and it is possible to successfully fabricate dentures from digital scans alone, it is not 100% predictable at this moment in time. The workflow for a Digital Denture currently begins with quality conventional records, including impressions, and bite records.

The Ivoclar Digital Denture system is just getting started but it is already becoming the gold standard of digitally-fabricated dentures. In this article, I will highlight the workflow for the Ivoclar Digital Denture along with some of the benefits of this digital denture system.

There are 4 clinical appointments and 3 corresponding lab deliverables presented in the following workflow:

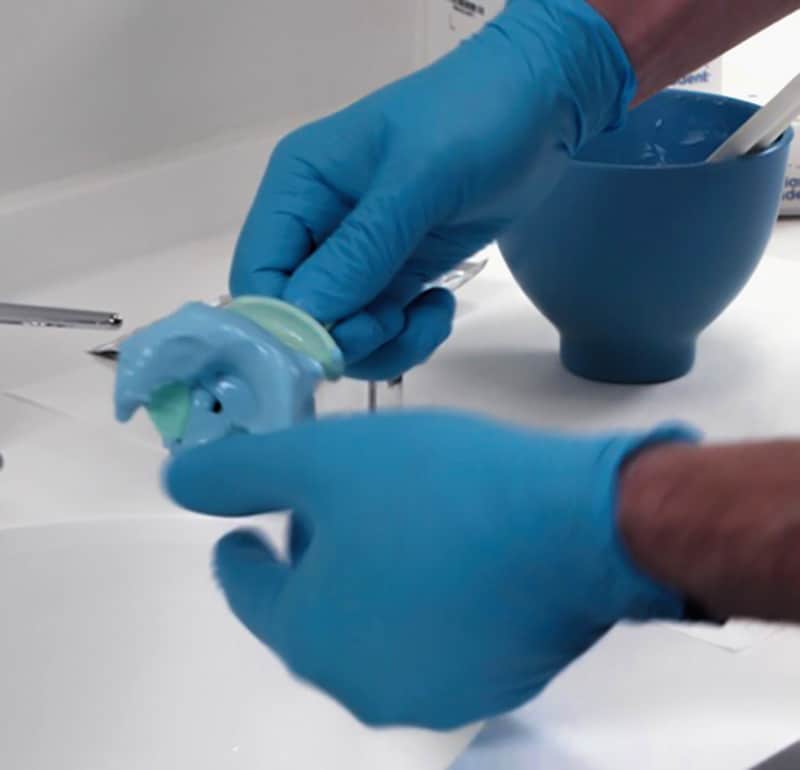
1. Appointment #1: Initial Impression

  • Acquire a detailed void-free impression.
  • Be careful to syringe material into the vestibule and distal areas, to record all the important anatomical landmarks.

    Syringe impression material for the vestibule

  • You can use either alginate, PVS, or polyether impression material.
  • We recommend that a border mold impression technique should be used, and fit it advantageous to work with customizable or borderless trays.

    Massad Tray Border Molding for Maxillary Denture - Fig. 8

  • Mark dorsal margin in the mouth with a special pen and reinsert impression to transfer marking to the impression

    Transfer dorsal margin marking
    Mark dorsal margin

  • The patient should be relaxed and sitting upright.
  • Make a dot on the nose and chin.

    Measure physiologic VDO

  • Measure the distance from the nose to chin dots. (Less 3mm of freeway space)
  • Use Ivoclar Centric Tray to take a functional impression.

    Centric tray product

  • Place heavy body impression material or silicone putty into the tray, with adequate amounts of material, and shape a ridge on the lower side.

    Centric tray mandibular ridge

  • Insert in mouth upper side first and asking the patient to close to the VDO as marked and measured for physiologic vertical.

    Centric trap physiologic VDO

  • Adjust bow to be parallel to the bi-pupillary line (right-to-left) and the camper's plane. (anterior/posterior)

    UTS CAD Bow

  • Record the adjusted measurements from the UTS CAD and communicate to the lab; this allows the lab to orient the digital models in the Ivoclar Design System, and create 3-D bite plates.

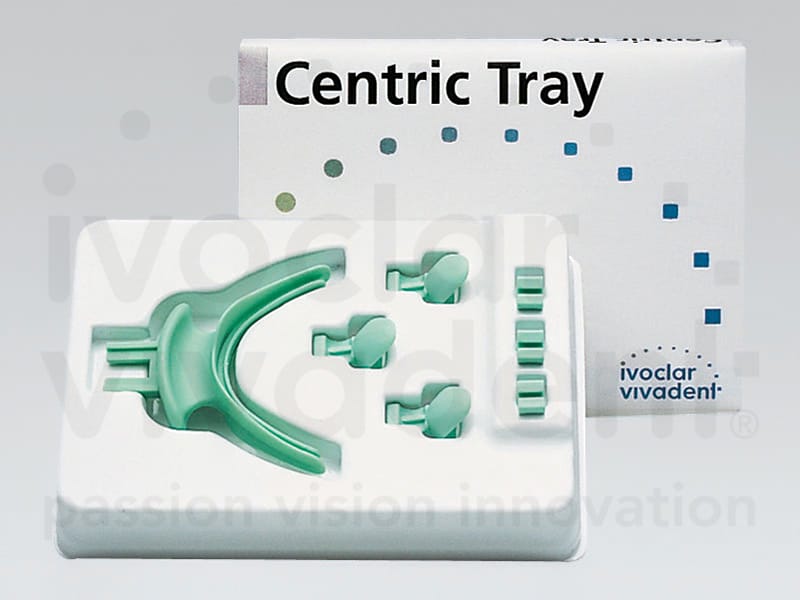
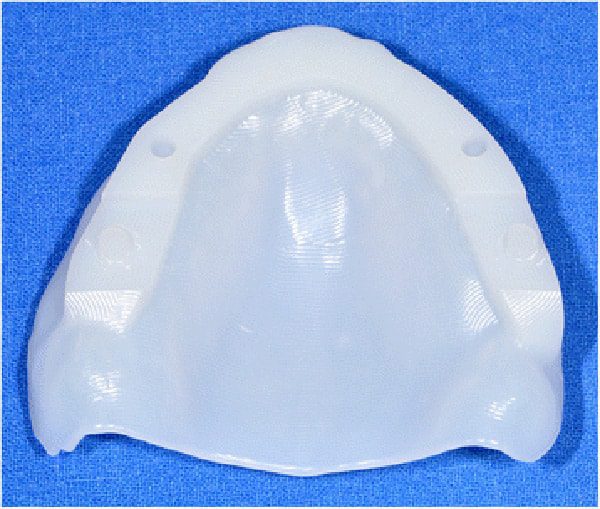
2. Lab Process #1: 3D Bite Plate Design and Fabrication

  • Lab scans anatomical impressions and centric tray.

    Ivoclar scanning dig denture and design

  • Lab imports reading from UTS CAD Bow and scans into Ivoclar Digital Denture Software in 3Shape.
  • Lab designs and fabricates 3D Bite Plate.

    Lab designs and fabricates 3D Bite Plate - Fig. 12
    Lab designs and fabricates 3D Bite Plate - Fig. 13
    Lab designs and fabricates 3D Bite Plate - Fig. 14

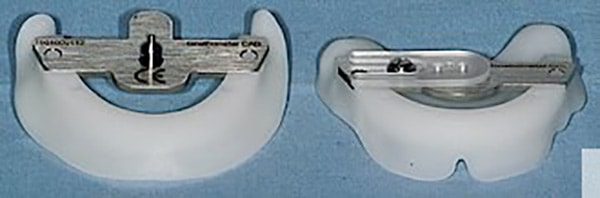
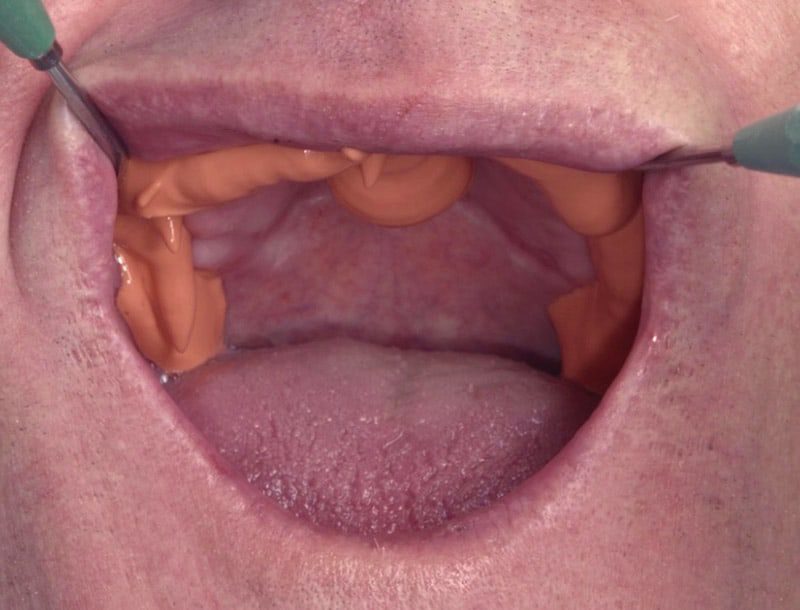
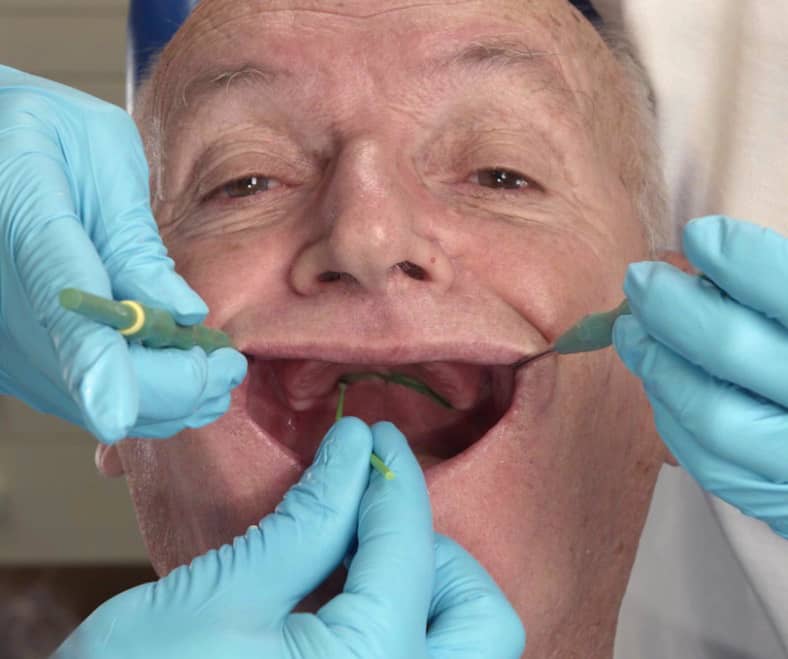
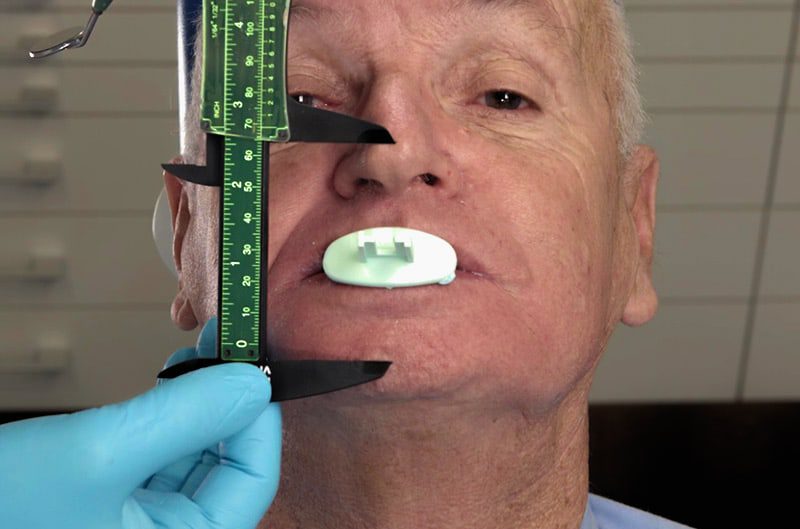
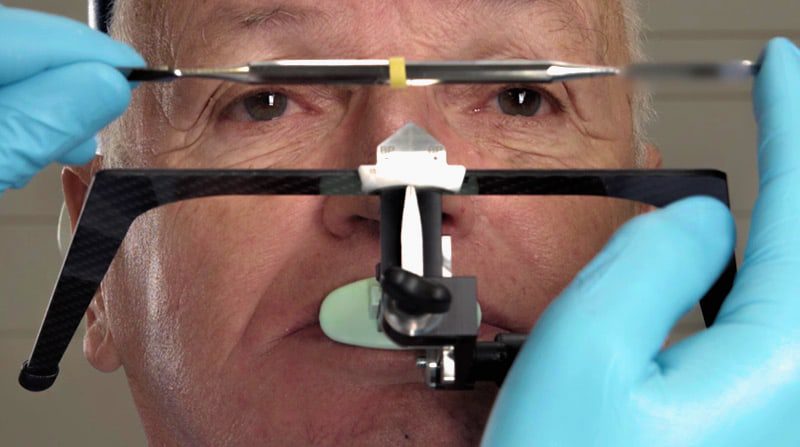
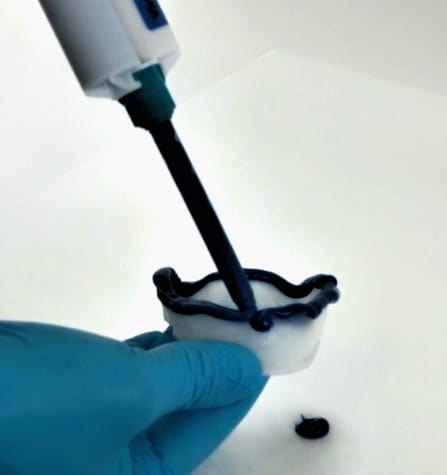
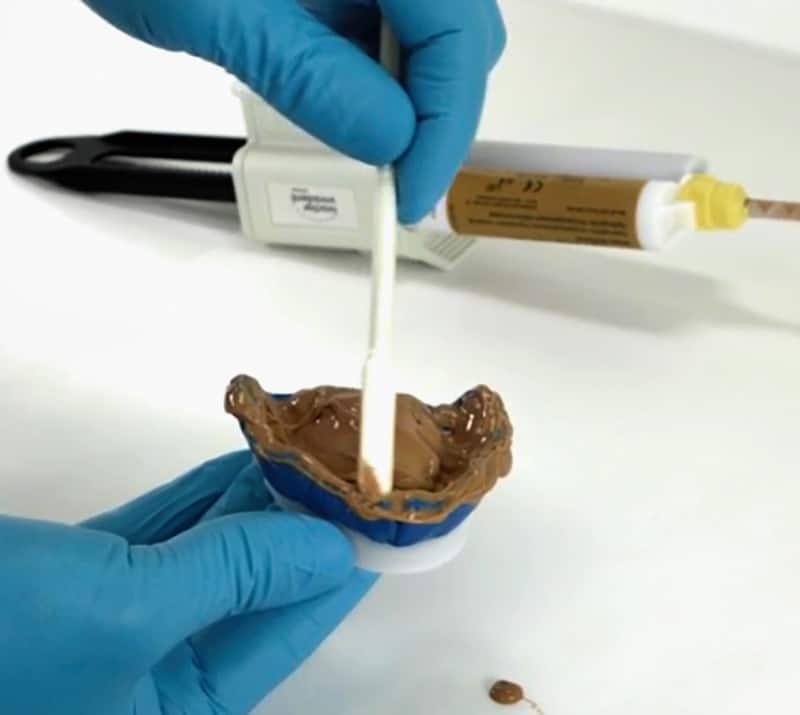
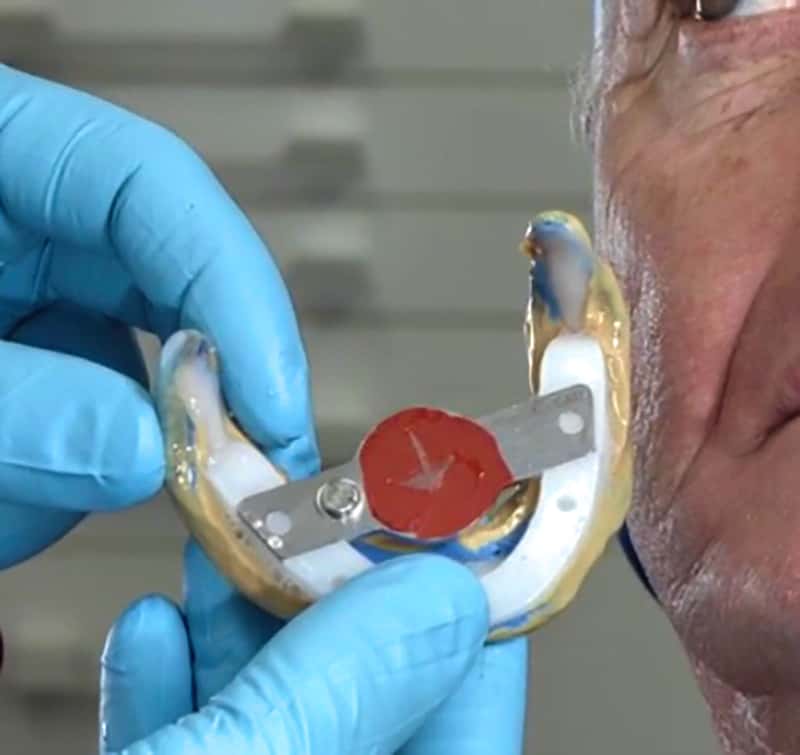
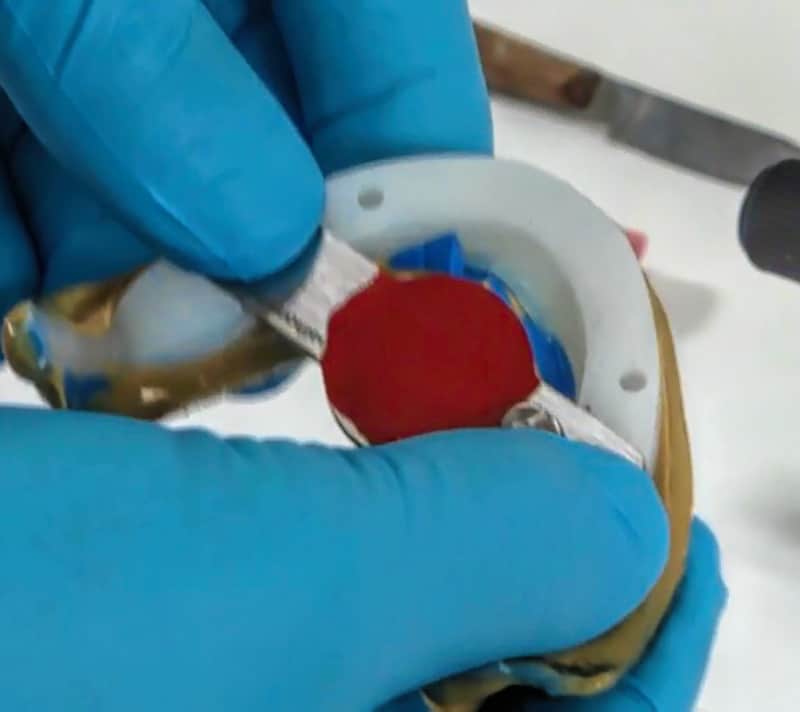
3. Appointment #2: 3D Bite Plate, Gnathometer, and Final Impression Wash

  • Verify that the plates close in a parallel and flat position and that there is room to accommodate the labial and buccal frenum.
  • Apply tray adhesive to the peripheral borders of the bite plates. 
  • Apply heavy body PVS and impress.

    Ad heavy body to perriferal of the bite plate

  • To impress the upper properly, have the patient suck on your finger, and move lower jaw to the right and left to active muscles and capture frenum movements in impression.
  • To impress the lower, have the patient smile and purse the lips.
  • Repeat with light body loaded into the intaglio surface of the tray.

    Second impression wash

  • Inspect impression for suction and voids, adding to voids and re-impress that area. Remove excess material.
  • Confirm that bite plates are level and parallel to each other.
  • Insert UTS CAD and level bow to Camper's Plane and Inter-Pupil line, and record measurements from the bow.
  • Check the vertical dimension by checking the patient's speech.
  • If VDO is too high, remove one of the rim's plates and test again.
  • If VDO is too low, increase vertical dimension with wax sheets.
  • Verify that the vertical dimension is at vertical rest by measuring physiologic vertical as above.
  • Check lip support and buccal corridor, adding or subtracting as indicted.
  • Add bite registration to the facial surface of the maxillary bite plate.
  • Mark the midline, cuspid line and smile line on registration material.
  • Attach the Gnathometer to the bite plates and record lateral and protrusive movements on the Gnathometer plate.Gothic Tracing Arrowhead
    Gnothometer Mandibular
  • Use Gnathometer to verify the centric bite.Use Gnathometer to verify the centric bite
  • Lock the centric bite in with CAD bite.Send bite and final impression to Burbank Dental Lab
  • Mark lip line.

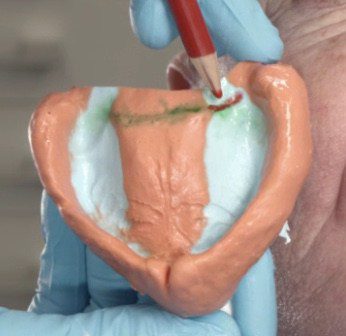
Send verified bite and final impression to Burbank Dental Lab to toth set-up design.

4. Lab Process #2 Milled Tooth Set-up

5. Appointment #3: Tooth Try-In

  1. Smile line
  2. Midline
  3. Lip support
  4. Buccal corridor
  5. Incisal edge position

    Check and equilibrate the occlusion and function

    Check speech

    Send back to the lab for adjustments and new try-in or final.

Send back to Burbank Dental Lab for adjustments

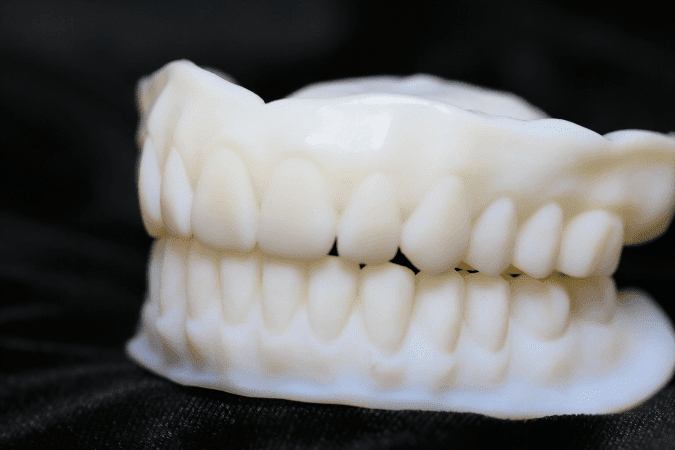
6. Lab Process #3: Final Denture Fabrication

  • Lab scans in and copy mills adjustment to occlusion and tooth position.
  • Tissue-colored and tooth-colored materials are milled.

    Digital Denture - Burbank Dental Lab

  • Teeth are cured into the partially-milled tissue-colored material.
  • Final milling is performed with bonded white and pink material together for an intimate fit.
  • Final finishing and polish are performed.

    Burbank Dental Lab - Digital Denture

7. Appointment #4: Delivery of Final Denture

  • Final occlusal adjustment and finishing of denture are performed with your normal procedures.

Benefits of Digital Dentures

  • Errors are minimized since there is no lab model work done; all of the work in the lab is done from digital scans of your accurate impressions and bite records.

  • The bite record appointment using the 3D bite plate facilitates a more accurate and duplicatable bite relationship.

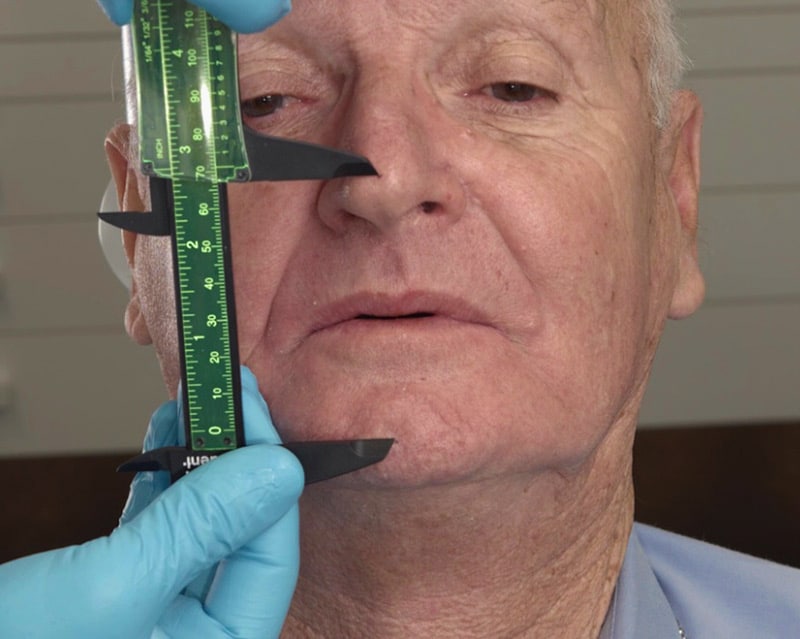
  • Teeth selection is done using measurable references to select appropriate teeth shape and sizes for your patient.

  • The set-up is accurately placed into the bite, esthetic and functional relationship, with precise and duplicatable results.

  • Milled tooth try-in appliance will be exactly the fit of the final denture, which provides predictable results and no surprises in the final appointment.

  • Duplicate dentures can be replicated at any time from stored design files.

  • Milled denture bases have virtually zero monomer release and are THE most dimensionally stable denture that has ever been made possible.

The Ivocalar Digital Denture System is a comprehensive lab and clinical system. It is important to intentionally follow the protocol and use the techniques and tools provided by Ivoclar to achieve the best results. Contact Burbank Dental Lab for special offers on the complete clinical kit for digital dentures.

Did you like this article?

Let us know by giving us a clap!

2+

Top 10 Most Clapped Articles

Resource Center

Products

Slide 1

Fabrication
of the future
is here!

Burbank Dental Lab has three new state-of-the-art Carbon M2 printers. We are very excited about the options that these cutting-edge printers will allow us to offer our dental clients. Here are some of the advantages that these printers will begin to deliver to you and your dental practice.

Our New
State-Of-The-Art
3d Printers

Carbon offers a highly dependable 3D manufacturing solution for many dental applications with its breakthrough Digital Light Synthesis™ technology, enabled by a wide range of dental materials.