The Digital Workflow for Edentulous Implant Cases

mm Written by Andrew Sedler

REQUEST FEE SCHEDULE

DOWNLOAD RX FORM

SCHEDULE A PICK-UP

COMING SOON

A Step-By-Step Workflow

Following is a simplified step-by-step workflow for an edentulous implant case, within a digital workflow.

In today’s world, it is possible to do virtually all major steps of implant prosthetic work in a digital workflow. However, it is usually carried out drifting in and out of a truly digital workflow, and we are still reliant on the traditional procedures in many instances.

Each clinician should make workflow decisions based on patient needs and practice efficiency for each case individually.

Digital Workflow Procedures for Edentulous Implant Cases

1. Create an ideal denture set-up, either from the current denture or new set-up.

The initial steps in a digital workflow for an edentulous case are essentially the same as a conventional workflow.

There are two possible starting places for any given edentulous implant case. In either situation, the goal of the initial sequence of records is to establish the desired vertical, smile line, tooth position, occlusion, and phonetics.
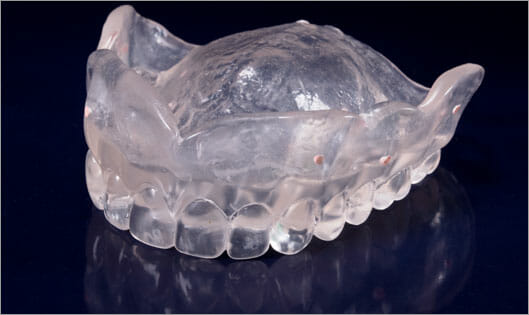
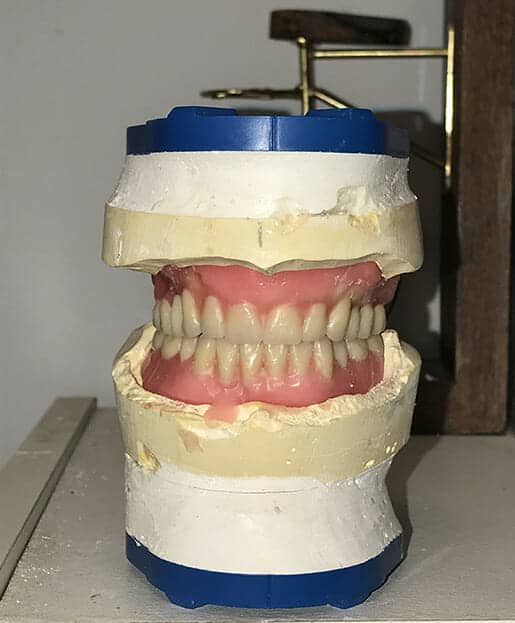
If the current denture meets the essential element that you will desire in the final prosthetic, you can make a duplicate denture that will be used for articulation and as the scanning guide. 

This requires bite block and set-up try-ins. Digital options to record the bite and set-up are on the horizon, but not something that we are recommending at this time. 

Duplicate of current denture - Figure 1
Figure 1
Elloway Denture Wax-up - Figure 2
Figure 2

In both cases, it is important to take a PVS to reline impression in the duplicate denture or new denture set-up.

Burbank Dental Lab
Burbank Dental Lab Laminated Success Guide

REQUEST YOUR FREE IMPLANT SUCCESS GUIDE BELOW

Success Guides

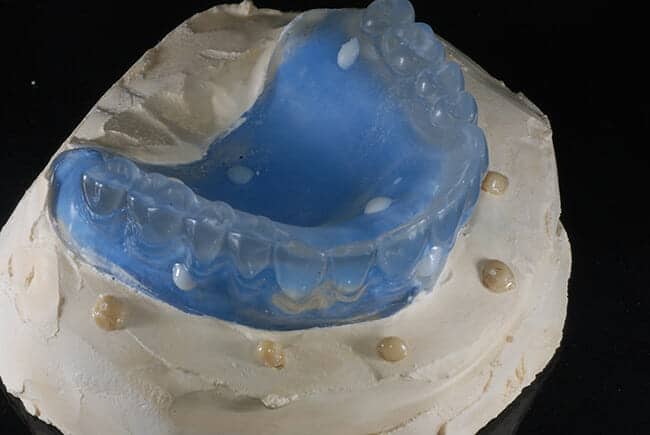
2. Fabricate CT Scanning Appliance. (Figure 3)

Once an ideal denture set-up is established it is then used as the basis for a CT scanning appliance.

Important design elements for the CT Scanning Appliance:

After you pour the stone base make a base extending about 10 mm beyond the buccal peripheral of the scanning appliance. 

Now, add radio-opaque composite dots around the base's ledge.

Optically scan the appliance with the stone base prior to separation, and optically scan the model after separation.
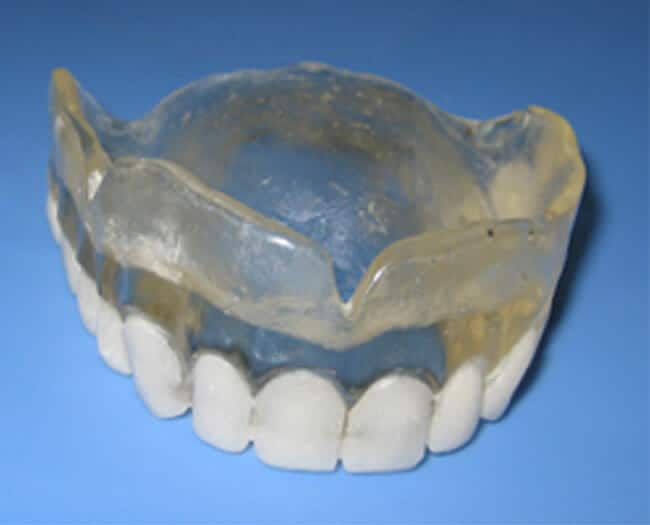
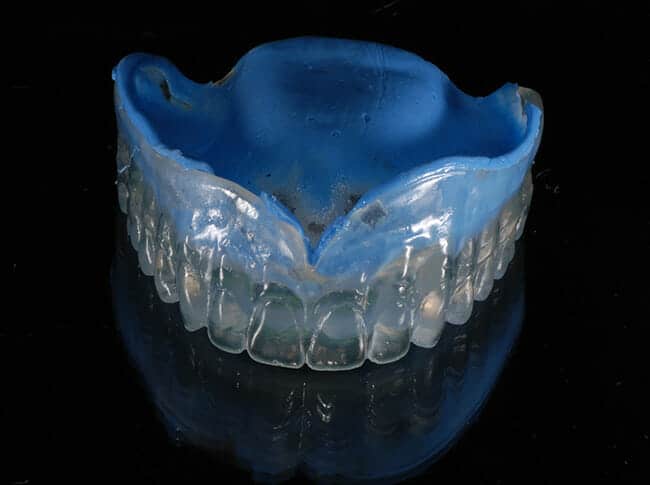
Barium Sulfate Scanning Guide - Fig. 3
Figure 3
Scanning Appliance
Figure 4
Scanning Appliance - Fig. 5
Figure 5

3. The CT Scanning Appointment

Perform the scan with the CT scanning appliance in the mouth. (Figure 6)
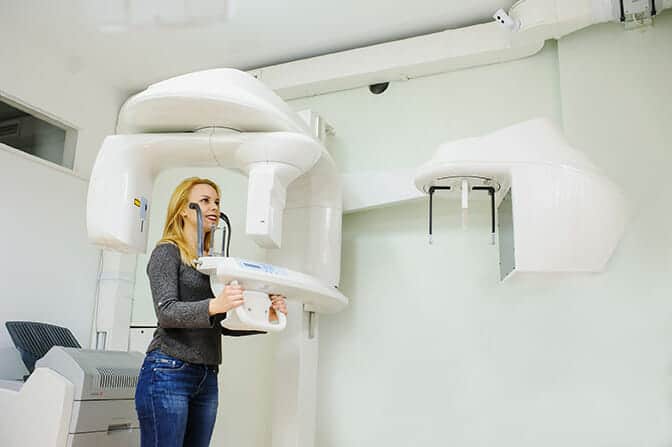
Dental x-ray
Figure 6

4. Surgical Planning

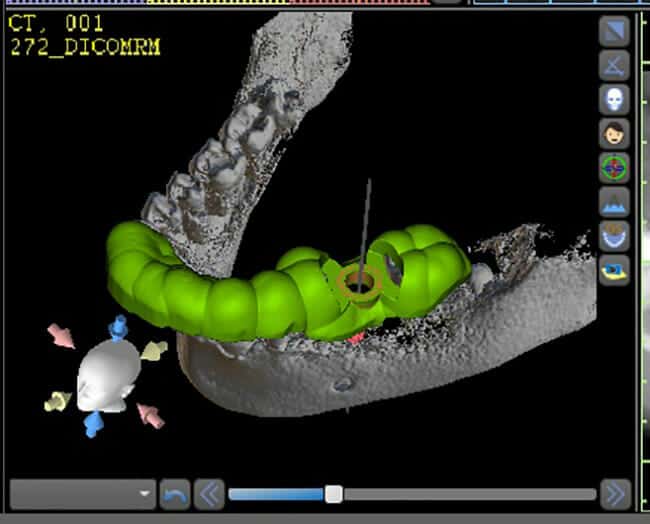
Merge the CT scan, the .stl of the appliance, the .stl of the model, and the .stl of the model with the appliance in place in an implant planning software. 

5. Guided Surgery Appliance Design

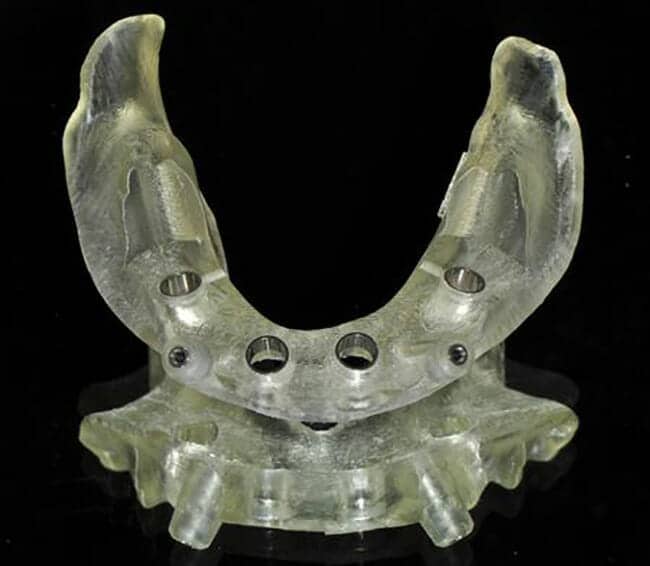
After the surgical plan is completed the guided surgery appliance can be designed and exported to a .stl file for printing. (Figure 7)

Guided Surgery Appliance Design
Figure 7
The .stl file is now printed with a 3D printer
Figure 8

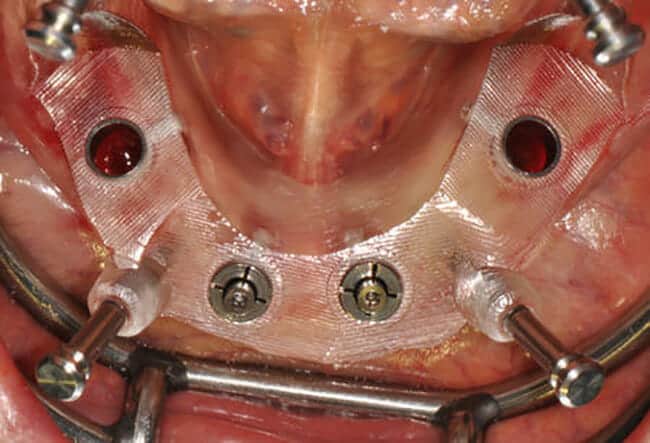
6A. Surgical Appointment

Use the guided surgery appliance to perform a fully guided surgery, including implant delivery. (Figure 9)

Use the guided surgery appliance - Figure 9
Figure 9

6B. Surgical Appointment - Immediate Provisionalization

Conversion denture can be pre-fabricated using the digital implant planning software in a few different ways: Figure 10
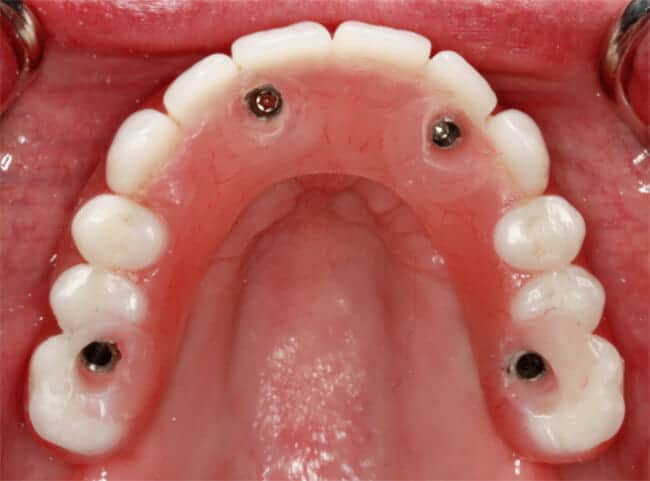
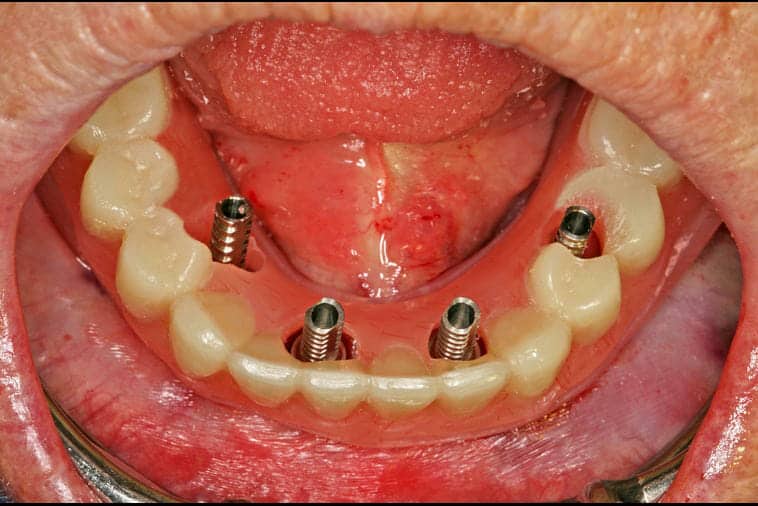
A model with guide pins incorporated in a printed model can be used as a guide to cut holes in the prosthetic to be delivered. The conversion appliance can be derived from previous denture or a new denture. (The new denture could be printed or milled or conventional processing.)

Digitally fabricate a denture with screw access holes pre-designed into denture via the surgical guide plan, and using the CT scanning appliance as a template. 

Immediate Provisionalization - Fig. 10
Figure 10
Figure 10b
Figure 10b

The titanium cylinders are seated, and then the prosthetic is placed over the top and tacked down. The prosthetic is removed and perfected for delivery during the surgical appointment.

7. Digital impression appointment for PMMA provisional prosthetic
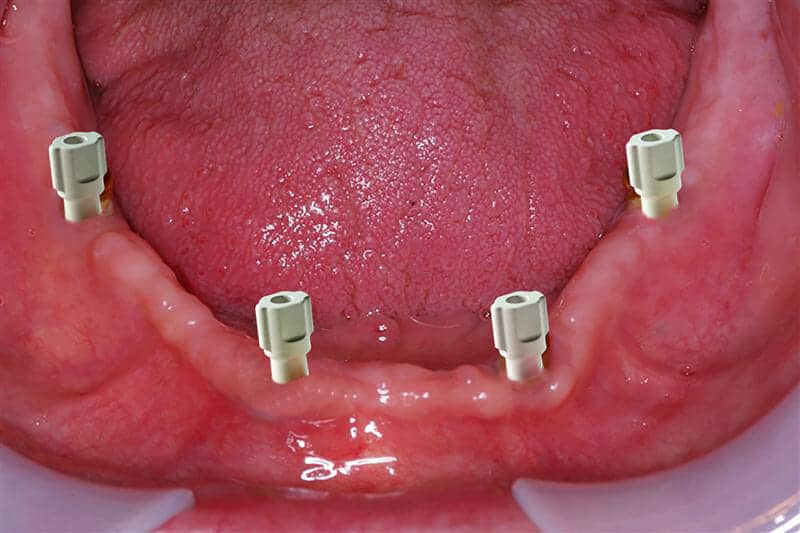
Edentulous scan body case baker
Figure 11

8. PMMA provisional designed and fabricated (Figure 12)

The lab merges the scan body .stl, the model scan, and the appliance scan within the design software. Once the digital merge is complete the PMMA prosthetic can be perfected and milled.

It should be noted that intra-oral full arch impressions using digital scan bodies are not 100% dimensionally accurate. Full arch prosthetics that are fabricated from an intra-oral scan are not guaranteed for fit. In these cases, it is always best to deliver a PMMA provisional that is cemented to the titanium cylinders in the mouth. This will reduce the potential for fit problems. Once the PMMA provisional is delivered and the patient has lived with it for a period of time, the PMMA provisional can be used to scan and copy mill the final prosthetic restoration.
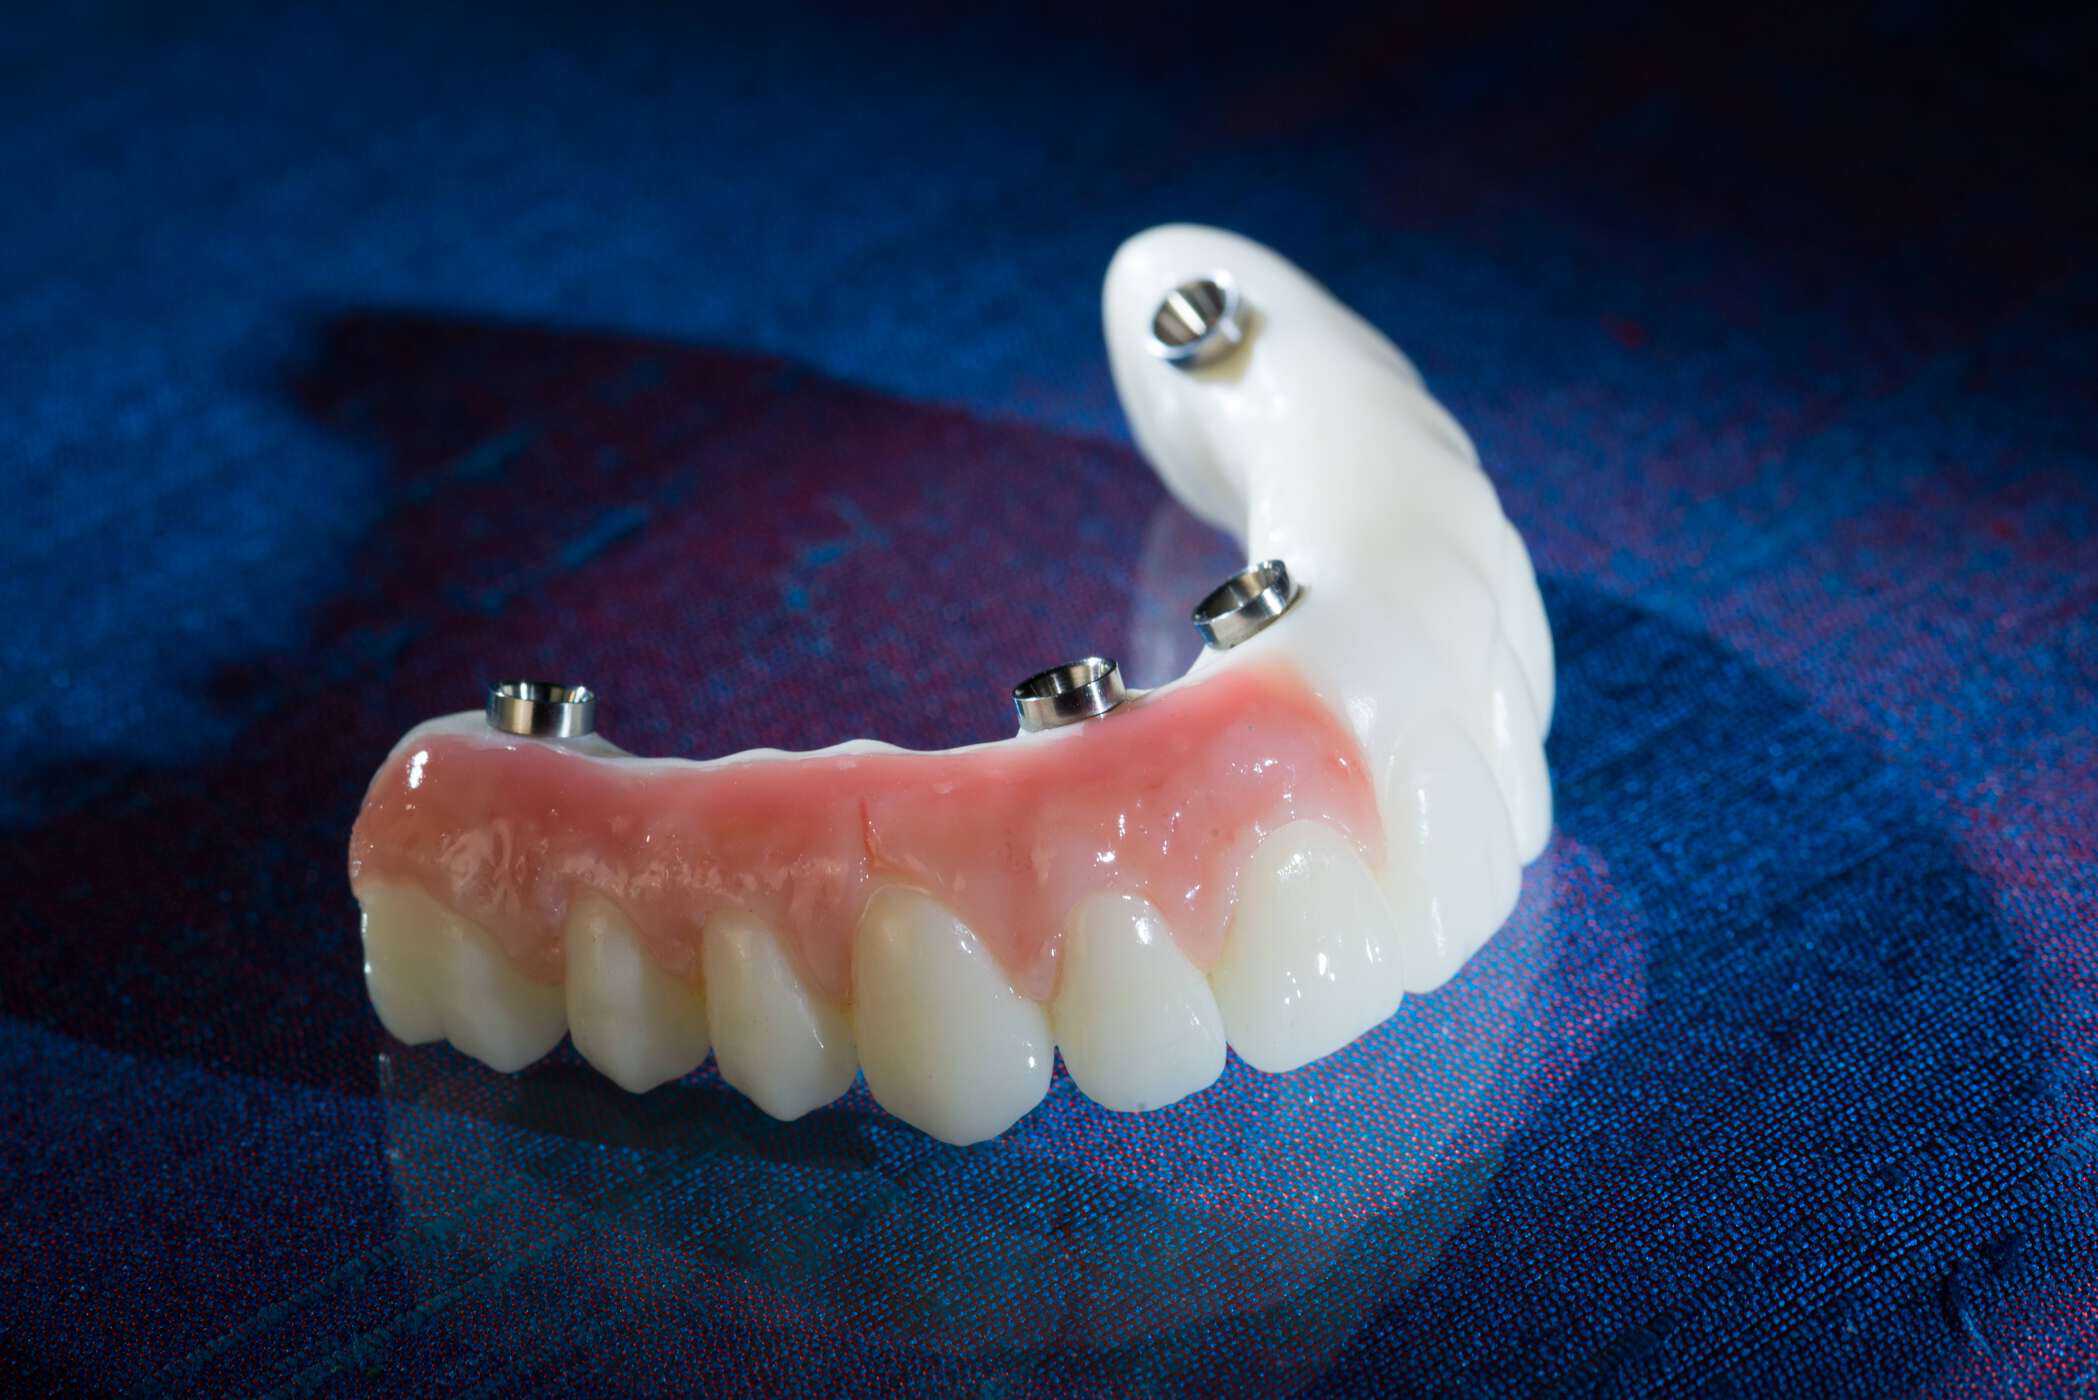
DuraTemps PMMA provisionals produced by Burbank Dental Lab

9. Final restoration delivery

Final restorations can be fabricated from a scan and copy mill of the tested and approved provisional can be delivered in a variety of materials for the final restoration.
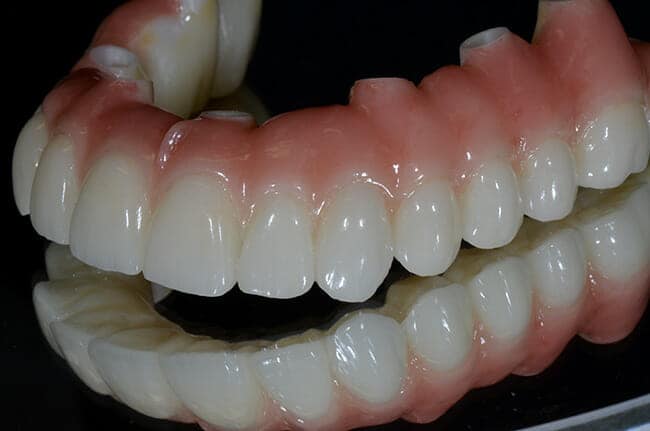
Monolithic composite bonded to a milled Co/Cr substructure. (Burbank Dental Lab’s SmartComposite Hybrid)

Layered Zirconia Screw Retained Bridge
Figure 13

The digital workflow is a rapidly changing environment. In this article we have reviewed certain steps; however, there are other workflows. It is always best to consult with Burbank Dental Lab prior to beginning a workflow on a complex case to assure that the current procedures used will assure you and your patient of the best results.

Burbank Dental Lab has the technology to assist you in the process of creating full arch prosthetics and the expertise to partner with you in the success of your cases.

We Appreciate You Sharing This Product

SHARE X LinkedIn
Previous Post:

NEED HELP CHOOSING THE PERFECT PRODUCT?

Would you like to speak with an expert now?

SPEAK TO TECHNICAL SUPPORT

Would you like to schedule a call?

SCHEDULE A CALL

Speak to Technical Support

Call us at

(800) 336-3035

Schedule A Call

Slide 1

Fabrication
of the future
is here!

Burbank Dental Lab has three new state-of-the-art Carbon M2 printers. We are very excited about the options that these cutting-edge printers will allow us to offer our dental clients. Here are some of the advantages that these printers will begin to deliver to you and your dental practice.

Our New
State-Of-The-Art
3d Printers

Carbon offers a highly dependable 3D manufacturing solution for many dental applications with its breakthrough Digital Light Synthesis™ technology, enabled by a wide range of dental materials.

a new baseline
for innovation
in fabrication.

Burbank Dental Lab has the next generation of Carbon DLS™. Meet our new Carbon M3 and M3 Max printers. These advanced printers enhance fabrication possibilities using Digital Light Synthesis™ technology, enabling us to provide quality and innovation for our clients.

Carbon M3 Printer - Burbank Dental Lab - CA

Meet Our New
next generation of carbon DLS™
M3 Max Printers

The M3 printer is the cutting edge of DLS printing with a true 4K light engine. We save time and improve quality with Automated Print Ppreparation which ensures high-quality assurance and results.